table of contents
- Propagate clematis
- Seeds
- Sowing: Instructions
- Cuttings
- Propagating via cuttings: instructions
- Offshoot
- Propagating clematis via offshoots: instructions
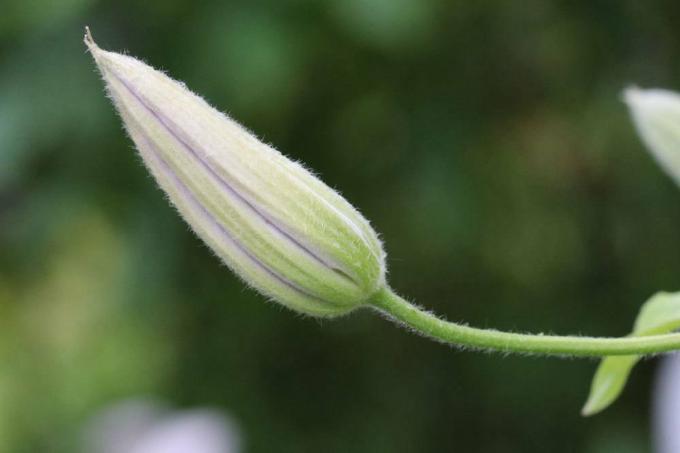
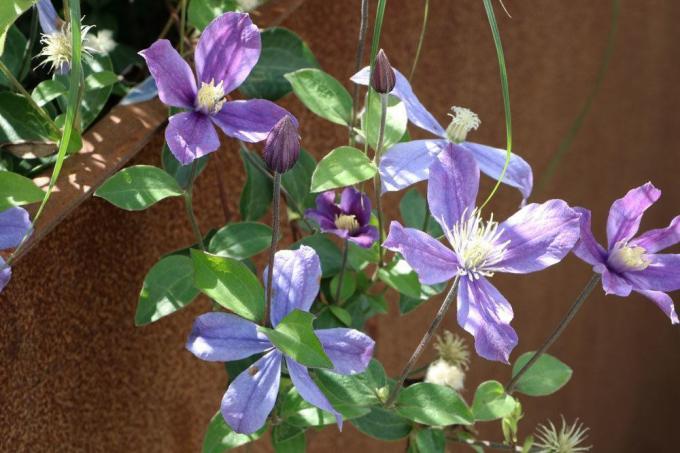
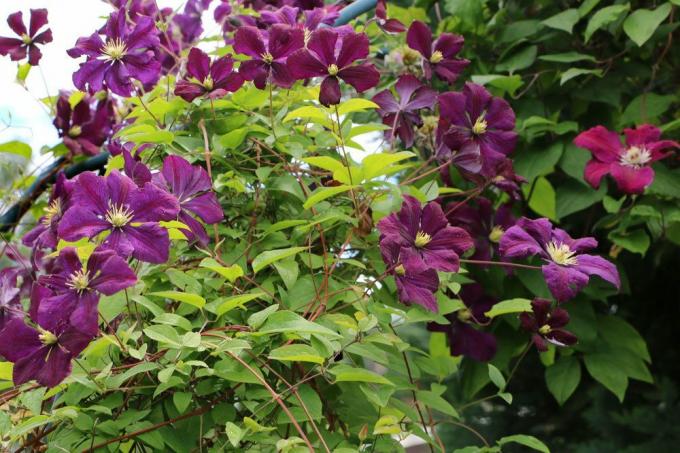
Clematis, better known by the term Clematis or "Queen of the climbing plants", is a genus within the buttercup family (bot. Ranunculaceae) and popular because of the picturesque flowers. Numerous types of clematis can be planted in your own garden and are effective in growing fences, trellises or facades. If you want to multiply your specimens, there are various methods that can be used, ranging from cultivation to seeds and classic offshoots.
Propagate clematis
If you have decided to use your clematis as the basis for propagation, you can look forward to three different methods. Depending on the type, location and purpose of the clematis, a different method is available. For example, the first cultivation is easily over Seeds possible while you over Offshoot and Cuttings simply pull more specimens from a healthy mother plant. For each variant, you will find detailed instructions below, which will make the propagation of the popular plant much easier for you.

tip: In addition to the methods already mentioned above, you can also divide the rootstock of your clematis. However, this is particularly difficult with well-branched and large specimens, as they are difficult to dig out if they have grown extensively.
Seeds
Propagation via seeds is not only ideal for further clematis specimens, but also for sowing your first clematis. However, you should make sure that, of the numerous types of clematis available, some are more suitable for growing from seeds than others. For example, if you have large-flowered hybrids such as the 'Nelly Moser' variety, you should refrain from growing them from their seeds. Even the first generation of these hybrids would no longer correspond to the actual variety and differ from it in terms of characteristics. The following types of clematis have proven effective for seed propagation:
- Alpine forest vine (bot. C. alpina)
- Mongolia clematis (bot. C. tangutica)
- Common clematis (bot. C. vitalba)
- Large-flowered alpine forest vine (bot. C. macropetala)
- Clematis (bot. C. Montana)
- Italian clematis (bot. C. viticella)
All of these species are naturally occurring taxa. Of course there are others that do not occur as hybrids, but the above-mentioned ones are ideally suited for cultivation. You could even collect the seeds of the common clematis and alpine clematis in the wild, as these are found in Central Europe.

Sowing: Instructions
The best time for propagation is in Winter after flowering. During flowering, which extends from June to late autumn depending on the species, you should simply harvest the seeds. Since these are cold germs, they need a stratification:
- outdoor stratification is ideal
- Move the seeds outside shortly before the onset of winter
- prepare pots with substrate for this
- Substrate: sowing soil, herb soil
- Moisten the substrate
- one seed per pot
- Spread three to five millimeters of soil over the seeds
- Cover pots with a transparent film
- alternatively use a large glass
- now bring the pots into the garden
- the location should be in partial shade
Daily ventilation for 30 minutes is important so that no mold forms. While you ventilate, you need to water daily at the same time, as the seeds never dry out allowed. Sowing is the slowest of all methods of propagation and some clematic seeds can take up to three years to sprout. You are particularly lucky with seeds from wild specimens. Ideally, these only need one winter to drive out the following year. The entire time you must not forget to water the seeds, otherwise they will dry out and all your work will be ruined. If you can look forward to seedlings, they will then be pricked out into individual pots.
tip: It is recommended to sterilize the selected substrates before use. This increases the chance of early germination.
Cuttings
Perennial clematis are particularly suitable for cuttings, as they have a strong urge to grow and are therefore ideal for the formation of roots. The following types are meant:
- Whole leaf clematis (bot. C. integrifolia)
- Large-leaved clematis (bot. C. heracleifolia)
- Upright clematis (bot. C. recta)
Propagating via cuttings: instructions
Otherwise you don't need much for the propagation of cuttings, because this is the simplest of all variants. The right time for this is regardless of the type of May to June, because the clematis need quite warm temperatures for the development of roots. In the case of late-blooming species, August is still possible. The following instructions explain exactly how cuttings propagate:
- Separate cuttings with a sharp, disinfected knife or secateurs
- Clemantis cuttings should be 6 to 8 inches long
- always cut between two leaf nodes
- defoliate the shoots
- leave two leaves on top
- Treat interface with root hormone
- this significantly improves the rooting
- alternatively: dip the interface in honey
- Prepare pots according to the number of clematis cuttings
- Piker earth can be used as a substrate
- plant the cuttings in this
- the tip with the leaves must look out of the earth
- Pour exclusively over the coaster
- Now stick the kebab skewers in the ground and cover with transparent foil, e.g. B. Freezer bags or cling film
- this means that the plastic hood does not fall on the clematis cuttings
- the hood must remain on the pots for the next six to eight weeks
- Place pots in a warm, partially shaded location
Never let the soil dry out and ventilate it all the time. This means that no mold forms, which would mean the end for the young plants. The room is ventilated for half an hour a day. As soon as the first shoots have formed, you can remove the hood. If the first roots appear that grow out of the planter, repot in a suitable substrate and the normal one care take up.
tip: If the clematis reproduces successfully, you can look forward to one of the few ornamental plants that can get very old and still please your children and grandchildren. This is because some species can reach age limits of up to 70 years as long as they are well cared for.
Offshoot
You can use cuttings to propagate any type of clematis, even hybrids. All you need for this method is a healthy plant and a little patience. Because this is a simple method that doesn't require a lot of waiting time, it's especially popular with gardeners. For an offshoot you need:
- Flower pot with drainage hole
- classic potting soil
- Tent peg or similar hook made of rustproof metal
- Bamboo stick (thin)
- Plant binder
- sharp, disinfected secateurs
Propagating clematis via offshoots: instructions
The best time to cast off is End of summer. The following instructions will help you to successfully propagate your clematis using offshoots:
1. First select a shoot from which you want to grow a new clematis. This should be healthy, strong and still quite young. Shoots that are already lignified are not recommended as they are difficult to sprout. In addition, the shoot must be on the edge of the plant, as this makes it easier for you to bend it to the ground.
2. Fill the pot with the potting soil and dig it into the ground up to the brim. This method is recommended so that the budding young plant does not have to grow directly next to the existing clematis. Now bend the shoot down onto the ground. Make sure that at least half of the selected cuttings should protrude from the ground so that it remains sufficiently large. The part that is bent on the floor must be defoliated.
3. Fix the shoot on the ground with the tent peg and the upper part with the plant ties on the bamboo stick. Now the clematis offshoot can sprout. Water well and make sure that the growing medium does not even dry out.
4. The discarded shoot now remains in this way until spring. Now carefully check the pot to see whether it has roots. If so, the shoot is separated from the mother plant and the new clematis either continued to be cultivated in the pot for one year or planted in the garden. Then continue the maintenance as normal.