
Recycle PET bottles and sow seeds: We show you how you can transform PET bottles into self-watering plant pots.
There is still no deposit on many PET bottles. Instead of throwing the bottles in the plastic waste, they can also be used wonderfully as inexpensive plant pots. And the best thing about it: They even water themselves and are therefore ideal if you are on vacation for a few days. In our DIY handicraft instructions we explain step by step the way from the bottle to the plant pot.
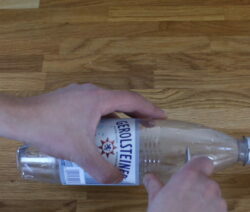
- Take a standard PET bottle and carefully drill a hole in the lid. You should make sure that it is big enough so that a thicker rope can be threaded through afterwards.
- Cut approx. a third of the bottle off. This “funnel” is put aside for the time being.
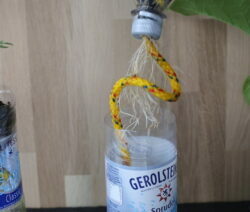
- Now take a 50 cm long rope and soak it well with water and then thread it through the hole in the lid.
- The lid is screwed back on and one end of the rope is placed in the funnel in a spiral shape. The other end is placed in the lower part of the bottle. Then the funnel and the bottle are put together.
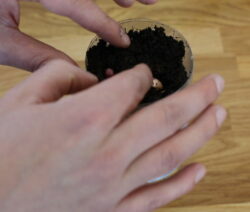
- Now you fill the funnel with potting soil and use seeds of your choice.
- If you lift the funnel, you can fill the bottle with water. The water rises continuously over the rope, moisturizes the earth and the DIY planter is up supplied with sufficient moisture for a week without the risk of waterlogging.


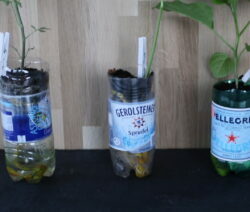
Et voila! We wish you a lot of joy and fun with your plant pots. Let us share your experiences. We look forward to your pictures!
I have a degree in industrial engineering, but have always been an enthusiastic hobby gardener at heart. I have been growing fruit and vegetables in my own garden for over ten years, and my passion is primarily for rare and special varieties.
Favorite fruits: Red-fleshed peaches and pluots (cross between apricot and plum)
Favorite vegetables: palm kale, tomatoes and cardoons
Previous posts

Cleaning birdhouses should be part of your weekly gardening practice as it can prevent the transmission of many ..
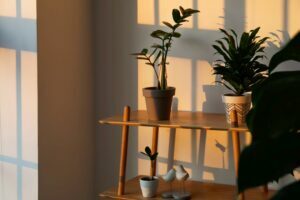
Plants need light to carry out photosynthesis. But some can also cope with less solar radiation ...
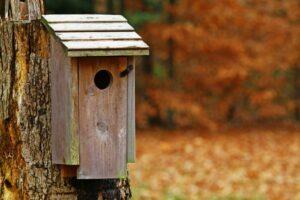
Cleaning the nest boxes is an important task that is carried out in your own garden every year.