Plants that have been standing for a long time should be repotted every now and then. We show what you have to pay attention to and how to repot properly.

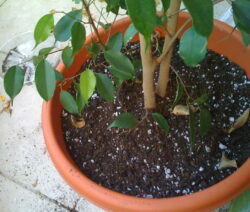
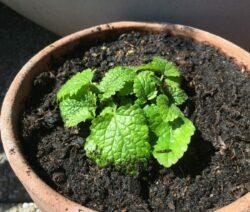
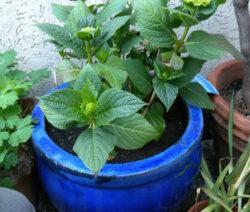
How often the plants have to be repotted depends, as does the choice of the right substrate, on the species at hand. When the time for repotting is reached, you can easily see from the root ball. If this is completely rooted, a substrate change and moving to a larger pot are due. In general, it can be repotted all year round. But it makes little sense to repot before winter. The growth conditions are unfavorable and the temperature and growth conditions do not improve It is very difficult for the plant to form new roots and with them into the new substrate to advance. The beginning of the natural growth phase in early spring, on the other hand, is the ideal time to carry out the necessary repotting.
1. Repotting - yes or no?! The right time
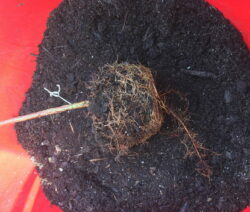
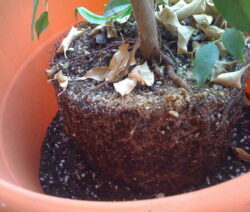
You can tell from the root ball whether the time has come to repot your beloved plants. If this is very well rooted and only little substrate is visible that can be conquered by the roots, it is time for a new pot with fresh substrate.

2. Get out of the old pot and loosen up the balls
Before the plant is placed in the new pot, it is advisable to loosen and tear up the root ball. This allows air to come to the roots and the new formation and branching of the roots is stimulated.
3. Fill up with fresh substrate and press on
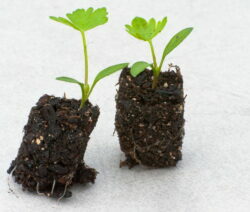
In the slightly larger new pot, the plant to be repotted is filled with the new substrate. The still loosened, filled edge area in the vessel is now pressed down a little. When choosing the substrate, rely on high-quality, peat-free organic soil that exactly meets the requirements of your plants. In our Plantura shop you can find sustainable and CO2-reduced bio-earth for different plants.
4. Pour on and back in place
Before the old plant can return to its usual place in the new pot, it has to be watered. The right balance has to be struck between too little and too much. If too little is poured, there is a risk of the old root ball drying out. This is then difficult to moisten again. If too much is watered, the plants are quickly attacked by dangerous root fungi.


