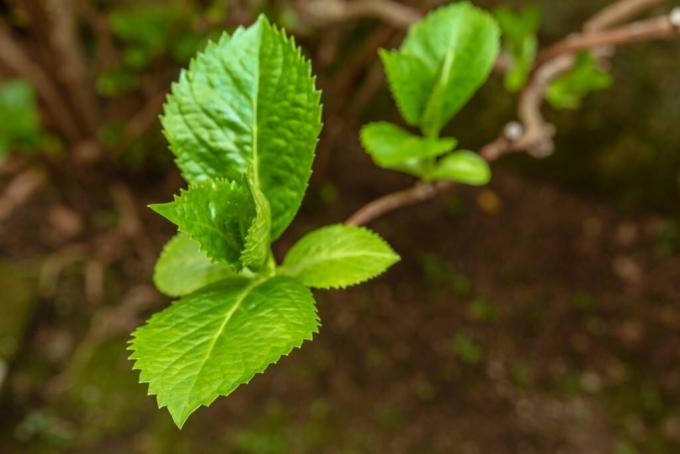
Here you can find out everything you need to know to be successfuln Propagation of hydrangeas. The increase succeeds either via offshoots, cuttings or by division.

For everyone Hydrangea species (Hydrangea) that can be found in our home gardens, sowing is not a suitable form of propagation. The flowers are very small and the seeds accordingly - if any can be harvested at all. In addition, the laborious sowing is rarely crowned with a presentable germination success. That is why it is more practicable on so-called vegetative forms of propagation to fall back on.
contents
- Propagate hydrangeas by dividing them
- Propagate hydrangeas using lowerers
- Propagate hydrangeas using cuttings
For the vegetative propagation of Hydrangeas (Hydrangea) you already need access to a hydrangea plant that you want to propagate. Accordingly, through vegetative propagation, clones of the beloved hydrangea from your own garden are created. We show which methods of propagation work for the hydrangea and how.
Propagate hydrangeas by dividing them
Hydrangeas can certainly be propagated by dividing the rhizome, but here is the one Hydrangea type decisive. The snowball hydrangea (Hydrangea arborecens) can, for example, be propagated well by division. In the panicle hydrangea (Hydrangea paniculata) on the other hand, this form of propagation is rather problematic.
Instructions for multiplying hydrangeas by dividing them:
- Right time for division: spring or autumn
- Carefully dig up the mother plant with generous root balls
- Divide the root ball as gently as possible into equal parts
- Transplant the divided plants separately to suitable locations and then water them well

Propagate hydrangeas using lowerers
Cuttings and subsidence are two forms of propagation that are very similar and are often confused. In the case of cuttings, whole shoots are placed in a recess in the ground, fixed and covered with soil. There are then just as many new plants as there are buds on this buried shoot. When lowering, a shoot is fixed at one point in the ground so that the tip of the shoot protrudes out of the ground again. It just creates a new plant that can be detached from the mother plant. The propagation method of the sinker has proven itself in hydrangeas.
Instructions for propagating hydrangeas using lowerers:
- Suitable time: April to June
- Choose a healthy, strong shoot, if possible without a flower or Flower bud and not too lignified
- Test whether the shoot can be bent
- Bend the shoot so that it touches the earth at one point and the tip of the shoot protrudes
- At the point where the shoot touches the ground, remove the soil about 5 cm deep
- At this point, carefully cut into the bark of the shoot on the underside
- Fix the shoot in the dug hollow with a herring and cover it with earth; alternatively, a large stone can also serve as a fastening
- The protruding shoot tip is stabilized with a bamboo stick
- In order to achieve sufficient root formation, the sinker should remain in place for at least a year
- Then it (including new roots!) Can be separated from the mother plant
- Growing in a pot is initially recommended, but the hydrangea lowering plant can also be planted directly in the bed
Propagate hydrangeas using cuttings
For many plants the Propagation via cuttings a simple and quick method of propagation. This also applies to the hydrangeas. In terms of time, the propagation of cuttings is clearly superior to the subsidence, because in most cases a result can be seen after 4 weeks.

Instructions for propagating hydrangeas using cuttings:
- Correct time: June and July
- Shoot tips with 2 pairs of leaves are separated from the mother plant with a sharp knife; the cuttings should be 5 to a maximum of 10 cm long and have no flowers or flower buds, as this would significantly reduce the success of rooting
- The cuttings should be plugged immediately and, if possible, not stored
- A special substrate for cuttings is also perfect for hydrangea cuttings
- In the first two to three weeks, high humidity must always be ensured, as the cuttings are not yet able to absorb water themselves; a mini greenhouse for the windowsill can be used for this
- Root formation can be observed after three weeks at the earliest; then the hood of the mini greenhouse can be removed again and again in order to slowly accustom the cuttings to the normal environment
- If the root ball is completely rooted, the successfully propagated hydrangea cuttings can be repotted in a larger container
Like yours Properly care for hydrangeas after propagation and strengthen, you will find out in this special article.


