You can easily and successfully multiply clematis yourself. But what needs to be considered and what is the best way to proceed when propagating clematis?

clematis are among the most popular climbing plants and score points every year with their rich and beautiful flowers. Instead of buying a new clematis in the garden center, the flowering buttercup plant (Ranunculaceae) can easily be propagated at home. We show how you can grow your own little clematis plant in no time.
"Contents"
-
Propagate clematis by cuttings
- Clematis cuttings: how and when to cut?
- Clematis cuttings: care properly
- Sow and propagate clematis
Propagate clematis by cuttings
Probably the most uncomplicated way of propagating plants is to take cuttings. It is one vegetative propagation, in which, genetically speaking, the same plant emerges from a cut branch. With this method, the chances of success are quite high, but to be on the safe side, several cuttings should always be taken at the same time. To do this, proceed as follows.
Clematis cuttings: how and when to cut?
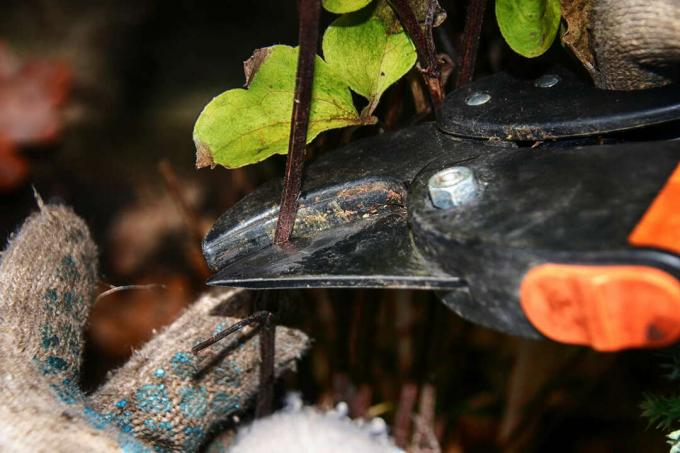
The ideal time to propagate clematis cuttings is the flowering period, when the plant has a particularly high level of energy. For cuttings, use a shoot from the middle of the plant and cut it off when it is about 15 cm long. Optimally, there is at least one eye at the lower end of the cut shoot, which is later relevant for root formation.

Clematis cuttings: care properly
After cutting, you should first remove all leaves from the lower part of the shoot so that they do not end up in the substrate. Then plant the cuttings in potting soil like our Plantura Organic herbal & seed soil so that most of the branch is underground. A translucent hood ensures a humid and warm climate during root formation. Always keep the substrate moist and wait a few weeks for new roots to form.
A little hint: Applying rooting powder before planting will help speed up rooting.
Sow and propagate clematis
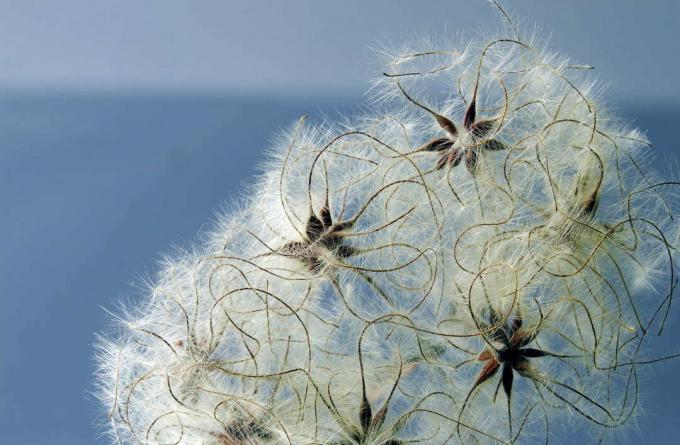
If you have staying power, you can try sowing clematis seeds in addition to raising cuttings. However, the cultivation can take longer than a year and sometimes requires a lot of effort. For cultivation, sow the seeds in potting soil and only lightly cover them with substrate. The potties should always be kept moist and covered with a translucent cover to create a suitable climate under the hood. Nevertheless, air it out from time to time to prevent mold from forming. Exposure to frost during the winter is important for germination, so pots should be left in the cold throughout the winter. With a little patience, after a long wait, the first plants will sprout and you can look forward to your own clematis.

You can find out how to water, cut and fertilize your clematis properly in our special article on Clematis care.


