

table of contents
- Transplant cherry laurel
- Location
- time
- Materials and tools
- Moving the laurel cherry: instructions
- Step 1 - 3
- Step 4-7
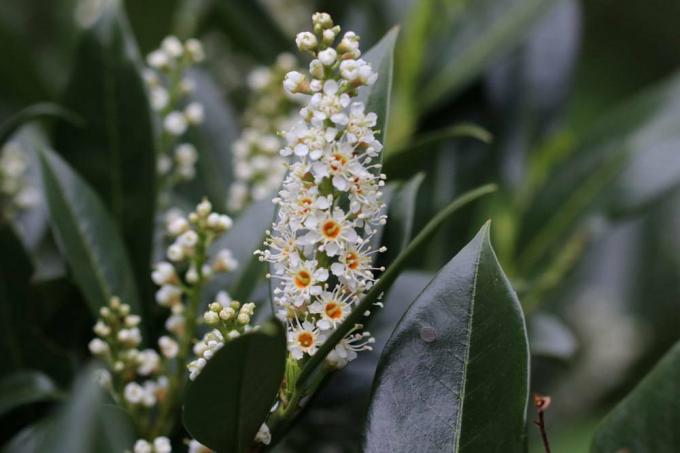
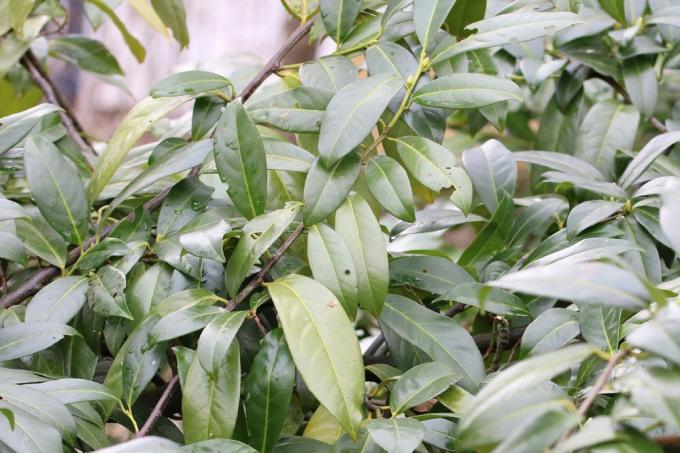
Cherry laurel (Prunus laurocerasus) is a popular hedge plant. No wonder, because cherry laurel hedges grow very quickly and very densely. Few plants are needed for a compact hedge. Cherry laurel is frost-resistant and easy to care for. The specialist trade has a wide range of cherry laurel varieties for small and large gardens. If a move or a remodeling of the property is pending, it can happen that you have to replant the cherry laurel. We'll show you what to watch out for.
Transplant cherry laurel
Some plants are sensitive to moving, while others don't mind moving. The laurel cherry grows very fast and becomes very large, so that a move often has to be made for reasons of space. With good care, the cherry laurel bush can quickly become a tree. The cherry laurel is considered to be very robust and if you follow our instructions, the decorative plant will grow back on at the new location without any problems.
Location
If you want to transplant a cherry laurel bush, you benefit from the unpretentious nature of the decorative plant. A good location has the following characteristics:
- Location in the shade or partial shade
- adequate moisture supply
- nutrient-rich, well-drained soil
- sandy to loamy soil
- pH value alkaline to slightly acidic
- no waterlogging
- sufficient space, depending on the variety, it is five meters wide and seven meters high
Attention: Not just the cherry-shaped fruits, all the plant parts of Prunus laurocerasus are poisonous. Therefore, do not plant it in the immediate vicinity of the places where your children or grandchildren like to play.
time
The best time to move the cherry laurel is after the frost in spring.
Alternatively, you can do it well in late summer or early autumn. Transplanting before winter has the advantage that the autumn roots can be formed at the new location and perfect growth is ensured.
Materials and tools
- sharp, clean secateurs
- spade
- Compost soil or horn shavings
- Watering can, water
- Support
tip: Depending on the size of the plant, it is worth having a second person with you to help you transplant the cherry laurel.
Moving the laurel cherry: instructions
Step 1 - 3
1. Cut back
With the Cut back of the cherry laurel, you achieve that the plant can be transported better. At the same time, pruning reduces evaporation through the leaves, which has a positive effect.
The autumn cut should be done carefully, more than a third should not be cut back. The spring cut can easily be stronger. This stimulates growth and flower formation.
2. Dig a new planting hole
After the cut is complete, you can start digging the new planting hole. If the Prunus laurocerasus is only to be moved a few meters on the same property, it is advisable to dig the new planting hole before digging up the plant. The planting hole must be large enough to allow enough space for the entire root ball and a layer of compost soil. The rule of thumb is to dig the new planting hole twice as wide and twice as deep as the root ball.
3. Dig up the plant
Start digging, about two to four inches around the cherry laurel. Attention, the root circumference of large specimens can be up to two meters. Roots protruding to the side can be neatly cut off with the spade. The roots should be dug up to 60 centimeters deep.
To avoid problems with growth, large specimens of the laurel cherry should keep roots at least 50 centimeters long.
Step 4-7
4. Planting
First fill the planting hole with a layer of compost. It guarantees the supply of nutrients to the shrub, which must be ensured when it is growing at the new location. If you do not have any compost in stock, you can alternatively use horn shavings.
Insert the plant with the root ball so that the top edge of the root ball is flush with the edge of the planting hole. Be sure to straighten the shrub. Fill in the hole with soil. After planting, carefully compact the substrate by pressing it down or trampling it with your feet.
It makes sense to incorporate a pouring channel around the trunk.
5. to water
After the cherry laurel has been transplanted and the soil compacted, it must be well watered. A sufficient supply of moisture is also important in the weeks after repositioning.
By the way: the cherry laurel is an evergreen plant. It also needs some water in winter because a lot of moisture evaporates through its leaves. Water the plant on frost-free days.
6. Mulching
It is best to mulch the cherry laurel after it has been planted and watered. Because this prevents the root ball from drying out and makes it easier to grow.
7. Support
Usually, the cherry laurel does not need any additional fastening after it has been repositioned. However, if you are transplanting your plant in the fall in stormy weather or if you live in a windy area, supports will provide additional support.

tip: If you notice yellow leaves on your cherry laurel in the first few days after transplanting, don't worry. Make sure you get enough moisture, and the leaves will soon shine a lush green again.