
Compost beds make targeted use of the outstanding properties of compost. Depending on the structure and the compost used, you can even benefit from the heat development of fresh compost, which leads to a premature harvest.
Compost in the garden is very valuable. In this article we explain how to integrate compost directly into the new planting of beds.
Tip: There are differences in compost. The starting materials and the phase of composting determine how nutrient-rich or soil-improving a compost is. Depending on the compost is used differently. In our special article we explain whether and how the respective compost as fertilizer can be used and what the terms fresh, finished and mature compost as well as green compost and organic compost mean.
contents
-
Compost bed: explanation and benefits
- Compost in the no-dig bed
- Compost in raised and hill beds
-
Creating a compost bed: instructions
- Create a no-dig bed with compost
- Create mounds and raised beds with a layer of compost
-
The right planting
- Planting no-dig beds
- Planting hill beds
Compost bed: explanation and benefits
Compost can be used in a variety of ways in the garden, for example when creating new beds. A basic distinction is made between 2 different types of use: compost as a humus-rich plant substrate and compost as an integrated heater and later supplier of nutrients.
Compost in the no-dig bed
In No-dig beds Only mature compost is used and the plants are placed directly in the compost.
Mature compost is ideal as a plant substrate, as it stores water and nutrients excellently. It also provides food for soil organisms and in this way also mineralizes nutrient reserves. Ultimately, compost that has undergone a hot composting process contains hardly any weed seeds or pathogens, so it can contribute to less weed growth in the bed.
However, there are sometimes disadvantages to using compost in the bed. If something went wrong with composting, the compost can spread pathogens and weeds throughout the garden. For this reason, for example, material from diseased plants must not be thrown onto the compost. Purchased compost can also be contaminated with pollutants. It can also be difficult to assess its nutritional content. Because compost is a natural product with changing properties and manufacturers usually do not provide any precise information.
Compost in raised and hill beds
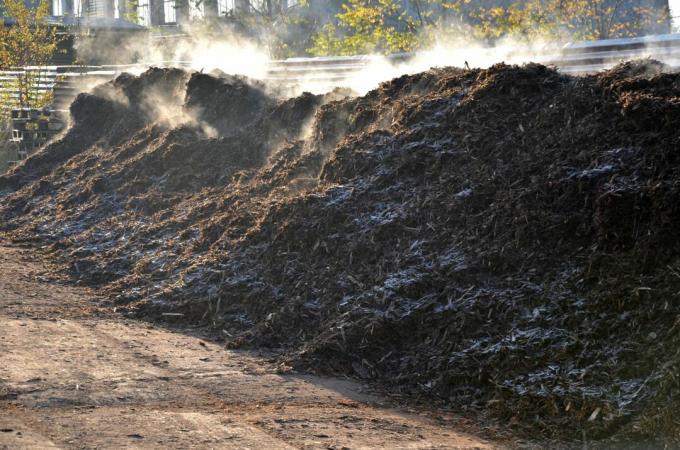
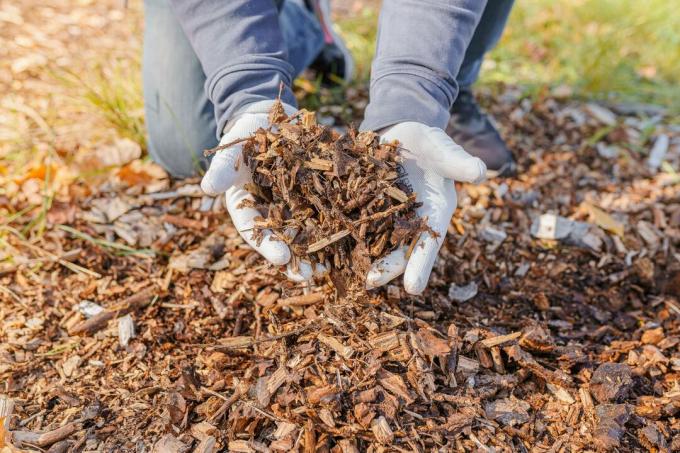
At the Filling raised beds or the installation of mound beds fresh, non-decomposed or only slightly decomposed compost material can form a layer below the plant substrate. This material then composts directly in the bed. Since heat is generated during rotting, the overlying soil and plants growing in it are also heated. Warm soil, in turn, ensures better plant growth and thus higher and earlier yields. In addition, large amounts of nutrients are released – heavy feeder feel particularly comfortable in freshly set up compost raised beds.
But things don't always go smoothly when composting. Too high a moisture content or too little air, for example due to compaction, can impede the process or bring it to a complete standstill. This also happens when composting in the bed. Here, however, the compost can neither be loosened nor turned over. Compost also collapses as it rots. For this reason, mounds and raised beds have to be rebuilt with compost every 2 to 3 years at the latest - if you want to use the heat effect, even every year.
Creating a compost bed: instructions
The procedure for creating a compost bed depends on the type of compost bed.
Create a no-dig bed with compost
The ideal time to start a compost bed is after No-dig method is in autumn, but it is also possible in early spring. We explain the procedure in more detail in our special article - the easiest way to create a no-dig bed with compost consists of just a few steps:
- Mow the lawn where you want the bed to be.
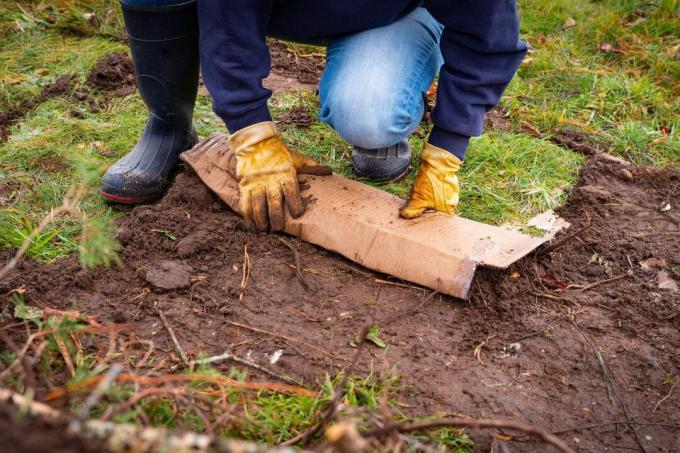
- Cover the floor flat, thick, overlapping and, if necessary, in several layers with cardboard. This causes the plants underneath to die off in the long term and prevents them from growing into the new bed. Because cardboard will rot over time, you don't have to worry about removing it later.
Tip: Use only black or blank cardboard and remove any tape or staples. Coated material and plastic do not decompose or only decompose very slowly and are therefore not suitable.
- A bed edge can prevent weeds or grass from growing in and at the same time make filling easier.
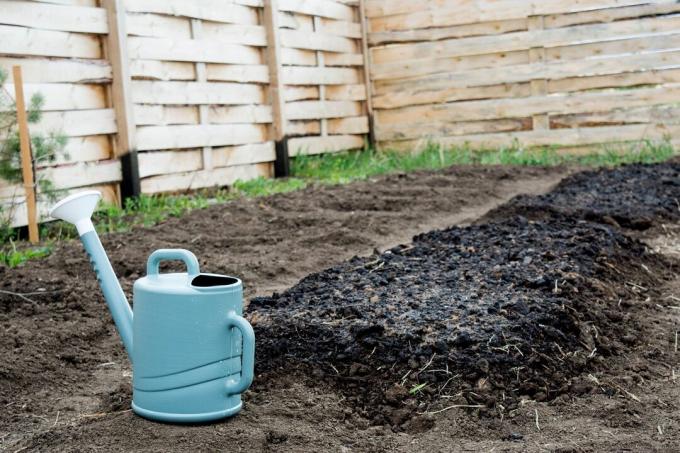
- Now about 15 cm of mature compost is spread on the cardboard. Anyone who cannot achieve such quantities in their own garden can, for example, use ours Plantura organic compost use. It guarantees a balanced nutrient ratio and freedom from weed seeds and pathogens. In addition, it is sustainably manufactured in Germany. Alternatively, you can inquire at the local waste management office. You can often get good, tested compost there for little money - but you should specifically ask how long it has been rotting.
- Now the bed can theoretically be planted directly. However, it is better to let it rest for a while during the winter. In the spring, the cardboard has already rotted away slightly, the original vegetation has partially died off and the compost has settled somewhat.
- Depending on how much the compost has collapsed, you can apply another thin layer of compost or compost soil in the spring before planting.

In order for no-dig beds to remain fruitful for many years, they must be well cared for. It is particularly important to apply a new layer of compost every year.
Create mounds and raised beds with a layer of compost
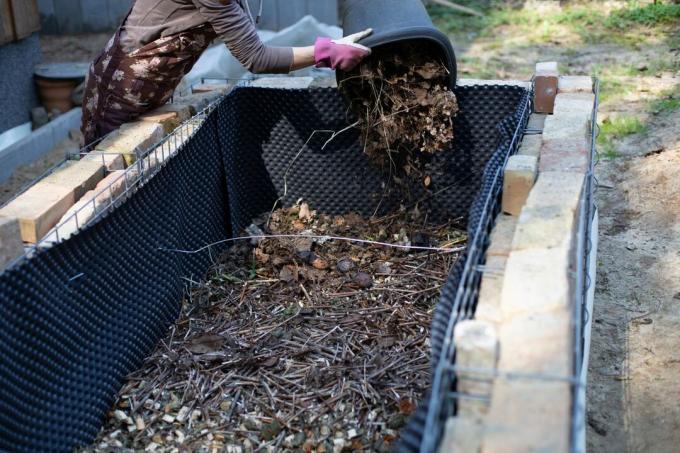
If you want to build compost beds that utilize the warmth of the compost, start in late winter or early spring. It usually only takes a few days for the composting processes and heat generation to begin.
In order to make optimal use of the sun's rays, a raised bed or hill bed with compost is ideally aligned lengthwise from north to south. After you have prepared the surface, you can start layering. These differ slightly between mound bed and raised bed.
Layers in the raised bed:
- 25 - 40 cm thick branches, logs or stones
- 15 - 20 cm loose, chopped up filling material from plant remains, leaves and the like
- 30 – 40 cm fresh compost
- 15 - 20 cm potting soil or mature compost
Layers in the hill bed:
- 40 cm chopped branches and twigs
- 15 cm sod
- 15 cm wet foliage or straw
- 20 cm of manure or fresh compost
- 20 cm of garden soil and mature compost
Regardless of the type of bed, you should pay attention to the correct composition of the compost material in the compost layer. In order to achieve good, warm rotting, fresh compost that has hardly rotted should be used.
Since compost beds are mainly created in late winter, the selection of materials from the garden is small. Many of the materials present in winter, such as leaves and wood, decompose very slowly. Kitchen waste or the last green harvest residues from autumn can be used, for example, because in most cases these have not rotted much or at all. Larger leaves or stems should definitely be shredded before adding them to the compost layer.
Manure, for example from horses, also accumulates in winter and is often ideally suited for the composting layer. Horse manure is usually relatively easy to obtain, just ask horse owners in your area. We have everything else about this in an extra article manure beds summarized.
Tip: The foliage of different trees differs greatly in its degradability and thus in its suitability for compost beds. The foliage of trees like alders (alnus), ash trees (Fraxinus), maple (Acer) and birch (Betula) rots easily and can therefore be added to the compost layer in larger quantities. On the other hand, you should be sparing with the leaves of beeches (Fagus) and oaks (Quercus) or conifers. So that the shredding microorganisms have more surface area to attack, the leaves can also be chopped up with a lawn mower before layering.
In order for the composting process to get going, it first needs some heat. If the hill bed is not in a warm, sunny place, the composting process can be started with plenty of warm water.
The composting layer is followed by a 10 to 15 cm high planting layer. For example, our Plantura organic compost or high-quality, mature compost can be used. Our compost is suitable for heavy consumers and always comes to you in the same high, peat-free quality.
Plantura organic compost
Organic, peat-free & climate-friendly:
Also ideal for raised beds
ensures a rich, aromatic harvest
Unfortunately, the heat of the composting process can only be used in the first year after the raised or hill bed has been layered. After 2 to 3 years, this type of bed also has to be completely rebuilt, as it collapses a lot due to the breakdown of the organic matter.
The right planting
The planting of compost beds differs according to whether it is a no-dig bed or a hill or raised bed.
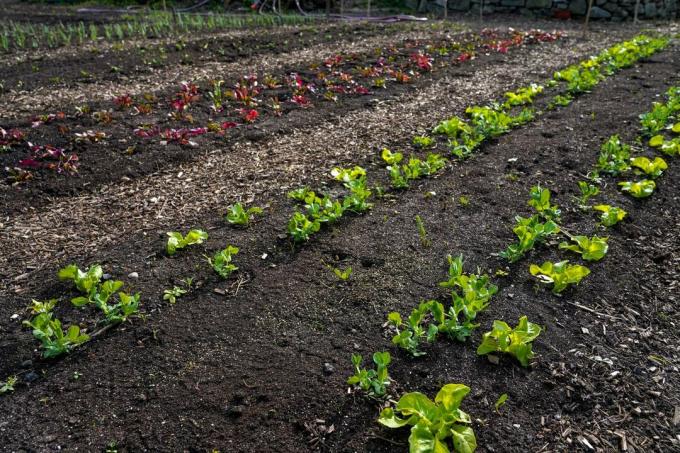
Planting no-dig beds
Compost beds can be planted like any other bed. However, when planting no-dig beds with compost, root vegetables cannot be grown in the first year because the bed is too shallow and has solid cardboard in the subsoil. Keep in mind that compost is often very rich in nutrients. So heavy consumers like cabbage (Brassica) or tomatoes (Solanum lycopersicum) can also be grown well in it.
Tip: So that the no-dig bed does not lie there with an open ground all winter, you can cover it with cardboard or something similar, for example. Freezing ones are also well suited green manures.

Planting hill beds
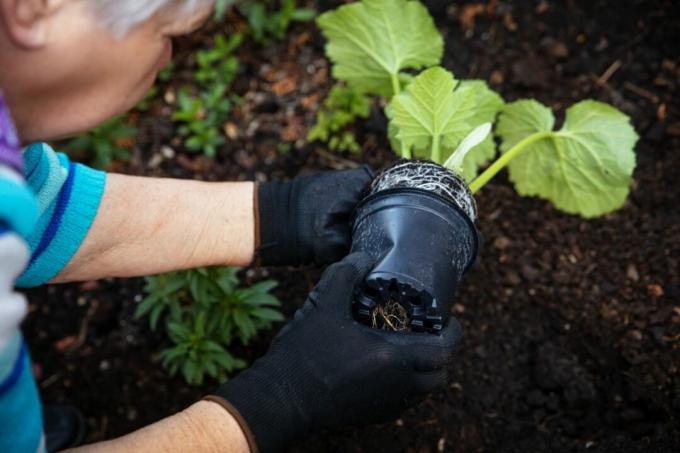
Having created a mound or raised bed with a layer of compost, some very early vegetables that can tolerate colder temperatures can be grown first. The compost heating can be used to bring the harvest earlier. In hill beds it is also better to use young plants instead of seeds, as these can easily be washed away due to the sloping bed surface. Note the different zones that arise on raised beds: it is driest and sunniest on the embankment, while it may be shadier and wetter on the sides.
Tip: So that the heat from the compost heating stays with the vegetables, a cold frame attachment for raised beds or covering hill beds with fleece is a good idea.
Once the first vegetables have been harvested, heavy consumers such as tomatoes, cucumbers (Cucumis sativus), cabbage or pumpkin (Cucurbita) are planted. These make optimal use of the nutrients released from the compost. weak feeder should, if at all, only be grown as a subsequent crop in the first year. However, it is better to wait another year. The high supply of nutrients could actually do you more harm than good.
This is a garden practice in which, similar to no-dig beds, you interfere as little as possible with nature Black box gardening. The gardener saves himself the complicated choice of the right plant location and hands over the work to the plants themselves. However, this gardening practice is used less in vegetable gardens and more for ornamental and home gardens.
...and receive concentrated plant knowledge and inspiration directly in your e-mail inbox every Sunday!
