Table of contents
- Preparation
- Required material
- wooden background
- metal base
- Without fence or other background
- More hands
- height adjustment
- length reduction
- Fasten the reed mat to the fence
They are not only practical and protect against wind and/or prying eyes from the neighbours, but also create an exotic ambience in gardens or on balconies. The method of attachment depends on whether the privacy and wind protection is to be made on a fence or railing from a balcony, or whether there is no background. Find out from the garden experts what you need for self-assembly and how this can be done easily.
Preparation
Once the wind and privacy protection project has been decided, planning can begin. Before you go shopping, you should make a shopping list of everything you need in terms of materials and tools. Of course, it is important that you know the length and height of your reed mat. In addition, there must be a subsurface to which you can attach the mats. Accordingly, you should have the following information/answers:
- Dimensions of the reed mat
- Need to be shortened?
- Is there a background to attach or does one have to be made?
Tip:
It is better to buy reed mats a little too high than too short. The height can then be shortened if necessary, but too low a height cannot be corrected.
Required material
In order to quickly set up and fasten reed mats in the garden or on the balcony you should have all the necessary materials and tools ready to hand before starting the self-assembly have. The basic equipment includes:
- Reed mat of sufficient size according to the length and height to be covered
- Ruler and pen if you want to shorten the mat
- Combination pliers when using wire
- If necessary, use a side grinder/cutter grinder or hand-held circular saw
- Appropriate fastening materials depending on the substrate
- Metal or wooden posts and a substructure if this is not available for attachment
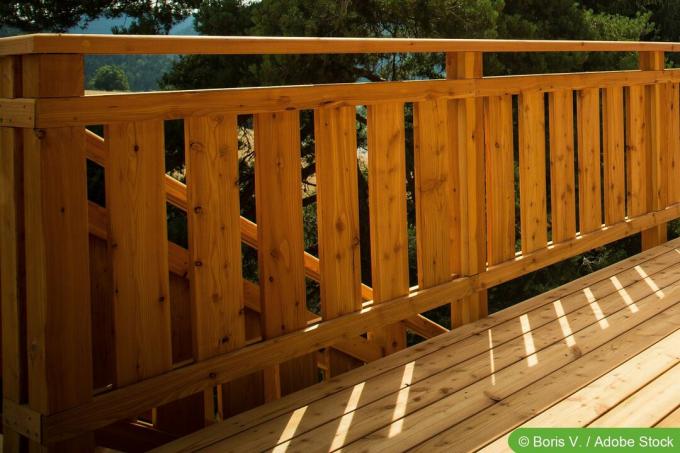
wooden background
If the reed mats are to be attached to a wooden base such as a tendril frame or Wooden garden fence are attached, the attachment works quickly and easily with a tacker staples.

If attachment to a metal fence or metal post is desired, mat ties must be procured offered for reed mats and can be selected with a plastic coating in the color of the mats can. Alternatively, stainless steel wire is also suitable. Both are robust against rust. However, bare stainless steel wire is more noticeable on a small balcony because it can reflect, especially when it is exposed to the sun. If there is a greater distance, such as on roof terraces or in the garden, they do not disturb the decorative aspect. When choosing, the color of the background should also not be ignored. If you want to attach the mats to a fence at the property line as a privacy screen, for example, binders/wires of a different color could negatively affect the appearance of the property.
Without fence or other background
If there is no background, a device must be created. The easiest way to do this is with a so-called frame wood. With this, the reed mat is sufficiently stable after attachment and does not tilt or buckle in strong winds. Alternatively, you can of course carve out a frame wood yourself from conventional roof battens. For this you will also need wooden nails or wood screws as well as a hammer or screwdriver and a spirit level so that a straight line can be created.
The wooden frames are in turn to be attached to posts so that they stand firmly. These can be bought at the hardware store as fence posts in wood or metal. The simplest way to insert the posts into the ground is with ground impact sleeves. These are primarily suitable for soft floors and light carrying weight. If you want to concrete them in, you have to put cement and sand on your shopping list.
More hands
Theoretically, you can set up and fasten the reed mats yourself. However, it is quicker and easier if you have help. Another pair of hands makes the job easier, especially when holding the mat while the attachment is being made. This way you avoid tipping over and straightening is easier.
height adjustment
Before fastening, the height of the reed mat for wind or privacy protection must be corrected if it is too high. To do this, proceed as follows:
- Unroll the reed mat
- Measure the height with a folding rule
- When measuring, allow for a minimum distance of two centimeters from the floor surface
- Mark the desired height on the mat with a pen
- Cut the mat to the desired height with a side cutter/cutter or a hand-held circular saw
Tip:
With a long reed mat, you can put several layers on top of each other and then cut them. This saves you a lot of time and effort. Make sure, however, that the tracks do not shift when cutting.
length reduction
The reed mats are usually offered in certain lengths on rolls. Obtaining the exact length for your project is only possible in rare cases, so the length must be shortened. You can do this as follows:
- Unroll the mat over the entire length you want to cover with it
- Pay close attention to the ends on the right and left so as not to cut too much
- Add about three centimeters
- Cut the binding threads to the desired length
- Take three to five straws (about three centimeters) from the open binding
- The reed mat should now be the desired length
- Knot the binding threads on the mat again
Tip:
If the excess length is not very large, you can simply fold it back and do not have to use a cutting tool.
Fasten the reed mat to the fence
With mat ties or stainless steel wire
In order to ensure sufficient stability of the reed mat with increased wind load, it is recommended to use at least to use nine mat ties or stainless steel wires per square meter for attachment to a fence. Use the following instructions to attach your wind and/or privacy screen correctly:
- Place the beginning of the mat at the desired point and at least two centimeters above the surface of the earth
- If using coiled wire, cut individual pieces to about four inches
- Pull the first tie/wire through the penultimate straw and the background and fasten/close there
- Straighten the reed mat (roll out long mats about one meter and align)
- If possible, do not use the cut edges for fastening after a cut
- After alignment, attach the remaining mat ties/wires to the end of the mat
- Make sure the ties/wires are evenly distributed
- Twist the wire together with combination pliers to close
- Be sure to bend the wire ends inwards on the back so that no one can injure themselves
Tip:
If you bend the ties/wires into shape before inserting them, it will be easier to guide them through the straws.
Attachment to wooden base
If you have a wooden fence, you can attach it like a mesh or lattice fence. Alternatively, it can be fixed with a tacker and staples, as well as on any other wooden surface, such as tendrils, frame wood or wooden railings on the balcony.
The prerequisite, however, is that it is a relatively soft type of wood so that the staples shoot in firmly and do not bend due to the hardness of the wood. Spruce, larch and pine are some of the soft types of wood that are suitable as a base for tacking down reed mats.
post binding
An attachment to the post is recommended. If the poles are metal, you can use conventional cable ties instead of mat ties or wire. You also run these through the stalks, as described above for the fence attachment.
fixing quantity
At least 20 staples should be inserted per square meter. If the reed mat is to be attached to a very drafty place, more staples per square meter are advisable.
With a wooden frame, a clamp must be set every ten to 15 centimeters all around.
 garden editorial
 I write about everything that interests me in my garden.
Learn more about balcony
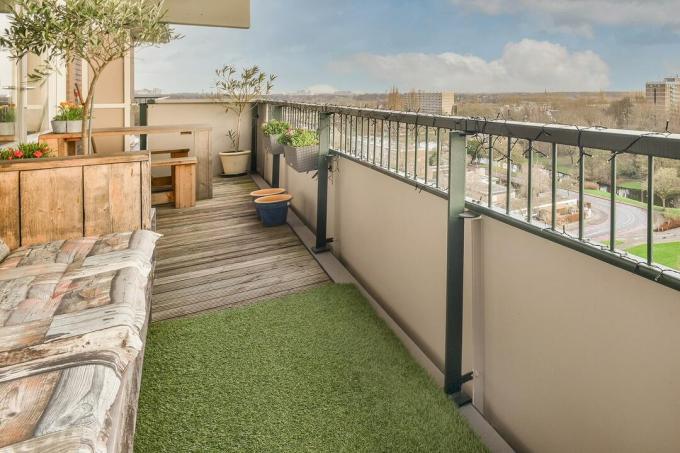
12 weatherproof floor coverings for the balcony
Floor coverings that are to be laid on the balcony must above all be weatherproof. Because rain, frost and UV light will be his constant companions. But quality, costs and the cleaning effort that will later be necessary should also be considered, and of course its beauty!

Planting summer window boxes: 36 planting examples
If you want to enjoy a colorful splendor of flowers in summer, you don't necessarily need a garden. Because numerous flowers can also be cultivated in the flower box.

Steel terrace/balcony: Cost of a steel structure for terraces
A balcony is a fine thing. If you don't have one, you dream of it. Luckily, homeowners can also have a balcony or terrace added later. You can read here exactly how it works and how much such a steel construction costs.

Sunny balcony: 13 balcony plants for the blazing sun of the south side
A sunny balcony is the ideal location for many ornamental and useful plants. Read here which plants are sun lovers!
Build, seal & paint a wooden balcony
A wooden balcony can beautify or enliven the house, in any case it expands the living space. Only a few square meters, but they can become very important islands of relaxation if the youngsters play in the garden with a constant noise level. Then the parents can enjoy their coffee on the balcony in peace and still have an eye on the children.
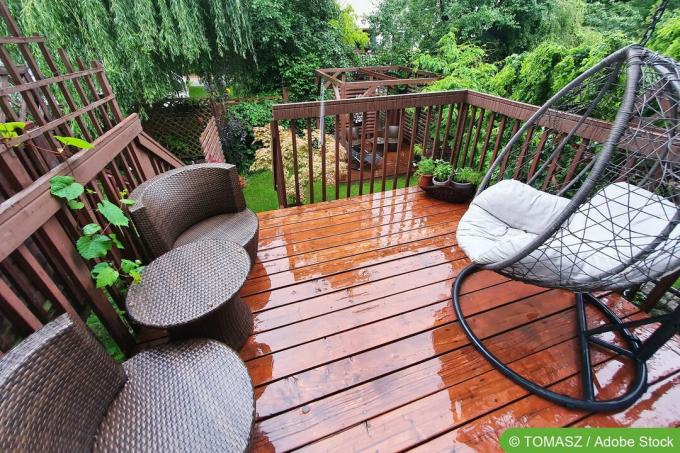
Rain protection for terrace & balcony
To make it more comfortable on the balcony and/or terrace, there are a few tools that quickly and easily enhance your stay. This also includes rain protection. Similar to the windscreen, this is a simple protective function.