Table of contents
- Determine height difference
- Leveling the ground: 5 tips
- Prepare area
- equalize holes
- Redistribute excavated earth
- rolls
- use foundation
- Level the lawn: 5 tips
- Fill in small imperfections
- fix elevations
- use footboards
- Touch up some spots
- Very important: lawn seed
If you want to level your garden, there are various methods that are easy to implement and do not require heavy equipment. The tips presented here will help you in this project.
Determine height difference
Before you can level the area, you must determine and visualize the resulting height difference. This is especially true for garden floors and lawns that are very uneven and need to be completely leveled. The height difference can be found with the following tools:
- Wooden posts for each area vertex
- line
- level
- Lot
- folding rule or measuring tape
It doesn't hurt if you also have pen and paper or your smartphone handy when measuring the height. This allows you to take notes, which makes leveling easier. Then proceed as follows:
- Mark out the area with wooden posts
- Stretch strings between the posts
- Align the strings with a spirit level
- hang the plumb line on the string
- choose the highest point for it
- Note the distance from the string to the floor
- now select the lowest point
- Note the distance from the string to the floor
- choose a value between the dots
- this represents the desired final height of the area
Leveling the ground: 5 tips
Prepare area
While lawns rarely require touching up prior to leveling, garden floors are a different matter. The floors can contain numerous obstacles that make it impossible to level the area. Different materials and utensils pose a problem, especially when you have to peel off the surface. For this reason, remove all unnecessary obstacles:
- stones of all sizes
- Plant parts such as roots or branches
- weed
- Furniture
- Waste
- tools
- building materials
- bulky waste
Tip:
When preparing, be sure to note site-specific plants that are difficult to transplant. Either implement these as carefully as possible or work around the plant.
equalize holes
Unevenness must be leveled to level the floors in your garden. If you are lucky, making the surface as level as possible in this way is perfectly sufficient. Unevenness means, above all, holes that have arisen over the years as a result of constant stress. If the rest of the surface is straight, you don't need to use any other methods. For this reason, this tip is particularly useful as a small "beauty treatment" for the floors:
- Fill holes with new material
- compact by hand
- fill in more material
- compress again
- Repeat steps until desired height is reached
- Use garden soil to fill
- enrich with quartz sand or gravel
- protects against compaction
A notice:
The ideal time for straightening soil and lawns is in spring from April to early June. Pick a day when the soil isn't frozen or too wet to make your job easier.

Redistribute excavated earth
If you're not dealing with holes, but are dealing with numerous uneven spots, you should restructure the entire top layer of soil. This saves you the time-consuming straightening of individual areas and tackles the entire area, which is particularly recommended for small properties. This tip can also be used for garden floors that are significantly too high or for slopes that need to be adjusted. You will need the following items for this:
- spade
- shovel
- vibrating plate
- working gloves
- sturdy shoes
- ruler
If the soil in your region is rocky, you should also have a pickaxe available. You can rent vibrating plates from hardware stores for daily rates of 25 euros to 50 euros. Once you have all the supplies available, proceed as follows:
- Completely remove sod, if present
- Then dispose of the sod
- Level the surface to the desired depth
- use a spade and shovel for this
- Mix the excavated soil thoroughly
- optionally use topsoil
- Excavated soil can be screened beforehand
- apply a layer of excavated earth to the surface
- condense
- repeat until desired height is reached
- Remove any loose excess with a straightedge
- optional: incorporate drainage material (quartz sand, gravel).
- then pull off again
rolls
If you only need to touch up small bumps, you can use a roller. With this, the floor can be leveled thoroughly. Choose a hand roller with a weight of at least 50 kilograms. It doesn't matter whether it is filled with sand or water. Hand rollers can be rented for around 15 euros per day.
Proceed as follows:
- Remove and dispose of sod
- Thoroughly rake the surface
- Guide the roller in tracks over the surface
- Take turns as tightly as possible
- Use the roller until the ground is level

use foundation
Another way to design the garden floor as a flat surface is to use a foundation. If you do not want to plant the garden, but want to use it for garden furniture, for grilling or for placing potted plants, this method is ideal. In most cases it is sufficient if you pour a slab foundation or lay concrete slabs. Even a garden shed can be placed on these. Orientate yourself with regard to the dimensions of the marked out area.
Level the lawn: 5 tips
Fill in small imperfections
This method is a bit like leveling the holes in a garden floor. However, it is not applied in the same way as the turf is not compacted after infill. The small bumps still feature grasses that continue to grow. For this reason, the freshly filled substrate must not be compacted. Choose fresh topsoil enriched with some quartz sand for the fill. Finally, water well and after a few weeks the surface will be completely waterproof and walkable again. Reseeding is not necessary.
fix elevations
If the affected areas are no longer small and the entire surface is uneven, you should completely restructure it. This method is particularly suitable for leveling large lawns.
All you need is the right equipment:
- mowing machine
- scarifier
- spade
- shovel
- working gloves
If your lawn is very large, a helping hand is recommended. The method is quite strenuous as you dig up a large part of the area. The following points explain the process:
- mow the lawn
- then scarify
- If necessary: remove and dispose of old turf at certain points
- Then remove any unevenness
- loosen up compressions
- optional: dig up the entire lawn
- Leave the lawn to rest for a few days
- then sprinkle the lawn with a layer of topsoil
- let rest again
- level with a roller or footboards
- then fertilize thoroughly
use footboards
Tread boards are another tip for straightening your lawn. The principle is the same as with the roller already mentioned, only you are the weight. Of course you could use the roller for the lawn in the same way, but sometimes the boards are just fine. This variant is particularly recommended for smaller lawns. To do this, you put on the boards, fix them and walk in straight lines across the entire lawn. This goes on until the surface has been leveled.

Touch up some spots
Rarely, a single piece of lawn may be uneven. In this case, you have to repair the corresponding areas, which is done with the help of a lawn edger:
- locate unevenness
- Edit spot with lawn edger in an X
- start from the center of the bump
- Do not separate the resulting pieces from the rest of the lawn
- Fold the lawn pieces outwards
- now the ground reveals itself
- loosen up thoroughly
- take off too much soil
- Surface must be straight
- press down on the ground with some force
- Fold back pieces of lawn
- water if necessary
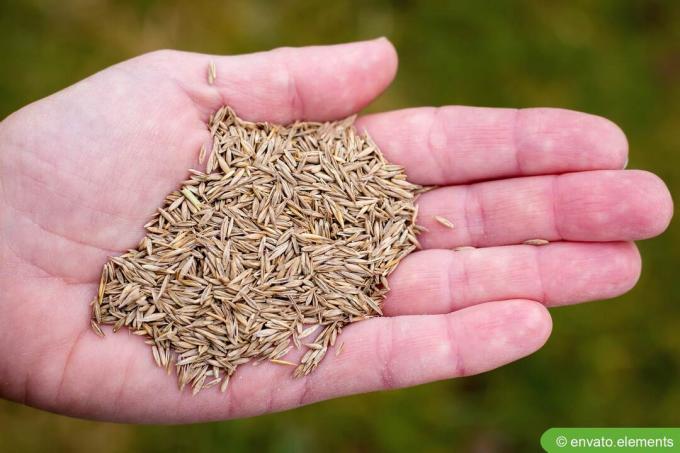
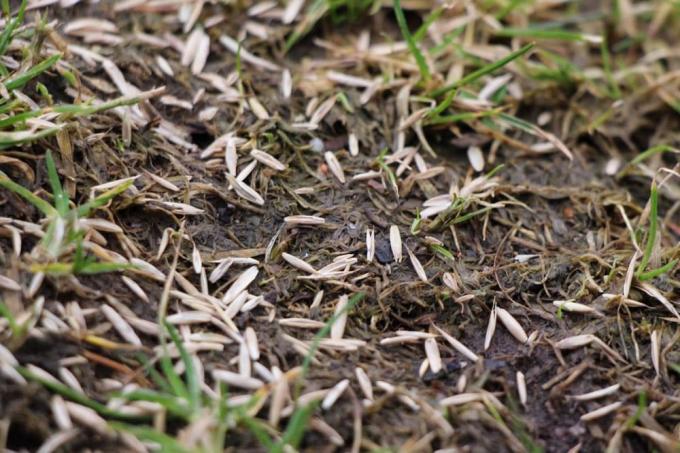
Very important: lawn seed
One of the most important points after straightening the lawn is sowing new lawn seeds. These are used to repair bare spots created during leveling. In most cases, it is sufficient if you sprinkle the affected areas with seeds and moisten them. After a few weeks, the first grasses will appear and the lawn will close again over time. Do not stress the corresponding areas during the growing season.
 garden editorial
 I write about everything that interests me in my garden.
Learn more about creating a lawn
Just sprinkle lawn seed: is that enough?
At some point, every lawn will have one or two bare spots, which you can best close with quick overseeding. Read why simply sprinkling the lawn seed is often not such a good idea.

When can you mow a freshly seeded lawn?
Freshly seeded lawns require some care when caring for them. This also includes not stepping on it or mowing it at first. But timely and regular trimming of the grass is crucial for dense growth.

Herb meadow: 6 tips for creating
A herb meadow is not only pretty to look at, but also very easy to care for. In this article, we will tell you how you can create a herb lawn!

Creating a flower lawn | 8 tips on seeds and care
If you want to create a flower lawn, you need patience and diligence. The effort is already worth it from the second year. Then the mixture of wildflowers and grasses blooms in colorful tones. Maintenance is reduced to a minimum in the years that follow.

Laying turf | Information on preparation, costs, timing and maintenance
If you don't want to wait long for your lawn to grow, rolled turf is a sensible alternative. But even with the pre-cultivated lawn rolls that can be laid like a carpet, there are a few things to consider. You can find helpful information about preparation and installation here.
Germinating grass seeds: how long does it take for lawn seeds to germinate?
A beautiful lawn is the pride of many a gardener. Before a dense lawn has grown, the challenge is to get the grass seed to germinate. The germination time depends on various factors, including the quality of the seed.