

Table of contents
- Right time for the cut
- cutting tool
- How much is cut?
- Preparation and important rules
- Check for damage
- Important rules for fine cutting
- Cutting box hedges - step by step
- Step 1: Determine the shape and depth of cut
- Step 2: Precut
- Step 3: Clean the tool and check the cut surface
- Step 4: Recut
- Cut boxwood balls - step by step
- Step 1: Determine the cutting depth
- Step 2: Horizontal and vertical guidelines
- Step 3: Shorten the remaining surfaces
- young plants
- Conclusion
Boxwood topiary and hedges should be trimmed twice a year to keep them in shape and grow thick. There is a basic distinction between a rough cut and a fine cut. With a rough cut, the wood can be shortened considerably, for example to rejuvenate an old hedge. This pruning takes place at the beginning of the growth phase. The fine cut serves only to preserve the shape. Only protruding young shoots, which can be recognized by their fresh light green colour, are carefully removed. This fine cut can be done several times a year, but no later than in early autumn.
Right time for the cut
The last fine cut of the year should be done by mid-September at the latest so that the boxwood has enough time to prepare for the winter. The weather conditions at the time of cutting are also very important. It is best to carry out a pruning when the weather is slightly cloudy but without precipitation, because that's how it is reduces the risk of the leaves burning in the blazing sun and the plant saping too much loses.
- never cut in direct sunlight or heat
- overcast or cloudy skies are ideal
- alternatively cut in the evening
- rainless day
cutting tool
Always use a good quality pruning tool when pruning wood. The boxwood tolerates smooth cuts better than bruises on branches and leaves. These not only look ugly, they also provide entry openings for fungi, viruses and bacteria. For the same reason, the Buxus should not be pruned in the rain or in damp, cold weather.
- only use very sharp and clean cutting tools
- Leaves and branches must not be crushed
- Curves can be worked better with short scissors
- shorten straight surfaces with long scissors
- it is easier to cut straight lines with a long blade
- Tools: Broadband scissors, all-purpose secateurs, cordless shears
Tip:
There are also special boxwood shears. However, their purchase is only worthwhile if there are several trees in the garden at the same time.
How much is cut?
The basic rule is: In autumn, do not cut into the wood of the previous year, but only shorten the young, light green annual shoots. If it is a larger plant that has already reached its final shape and size, all new shoots are cut off. In all cases in which the boxwood is still to grow, about one to two centimeters of the new shoots should remain. The more frequently the boxwood is cut, the more densely it branches inside and the plant becomes denser and more compact.
Preparation and important rules
How often a boxwood has to be cut depends on its use (topiary, hedge, etc.) and the variety. If you don't want to give your Buxus a special shape, you should still cut back your shoots once a year. This is the only way for the foliage to become denser. Pruning should not be too late in autumn, otherwise the plant could suffer frost damage.
Check for damage
Especially in the cold season, fungi and other pathogens easily penetrate the boxwood through injuries. Before starting the actual fine trimming in autumn, the health of the boxwood should first be checked. Sick and dead shoots must be removed before winter.
- Pull apart branches of topiaries very carefully when examining them
- remove dried branches with pruning shears
- Cut back diseased shoots into healthy wood
Tip:
Freshly planted box trees must not be cut in the first year. They need to wax well first.
Important rules for fine cutting
If the young shoots were cut for the first time in April or May, the boxwood is brought back into shape towards the end of summer. Anyone who does not value an accurate shape of the boxwood can only loosely cut about half of the young shoots. This makes less work and there is no risk of accidentally destroying the shape or cutting into the old wood. If you want to be in perfect shape all year round, you have to take a little more time. Please note:
- only cut the fresh, light green shoots
- never cut into the woody shoots from the previous year (dark green foliage).
- only remove protruding young shoots
- Better to cut too little than too much
Tip:
At the same time, fertilization with patent potash should also take place. The potassium fertilizer promotes the lignification of the shoots and thus the frost hardiness.
Cutting box hedges - step by step

Nothing beats a well-groomed boxwood hedge, regardless of whether it is only used as a bed border or even as a privacy screen. Above all, the classic boxwood hedge should be one thing: straight! In order to damage the leaves as little as possible and to produce smooth cuts, sharp, long hand scissors are best, even if cutting with them means a lot of work.
The easiest way to trim a boxwood hedge is to use narrow-bladed electric or motorized hedge trimmers. With this type of scissors, however, there is always a risk that the branches and leaves will be crushed or torn. Therefore only very sharp blades may be used. Since the boxwood hedge grows very densely, you can see small bumps and crooked cuts immediately. Therefore, it is advisable to put a lot of care into the cut.
Step 1: Determine the shape and depth of cut
If you don't have a steady hand and a good sense of proportion, you should use sticks or cords to draw guidelines that you can use to guide you when cutting. This is particularly important for very long or high hedges, since visual judgment is not enough to see the entire course of the hedge.
- Stick wooden sticks or other sticks into the ground at the end of the hedge
- Attach cord at desired height
- check with a spirit level
Step 2: Precut
Boxwood hedges are easier to trim if they have been lightly sprayed with water from a garden hose beforehand. The cut is always started in the lower area, since the cutting waste falls away and does not remain on the hedge.
- always start at the bottom and work your way up
- cut with long sweeping movements (with electric hedge trimmers)
- if you cut by hand, you should use scissors that are as long as possible
- the shorter the cuts, the greater the risk of bumps
- always cut over the entire cutting length of the scissors
- rather cut in several layers less than once too deep
- If thicker branches are in the way, shorten them with rosettes or pruning shears
- Regularly remove the remaining cut from the hedge
Step 3: Clean the tool and check the cut surface
In the course of the cut, leaves usually get stuck between the teeth of the electric hedge trimmer. Leaf sap often escapes, which sticks to the knives and makes them harder to cut. When cleaning the scissors, you can check from afar whether the cut surface looks straight.
- Always clean the cutting tool from time to time
- It is best to provide a bucket of water and a sponge
- Check cut surfaces from time to time with a long spirit level
- alternatively use a long wooden board or a strip
Step 4: Recut
If there are still bumps to be seen during the check, the affected areas must be corrected again. When using electric hedge trimmers, the long sword should be guided back and forth loosely over the unevenness. With each movement, only a minimal layer is removed until the surface appears flat.
Cut boxwood balls - step by step

If the boxwood already has a nice, round shape, the annual shoots are cut once or twice a year, depending on the variety. These can easily be recognized by their significantly lighter green color. If the ball is to increase in size, leave a few millimeters of these young shoots. Especially with the spherical shape, a lot of care and caution is required when cutting, so as not to accidentally completely destroy the shape. If you don't dare to cut freehand, you can easily use a template you bought or made yourself.
Step 1: Determine the cutting depth
For inexperienced hobby gardeners, the easiest thing is to first get an overview of how deep the cut should be. To do this, simply bend a few fresh twigs to the side and cut them back with smaller scissors (e.g. rose scissors) until just before the dark green leaves. It is enough if a few millimeters of light green foliage remain. If you want the ball to be even bigger, leave 1 cm or 2 cm of the fresh shoots. It should not be more, otherwise the boxwood will not be bushy enough. In order for these landmarks to be more recognizable, they should be at least 5 x 5 cm. Five of these markings are placed on the ball:
- up at the highest point
- right and left right in the middle of the page
- center front and back
Step 2: Horizontal and vertical guidelines
Once you have gotten a rough overview of how deep you can cut, circular lines are now cut all around. With very soft shoots, this works wonderfully with a sheep clipper, but can also be done with normal, medium-length pruning shears. Important: The tool must be very sharp.
- Work carefully from landmark to landmark
- If necessary, work with an additional template (semicircle).
- first cut out a horizontal line (like the equator line on the globe) all around
- only make short cuts
- with long cuts, the roundness is lost
- it is better to cut a little several times and shorten the length in layers
- in between, always knock down the cut shoots
- then draw four equally spaced vertical lines from bottom to top
- the lines meet at the highest point in the middle
Step 3: Shorten the remaining surfaces
The hardest part is already done and only the remaining surfaces have to be brought to the same length.
- always cut from bottom to top
- Regularly remove cuttings from the ball
- experienced gardeners can cut freehand
- for all others, a template is recommended
- If necessary, spread a branch again and again and pay attention to the height of the light green leaves
- It is better to cut less several times than a lot once
- if the cutting tool is sticky or full of sticky leaves, it must be cleaned with a sponge and water in the meantime
Tip:
Wire frames in various sizes are available in specialist shops, which remain on the plant all year round and provide a wonderful cutting aid. You can also make semicircular stencils yourself from thick cardboard.
young plants
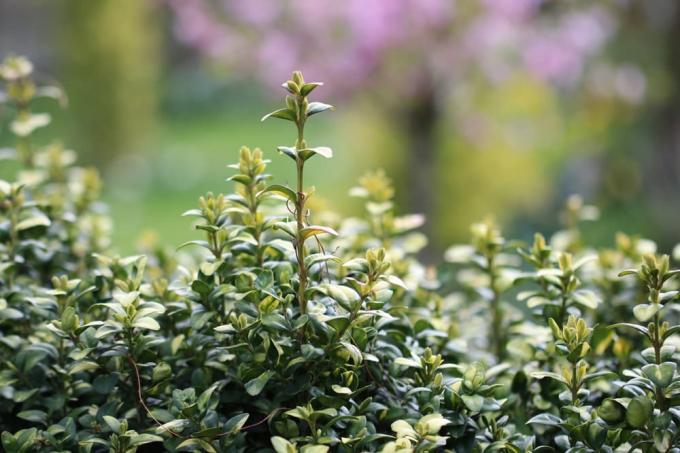
Freshly planted box trees are not cut at all in the first year. You have to grow strong first. The first cut will not be made until next spring. From the second year, a form can then be slowly built up several times a year. In the beginning, it is better to only specify the rough growth habit and to ensure that the plant branches out more, especially in the lower area. Young plants may only be pruned in autumn if the shoots are trimmed individually with rose scissors and the leaves remain unharmed.
- Cut freshly planted box trees only in the second year
- use rose scissors when pruning in the fall
- it's just a matter of removing single, long shoots
- Shorten all shoots that protrude from the boxwood
- always carefully cut the shoot itself and not the leaves
- Shorten the shoots more in areas that are still bare (holes).
- these branches must be forced to branch very early on
- Cut each new shoot over 3 cm in length in half
Tip:
The most common beginner mistake is to simply let the lower shoots grow so that they get long quickly. The result: the branches do not branch out.
Conclusion
Since the actual shaping of the boxwood is done in the spring, the fine trimming in the fall is not that much work. Above all, it should be noted that the cut should be made by mid-September at the latest and only the new shoots (recognizable by the light green color) may be shortened. The old wood should not be cut before winter, otherwise the boxwood is susceptible to diseases.
 garden editorial
 I write about everything that interests me in my garden.
Learn more about caring for plants
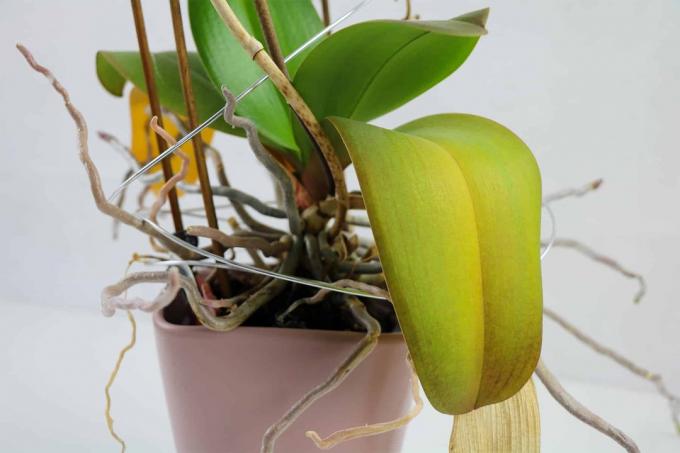
Plant hangs leaves despite water
If plants let their leaves hang despite water, this can have various causes. In order to prevent it from dying off by taking rapid countermeasures, you should find out about the possible causes and effective countermeasures here.
Plants hang their heads: what to do?
If the ornamental plants are cultivated in the garden or in pots and suddenly let their heads droop, then the question quickly arises as to why this can be. However, this is usually due to maintenance errors that need to be checked. If a remedy is found, most plants usually recover quickly.

Repot orchids: how & when to replant
Thanks to more uncomplicated and easy-care new breeds, orchids are now at home on many windowsills. In particular, the Phalaenopsis or butterfly orchid, which is available in countless varieties, is very popular. Read how and when you can best repot the distinctive beauties.

pull tree out of core | 7 tips for growing a tree yourself
Trees can be grown from cores without much effort. There are a variety of plants that have seeds and can be easily cultivated in your own garden. Special classic fruit trees should be mentioned, which are suitable for such a project.
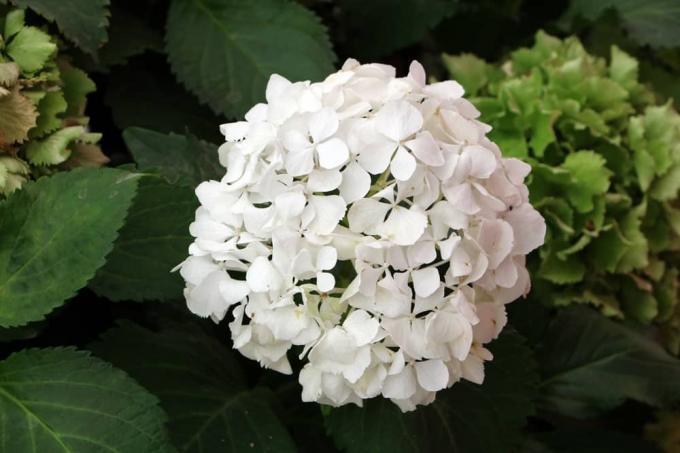
How do hydrangeas stay white? | That way it won't turn pink
How do hydrangeas stay white - this is the question many hobby gardeners ask themselves when the hydrangea changes color. The white often turns into a pink, which is usually comparatively pale or can appear "dirty". Here we reveal how it works.
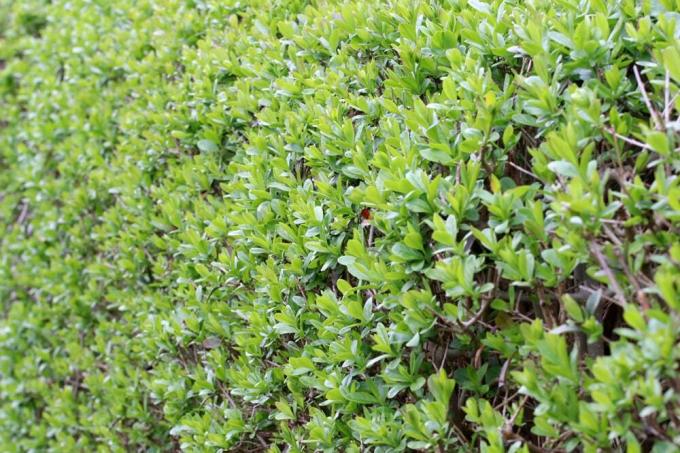
Cutting privet: when is the best time?
Privet is becoming increasingly popular and is often used as a privacy screen in the form of a privet hedge. This is not surprising, because the plant is easy to care for and fast-growing. However, it is crucial to cut the plant regularly at the right time.


