

Table of contents
- Planning a pond tub
- Materials for pond tubs
- PE basin
- GRP pool
- Preparations for installation
- Install pond pan
- mark outlines
- dig pit
- Adjust pond bowl
- Remove roots and stones
- apply a layer of sand
- Pour in some water
- Fit the tub exactly
- Sludge and fill up
- create edge
- install technology
- plant pond
- Plant pond tub
- underwater plants
- floating plants
- water lilies
- shallow water plants
- Conclusion
The most used pond tubs have two to three different depth zones for planting and have curved edges. They should look as natural as possible, which is really not easy to achieve. Somehow you can always recognize the artificial form, whereby the edges can be beautifully designed. With a little imagination and good advice from an expert, such an artificial pond can look good.
Planning a pond tub
Installing a pond tub is not particularly complicated. Small tubs are actually quite easy to install. With large ones, the amount of work is significantly higher, of course, more earth has to be excavated.
Tip:
What you should definitely consider before you build a pond in your garden is that it must be inaccessible to children. This doesn't just mean your own children, but above all their friends, neighbours' children, visitors and the like. Water has a great attraction for children and they often underestimate it. Every year there are numerous accidents caused by unprotected garden ponds and they often end tragically.
Materials for pond tubs
There are different materials for the production of pond basins. They all have advantages and disadvantages.
PE basin
The cheapest pond tubs are made of PE, i.e. polyethylene. They are pressed using the deep-drawing process. Unfortunately, it has been shown time and again that the thin-walled material is not uniformly thick. The thin areas are particularly noticeable when you hold the tub upside down against the light. These thin spots quickly become leaky. PE pond basins are only suitable for a volume of up to 500 liters and a maximum of 1,000 liters.
GRP pool
These cymbals are much more durable and of better quality, which of course is also reflected in a higher price. The material is glass fiber reinforced plastic. The tubs are made in various sizes, shapes and colors. They are even used for swimming pools. They are particularly popular as koi ponds. GRP ponds are available with a capacity of up to 10,000 liters. Almost every wish can be implemented.
Advantages
- Great variety of shapes
- Various sizes
- Different colours
- No annoying wrinkling as with liner ponds
- Better protection against piercing roots or stones
- Easy to fix
- Great for quite small ponds to large swimming pools
Disadvantages
- Higher price
- Large tanks are unwieldy and more difficult to install
Preparations for installation
For small pond basins, a shovel and spade are enough to dig the pit. For large pond tubs, on the other hand, it is advisable to borrow a small excavator. This makes work easier and faster and it's also fun once you get the hang of it. In addition, sand is required as a substrate and for the fitting of the sides and water for muddying. A spirit level and a rubber mallet are also important.
If you want clear water in your pond, you usually cannot avoid a pump and filter. They are particularly important when fish are stocked. Electricity is required for the technology, including the lights, fountains, gargoyles and the like. Conveniently, water and electricity connections are nearby. The actual installation of the pond tub is not difficult at all, especially if the project has been well planned. Preparation is important. This includes the selection of the appropriate pond shell, the right location and the staking out of the construction project.
There is such a large selection of pond bowls that it is easy to lose track. The tanks differ in size, shape, material, colour, depth, planting zones and of course in price. Supposed super bargains should be viewed with caution, often the prices are not so cheap for nothing. Material defects are not uncommon and nobody is happy with a leaking pond.
If you are planning a pond in the middle of the garden, it is best to use a rounded pond tray that is intended to simulate a naturally created pond. On the other hand, if you are planning several pools, regardless of whether they are laid out in a row, offset or to limit the terrace, it is better to use straight pond tubs, rectangular or square.
The location is important for the natural balance in the pond. It should be sunny, but not too sunny. Especially with small ponds, make sure that the water surface is not sunlit all day. The water heats up too much, and a plague of algae is usually the result. Shading at midday makes sense. Shading individual areas is also beneficial for large ponds.

Tip:
Too much sun is unfavorable, then it is better to have a lot of shade, if not from a deciduous tree (fall of leaves). While shade isn't ideal because not all plants tolerate it, it's less damaging than pure sun. If you are not bothered by the algae caused by the sun, you can also create the pond in a totally sunny position.
Install pond pan
mark outlines
No matter which pond shape you have chosen, first the ground plans are drawn on the garden floor. Sand, sawdust, wood shavings or even a long cord are suitable for “drawing”. The easiest way is to lay the pond tub upside down on the ground and then mark around the outside. Then the pit is dug.
dig pit
For small ponds, digging the pit is done with a shovel and spade, for larger ponds it is better to use an excavator. You can borrow it. Create the individual levels when excavating, depending on the shape of the pond pan. It is best to place the bowl in the pit from time to time and check the fit. One should bear in mind that there is still a layer of sand on the bottom of the pit. These 5 to 10 cm must be dug deeper.
Adjust pond bowl
The pond shell must be aligned accordingly. It is best if one or more people (if they are big enough) climb into the bowl so that they are properly pressed into the pit. It is also easy to determine where the excavation does not really fit. More has to be excavated there, resp. earth can also be filled in the other way around. The shell has to be used again and again to check its fit. It must not wobble and must lie straight.
Remove roots and stones
Once the optimal fit has been found, all roots and stones must be removed from the pit, as they can damage the pond pan.
apply a layer of sand
Spread a layer of sand 5 to 10 cm thick at the bottom of the pit. It serves to protect the pond pan and equalize the tension. The shell does not tolerate tension very well, in the long run this leads to fine cracks. The edge of the pond must be level with the surrounding terrain. There must be no cavities on the floor.
Pour in some water
Now water can be let in. Rainwater is best, which of course has to be collected beforehand. With small ponds this is easy, with large ones it becomes more complicated. In the beginning, only 1/3 water comes into the pond. The weight of the water realigns the bowl. The spirit level is used to check whether the edges are straight. Most spirit levels are too short. A straight roof batten, or better yet, an aluminum batten placed over the edges, does a good job here.
Fit the tub exactly
The pond tub must now be brought into its final position by shaking and turning. It is good to leave everything for a day or two, because some things can still be postponed.
Sludge and fill up
When the pond is properly leveled, the voids around it need to be eliminated. To do this, water is let in all around with the water hose. The earth slips and the cavities become visible. Sand belongs in there. This is repeatedly refilled with water until it no longer slips.
create edge
If you want to use the previously cut sod again, you have to leave a few centimeters free at the top so that the height at the end matches the grass. However, most pond builders put a layer of gravel or river pebbles around the pond just to conceal the edge.
Tip:
It is better than having everything on one level if the pond is slightly higher than its surroundings. This prevents rainfall from washing soil, fertilizer or subsoil into the pond.
install technology
If you want to install technology in your pond, do so now. With a pond tub, the hoses and cables are usually routed from above along the edge of the pond to the bottom. However, larger pond tubs have connection points in the floor. This has the advantage that you cannot see the cables.
plant pond
It is easier to plant the pond when it is not already full. Only after planting then let in water up to the edge.
Plant pond tub

When planting, it is important to note that not every aquatic plant is suitable for these pond tubs. The plants must be placed in the individual zones according to their requirements. It is important not to use too many types and varieties, as this creates quite a mess. The growth of the plants must also be taken into account. Strong-growing varieties soon overgrow everything and you can no longer see any water. It is best not to take too many plants, because some will also settle on their own.
underwater plants
- water buttercup – Water depth 30 to 80 cm, flowering June to September, white flowers, can form one meter long shoots, only for larger ones Surfaces of water, stalks float on the water, likes moving water, gets along well with calcareous water, has to from time to time be cleared
floating plants
- shell flower – grows 5 to 10 cm high, flowers very rarely, 30 to 50 cm water depth, lettuce leaf rosettes, roots hang in the water, put into the water only at the end of May, like a lot of sun, warm water, stolons can be separated become
- floating fern – grows to a height of 10 to 15 cm, does not flower, for 20 to 50 cm deep water, regular oval leaves on short, sparsely branched shoots, suitable for planting April, May, like nutrient-rich water, vigorous growth, always fish some leaves out of the water so that the water surface does not grows
water lilies

- dwarf water lily (Nymphaea candida) – flower diameter 8 to 10 cm, flowering from June to August, water depth 25 to 50 cm (up to 80 cm), dark green round leaves (diameter 20 cm), white flowers, can be planted from May, press fertilizer kneaded into clay balls into the soil of the baskets in spring, hardy, quite growing
- water lily (Nymphaea x pygmaea 'Helvola') – small yellow flowers, only 2.5 cm in diameter, flowers from June to September, water depth 20 to 25 cm, not hardy, dark green leaves, may have red to reddish-brown stripes or spots, fertilize in spring (as just described) ideal for containers, great with blue-flowering perennials at the edge
- water lily (Nymphaea x laydekeri (Variety) – Flowers are pink (light purple-pink, darker inside or strong dark red with white markings, depending on the variety), up to 10 cm in diameter, flower June to September, water depth 25 to 30 cm, plants from mid-May, slow-growing, fertilize as described above, very willing to flower, ideal for bucket
- Square water lily(Nymphaea tetragona) – small flowers, only 2.5 cm in diameter, pure white and fragrant, flowers from June to September, water depth 10 to 25 cm, can be planted from Mid-May, most dainty water lily, even grows in flat bowls, then do not overwinter outdoors (often in trade under the name: Nymphaea x pygmaea 'Alba')
shallow water plants
- swamp calla – 15 to 20 cm high and just as wide, white flowers between June and July, up to 20 cm deep, leaves sprout directly from the creeping rhizome, berries in Autumn (poisonous), plant from the end of April, without a planter, simply place the rhizome on the substrate and weigh it down with a flat stone, often dies in winter away
- water spring – grows like a lawn, 20 to 40 cm high, evergreen, white to pale pink flowers from June to July, water depth up to 40 cm, shoots and leaves under water, flowers on bare stems above water, plant from the end of April, tolerates some shade, soft water is essential, substrate should be as acidic as possible, can be cut back in spring become
- fir fronds – upright shoots with needle-shaped leaves in shallow water, 20 to 40 cm high and wide, inconspicuous flowers from June to August, water depth 10 to 30 cm, plant from the end of April, proliferating runners, therefore definitely put in a plant basket, cut off runners regularly, ideal for technology or bricks hide
- water iris – Green-yellow striped leaves, up to 80 cm high, yellow flowers from May to July, planting depth 5 to 15 cm, needs sun and nutrient-rich water, beautiful spots of colour
Conclusion
Pond tubs have their pros and cons. If the pond is to look very natural in the end, they are less suitable, because it can hardly be hidden that they are artificial pools. The edges remain visible and look fake. As formal pools, on the other hand, they are ideal. Because the edges are straight and there are real 90° corners, they can be easily covered. Wooden slats are suitable as a material, but stainless steel and aluminum are even better. With cladding you don't see the edge and the effect is quite different. The pond tubs are even suitable for installation in or around terraces.
 garden editorial
 I write about everything that interests me in my garden.
Learn more about creating a pond
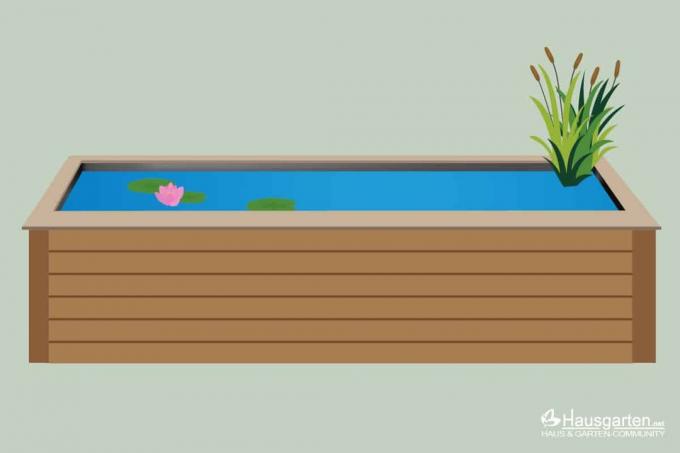
Build a high pond yourself: 15 tips for creating it yourself
A laborious excavation can be avoided with a raised pond. If you want to build and create it yourself, you should pay attention to numerous details. With the right tips, the project runs smoothly and long-term joy is guaranteed.

Build a duck coop yourself 7 tips for a duck house
Building a duck coop yourself is essential if you want to keep ducks yourself. But a protective shelter is also a practical and valuable aid for wild ducks. With our tips for building a duck house yourself, it's easy.
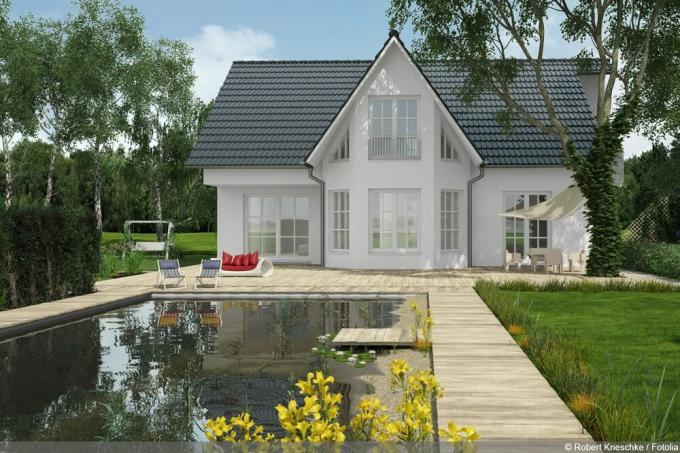
Make a swimming pond out of a garden pond: rebuild in 8 steps
Gardeners with manual skills transform the pond into a natural swimming paradise for the whole family. Thanks to the living sewage treatment plant, the private water world works in an exemplary manner without chemicals. This guide explains how to convert your garden pond into a swimming pond in 8 steps.
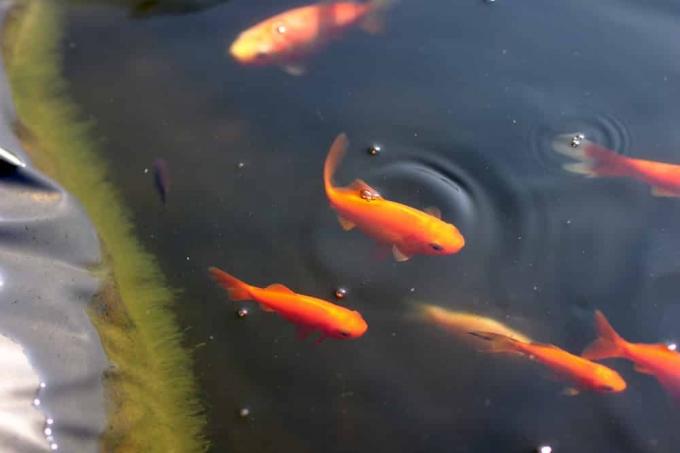
Fasten the edge of the pond: this is how the pond liner gets hold on the pond bank
Filled with water, maybe a few fish in it and attractively planted, a pond is a small piece of paradise in your garden. In order for this to remain so for a long time, the correct attachment of the edge and the pond liner is crucial.
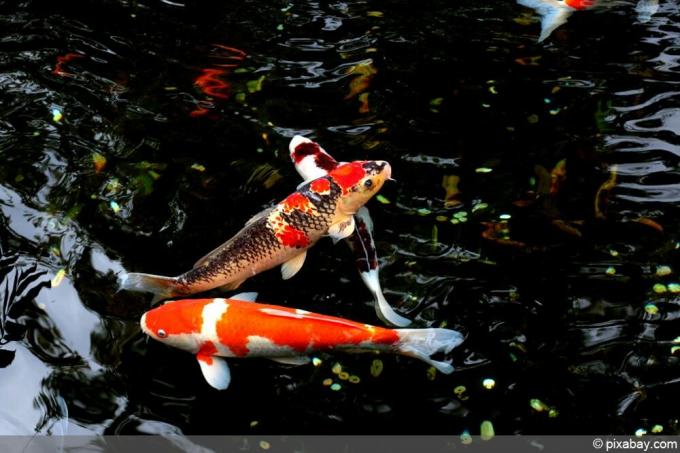
Creating a koi pond: requirements for size and filter system + costs
Kois are not only particularly noble, but also very demanding fish. Because the animals have certain requirements for their habitat, which must be taken into account when creating the koi pond.
Build your own indoor pond – instructions in 10 steps
There are big differences in indoor ponds. A lot is possible, starting with plastic shells, such as those used in the garden, through brick and tiled ponds similar to a bathtub, to liner ponds in a wooden frame. Anyone who has never dealt with indoor ponds will be amazed at what some people come up with. Of course, the vessels can also be used for rooms, which are referred to as mini ponds or balcony ponds.


