


Table of contents
- Advantages of pond bowls
- Disadvantages of pond basins
- What is required for installation?
- Technical equipment for the pond
- Preparations for the pond installation
- sun exposure
- leaves
- Install pond bowl
- Plant pond bowl
- Suitable plants
- marsh and aquatic plants
- underwater plants
- floating plants
- water lilies
- Conclusion
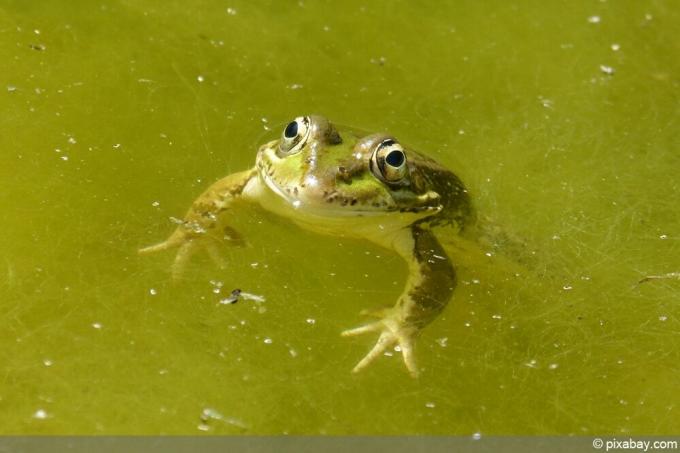
Many garden owners want a garden pond. Pond bowls are usually the quickest option if the dream is to be realized. Like all other options for creating a pond, prefabricated ponds or pond tubs, as they are also called, have advantages and disadvantages.
Advantages of pond bowls
- Many different shapes and sizes on offer
- Winter-proof at sufficient depth, i.e. suitable for overwintering fish and amphibians
- Have different depth zones
- Available in different materials (quite different qualities)
- Can be raised as well as dug in.
- Frost resistant
Disadvantages of pond basins
- Difficult to establish a biological balance
- Accessible only with technical assistance
- Frequently steep and smooth walls, often not surmountable for living beings
- Generally unsuitable for balconies because they are simply too large when rebuilt and also too heavy
- Are difficult to integrate into the natural environment, always look somehow artificial
- Usually high maintenance effort, technical aids required
When installing, it depends on the size of the pond basin. Small tanks can usually be installed by one person without any problems. Large pools with a capacity of several 10,000 liters of water require helpers and often also technical equipment. The installation itself is always the same, no matter how big the pool is, the effort is different. Of course, this begins with the excavation of the earth and the question of what to do with the excess substrate.
Depending on the shape and size, transporting the bowl also poses some problems. It often has to be delivered. Anyone who orders their garden pond online will have it delivered anyway. It is important to compare the prices for these, which can vary quite a bit, at least for large pond bowls.
What is required for installation?
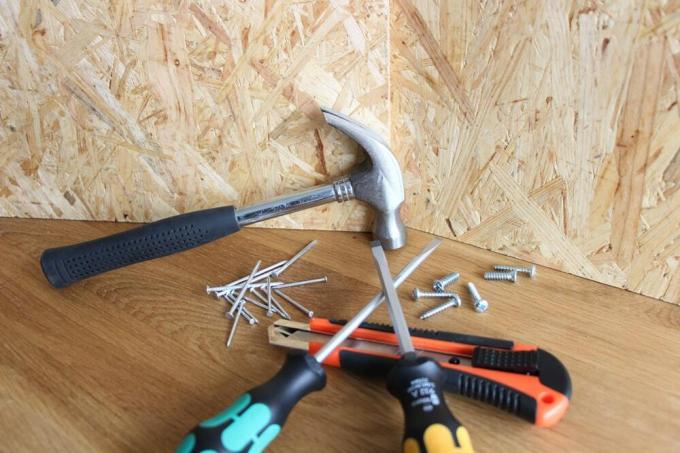
- shovel, spade or a small excavator (for larger ponds)
- Sand - as a layer under the pool and on the sides
- Water – to lather up
- Spirit level – for installing the pool in a straight line
- Rubber mallet - to align the pond exactly
Technical equipment for the pond
The technical equipment does not necessarily have to be in the pond. Larger ponds work without them, but it becomes difficult with small ones. Technology simplifies maintenance and keeps costs to a minimum. Filter and pump do not have to be. However, if you have fish in your pond, you should not do without them. Light is a beautiful thing in a pond. There are many different ways to illuminate a pond. When installing the pond shell, make sure that there is a power connection or, alternatively, use solar.
Preparations for the pond installation

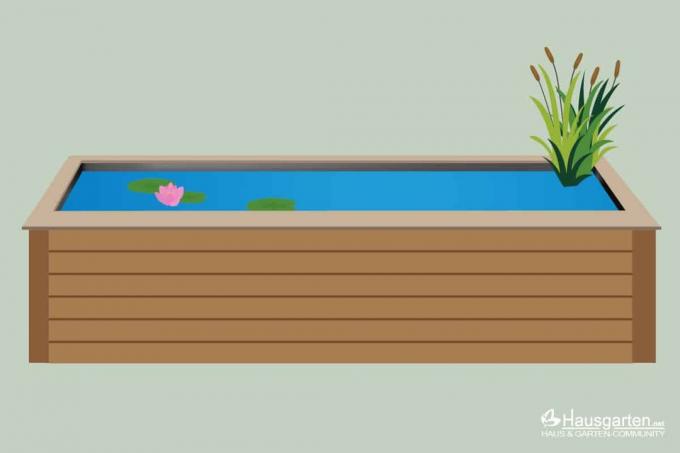
The pond installation needs to be well thought out and prepared. This includes the selection of the appropriate pond shell, the right location and the staking out of the construction project. There are thousands of offers for pond bowls. The tanks differ in size, shape, material, colour, depth, planting zones and of course in price. Supposed super bargains should be viewed with caution, often the prices are not so cheap for nothing. Material defects are not uncommon and nobody is happy with a leaking pond.
The preparations also include electricity and water connections.
There are also a few things to consider when it comes to location:
sun exposure
- Especially with small ponds, make sure that the water surface is not sunlit all day. The water heats up too much, a plague of algae is usually the result.
- A parasol or an awning can be a good remedy for small ponds.
- Shaded areas are also good for large ponds.
- 4 to 6 hours of sunshine a day are enough.
- Better than full sun is full shade. Shade isn't ideal and not all plants tolerate it, but it's less damaging than blazing sun. However, not so many amphibians settle in the shade.
leaves
- do not plan a pond in the immediate vicinity of a deciduous tree. Clearing leaves is labor intensive. Leaves in the pond create a thick layer of sludge on the bottom. The nutrients in turn promote the algae.
- a tree poses another risk, its roots. Depending on the tree species, the strong roots can damage a pond shell
Tip:
Anyone who puts a pond in their garden must be aware that it acts like a magnet on children. It must be secured so that children cannot reach it. So you either fence in your garden completely or the pond. Every year countless children drown in garden ponds or ponds. Swimming pools, that must not and must not be.
Install pond bowl
First, the outline is always marked on the garden ground. To do this, turn the bowl over so that the rim is lying on the floor. Now the outline can be traced with sand, sawdust or something similar. The pit is then excavated, paying attention to the individual levels. You can always put the bowl back in the hole to see what needs to be dug up. The pond shell must be aligned accordingly. It is best if one or more people (if they are big enough) climb into the bowl so that they are properly pressed into the pit. It is also easy to determine where the excavation does not really fit. More has to be excavated there, resp. earth can also be filled in the other way around. The shell has to be used again and again to check its fit.
If the tub is fitted correctly, it must be lifted out again. Stones and roots in the bed must be removed. These could cause some damage to the hull. Then a layer of sand is applied, which protects the tub from below. In this way, tensions are better balanced. These are absolutely harmful to pond shells and usually lead to cracks in the tub after a while. Insert pond bowl. The edge of the pond must be level with the surrounding terrain. There must be no cavities on the floor. Water is already being let in, but only up to a third. The weight of the water realigns the bowl. The spirit level is used to check whether the edges are straight.
Tip:
Most spirit levels are too short. A straight roof batten, or better yet, an aluminum batten placed over the edges, does a good job here.
The correct position can still be achieved by shaking and turning. If the pond is properly aligned, the tub is covered with mud on the outside. The cavities all around must be compacted. A finely crumbly earth-sand mixture or pure sand is used for this. For this purpose, water has to be filled in again and again, which washes the earth or sand down. The layers rise higher and higher, to the edge. If you want to use the previously cut sod again, you have to leave a few centimeters free at the top so that the height at the end matches the grass. However, most pond builders put a layer of gravel or river pebbles around the pond just to conceal the edge.
It is better than having everything on one level if the pond is slightly higher than its surroundings. This prevents rainfall from washing soil, fertilizer or subsoil into the pond.
- mark outline
- excavate earth
- Adjust pond bowl
- Remove roots and stones
- Spread a layer of sand on the bottom of the pit
- Insert pond bowl
- Align pond bowl
- Pour in some water, about 1/3
- Eliminate cavities all around, fill with water and refill with sand, always alternating
- create a border (sods or stones)
- install technology
- plant pond
- Place decorative elements
Plant pond bowl
There are a few things to keep in mind when planting. It starts with whether you should use sand, gravel or pond soil for the floor. Normal garden soil is out of the question, it is absolutely not suitable. Pond soil is very nutritious and should only be used in special plant baskets. Gravel is best for the floor, or alternatively river pebbles. The round-washed river pebbles are ideal. They look natural and you can climb into the pond basin and walk on them without damaging the pond shell. You should refrain from doing this if the gravel is sharp. Sand is also useful.

Tip:
Make sure that gravel is washed. Unwashed gravel makes the water cloudy. The same goes for sand. Unwashed construction sand contains fine sludge that does not settle for a long time. If he then lies down between the stones, you can no longer get him out of the pond.
It is best to plant the pond before all the water is drained. The pond technology is also easier to use. Of course, the choice of plants depends on the location and size of the pond. If the pond is large enough and the plants are to remain in the pond over the winter, exotic species that cannot cope with our winter temperatures should of course not be planted. It is ideal to put the pond plants in plant baskets.
This prevents the pond soil from being washed out and the plants from spreading unchecked. For this purpose, the plant basket is laid out with a fleece. That's where the pond soil comes in. Depending on the plant, the root or plant the rhizome and fold up the fleece and cover with gravel or river pebbles to keep the soil from being washed out. The plant basket can then simply be placed in a suitable place in the pond. The depth must be observed. The individual plants have quite different requirements.
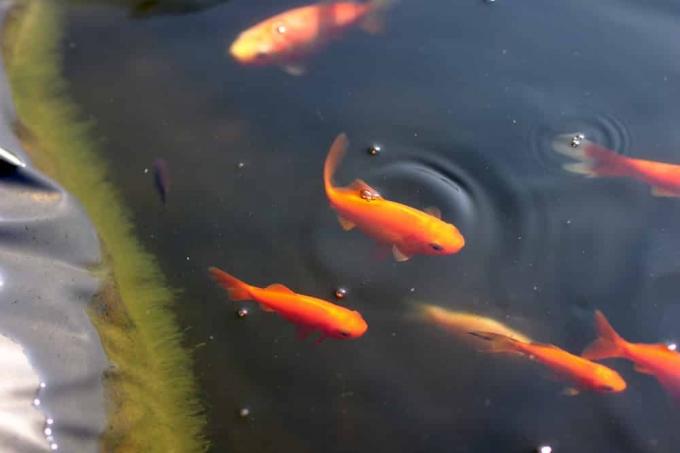
Once the technology has been installed and all the plants have been planted, the remaining water can be let in. Rainwater or a mixture of rainwater and tap water is best. Very hard water is unsuitable. Many plants cannot tolerate the lime in it. What else needs to be considered in order to save animals from drowning is an exit aid. Animals also often fall into the pond and so they can save themselves back onto the land.
Suitable plants
There are many different plants for garden ponds. It should be noted that they must be adapted to the size and location of the pond. Large reeds have no place in a 150 liter pond. The proportions have to be right. Otherwise, the following still applies: less is more. Don't put too many different plants in one pond. It can be assumed that plants will still settle on their own. Everything is quickly overgrown and the actual pond is no longer visible.
marsh and aquatic plants
– mostly used for the edge zone –
- marsh marigold – yellow flowers from March to June, height 20 to 30 cm, width 40 to 50 cm
- Swamp Spurge – yellow flowers from April to June, height 60 to 100 cm, width 80 to 100 cm
- marsh iris – yellow flowers from May to July, height 80 to 100 cm, width 30 to 40 cm
- Marsh Violet – Pale lilac to lilac-pink flowers, height 5 to 12 cm, width 15 to 20 cm
- blood loosestrife – purple-red flowers from July to September, height 70 to 120 cm, depth 50 to 60 cm
- Swamp Forget-Me-Nots – white flowers from July to September, height 10 to 20 cm, width 20 cm
underwater plants
- Streaky pondweed – Greenish flowers from June to August, from a water depth of 50 cm
- Large mermaid – inconspicuous underwater flowers, from 30 cm water depth
- Canadian waterweed – white flowers from June to August, 50 to 120 cm water depth, forms many runners
- water spring – white to light pink flowers from May to July, 30 to 60 cm water depth
- Rough Hornwort – inconspicuous flowers in the leaf axils, 50 to 120 cm water depth, floating
floating plants
– which shade the water surface –
- water hyacinth – Violet-blue flowers with lots of white from July to October, height 10 to 20 cm, width 20 cm
- water chestnut – Flowering July to September, height – lying flat on the water, width 40 to 50 cm
- Common frog bite – white flowers from June to August, lying flat on the water, flowering up to 10 cm, width up to 80 cm and more due to runners
- sea can – small yellow flowers, up to 5 cm high from June to August, leaves lying flat on the water, can cover large areas
water lilies

- Yellow water lily
- Numerous water lilies, depending on the depth of the pool
- Asiatic Dwarf Waterlily
Conclusion
Installing and planting a pond bowl is not really difficult, although of course it depends on the size of the pool and the natural conditions. For large pond pools, a lot of soil needs to be moved and it is not easy to balance the large pool so that it sits exactly. Small pools are much easier to install. It must be worked precisely so that water does not run out of the basin later because you forgot to use the spirit level to check whether the edges are even. Planting depends on the size and location of the pond. There are suitable plants for all zones. The pond should never be overloaded.
 garden editorial
 I write about everything that interests me in my garden.
Learn more about creating a pond
Build a high pond yourself: 15 tips for creating it yourself
A laborious excavation can be avoided with a raised pond. If you want to build and create it yourself, you should pay attention to numerous details. With the right tips, the project runs smoothly and long-term joy is guaranteed.

Build a duck coop yourself 7 tips for a duck house
Building a duck coop yourself is essential if you want to keep ducks yourself. But a protective shelter is also a practical and valuable aid for wild ducks. With our tips for building a duck house yourself, it's easy.
Make a swimming pond out of a garden pond: rebuild in 8 steps
Gardeners with manual skills transform the pond into a natural swimming paradise for the whole family. Thanks to the living sewage treatment plant, the private water world works in an exemplary manner without chemicals. This guide explains how to convert your garden pond into a swimming pond in 8 steps.
Fasten the edge of the pond: this is how the pond liner gets hold on the pond bank
Filled with water, maybe a few fish in it and attractively planted, a pond is a small piece of paradise in your garden. In order for this to remain so for a long time, the correct attachment of the edge and the pond liner is crucial.
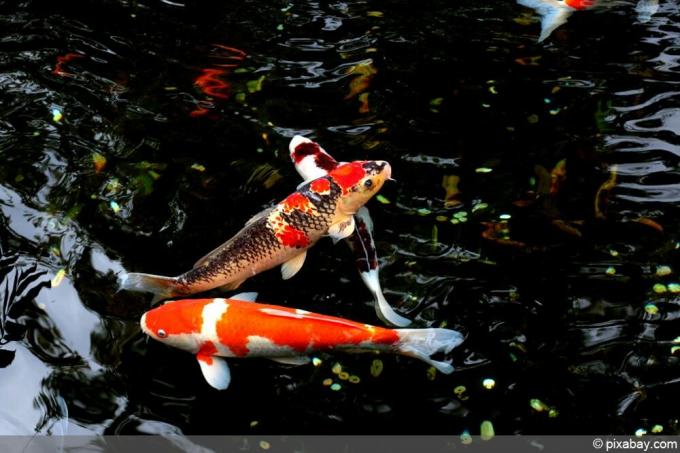
Creating a koi pond: requirements for size and filter system + costs
Kois are not only particularly noble, but also very demanding fish. Because the animals have certain requirements for their habitat, which must be taken into account when creating the koi pond.
Build your own indoor pond – instructions in 10 steps
There are big differences in indoor ponds. A lot is possible, starting with plastic shells, such as those used in the garden, through brick and tiled ponds similar to a bathtub, to liner ponds in a wooden frame. Anyone who has never dealt with indoor ponds will be amazed at what some people come up with. Of course, the vessels can also be used for rooms, which are referred to as mini ponds or balcony ponds.