Table of contents
- Types of pond liners
- Lay the pond liner
- preparations
- Lay foil
- rework
- Set up a capillary barrier
- Glue the pond liner
- Conclusion
Pond liner should be environmentally friendly, easy to lay, stable, durable and easy to dispose of. You have to know that the deeper a pond is, the thicker the foil has to be, because it then has to withstand great pressure.
Types of pond liners
1. PVC film (polyvinyl chloride)
- Most commonly used pond liner
- Very soft, flexible material, high elasticity, high resilience
- Best price
- Can be processed very well at warm temperatures, also glued
- Ideal for small and medium-sized ponds, also for complicated pond shapes
- Tends to wrinkle, but so do other films
- Lifetime up to 20 years (with good processing)
- Does not tolerate direct sunlight and should therefore be well covered everywhere
- Available in several colors, black, brown, olive, blue, beige
- In the past, plasticizers were often included, as well as stabilizers and chlorine. It's better to ask what's in it today.
2. PE film (polyethylene)
- Eco-friendly, recyclable
- More expensive
- About 30 percent lighter than PVC
- UV resistant
- Favorable for streams and shallow waters
- Larger sheet widths available, which means they can often be laid in one piece
- Inflexible, quite stiff, therefore more difficult to process
- Working with hot air
- Not flexible enough for small ponds
3. EPDM film (ethylene propylene diene monomer)
- Made of synthetic rubber
- Good processing possibilities
- Also for large ponds
- High stretch and tear resistance
- Very UV resistant
- Expensive
- Fish and plant friendly
- Resistant to cold and heat, from -40 to +40°C
- Ideal for difficult ponds
- Longest lifespan
- In black, olive and sand colors
- Subsequent wrinkling possible
- Damage can only be repaired by vulcanization
The best way to lay PVC pond liner. It is also the most popular foil and is used the most. It is important to only lay them at temperatures above 15°C. Then the film becomes more supple and can be processed easily. EPDM foil is of very high quality, albeit the most expensive. Here, however, the connection of individual parts and the repair are more complicated.
Lay the pond liner
Laying a pond liner is actually not difficult. Large ponds that are laid in one piece without attaching the sheets to each other have the problem that the liner is very heavy and you need a lot of helpers. Small ponds are easy to create alone, or for two. When laying the preparatory work is very important. The actual pond has to be dug, all sharp stones and objects and also all roots have to be removed. Both the bottom and the walls of the excavated pond must be trodden or paved. to be tapped. The next step is to apply a layer of sand to the bottom. A protective fleece is then laid over it. Both measures serve to protect and uncomplicated access to the pond. You can just step inside. This can be important for getting to the equipment, for example the pump, for planting or unplanting, for repairs and for other reasons.
preparations
First, the outlines of the pond are outlined with sand or twine. Sawdust is also suitable. Then the pond is dug up. Small ponds can be managed with a shovel and spade, for larger ponds it is better to borrow a small excavator. Pay attention to the different terraces when digging. A pond needs a swamp zone, a shallow water zone and a deep water zone. All areas and also the slopes must be solidified properly.
- outline pond
- dig pond
- Pay attention to different terraces
- Remove stones, roots and all sharp objects
- Solidify all areas
Then the sand layer is applied. It should be approx. be 10 cm thick. Then only the protective fleece is missing. This must be attached to the edges so that nothing slips when the foil is rolled out. Do not use any sharp or pointed objects for fastening that could damage the foil.
Tip:
Place the fleece across the unrolling direction of the pond liner!
Lay foil
When the pond is dug, you can calculate or measure how much pond liner is required. You can read how to do this under: How to correctly calculate the size of the pond liner, also at Hausgarten.net. Today, pond liner is usually delivered in one piece, ready-made and complicated folded on a pallet. Specialist companies lay the pond liner in a fan shape on the short side and roll it up on the long side. Large slides are very heavy. When delivering, care should be taken to place the pallet as close as possible to the pond. When laying out the foil, it is important not to walk on it with rough shoes. You either go barefoot or in shoes with rounded soles. It is essential to ensure that no stones stick to your feet or soles, as this can damage the foil.
- Unroll the pond liner along the long side.
- Then unfold the foil folded like a fan into the pond pit. Carefully pull the layers apart. Depending on the size of the pond, you should work with several helpers.
- It is essential to avoid tension and tensile loads
- Create cable ducts for electrical installations, water pipes for pumps and the like
- When laying it out, it is inevitable that numerous small folds form. These are pulled together towards the corners of the pond, so that a single, larger fold is formed there. This fold is simply folded backwards for each corner. You can also glue them together if you want.
- Weight down the film at the top with stones, slabs or something similar.
- Fill the pond slowly with water, but only up to a third at first.
Tip:
Plan for one helper for every 70 kg of film weight!
rework
Due to the weight of the water, the foil is pulled even deeper from the edge. The film adapts to the substrate, possibly existing wrinkles usually disappear. The water should stay like this for at least a day. Then pebbles can be distributed on the individual steps. Pond substrate can also be used, but it contains many nutrients and these promote algae blooms. Most plants can do without this special soil. Plants can now also be used. It is best to use plant baskets. These prevent the pond plants from spreading uncontrollably and also make work easier. The pond can now be filled up. Rainwater is best, but this is often difficult for large ponds. Tap water usually works too.
- Leave the water to stand for a while so that the remaining creases can still be removed.
- Distribute pebbles on the levels
- Pond soil is an alternative, but it makes the water cloudy and contains a lot of nutrients.
- Insert pond plants
- Fill up with water completely
Set up a capillary barrier
A capillary barrier must be installed so that no water is lost from the pond because it is drawn off by the soil surrounding the pond and the plants growing in it. The easiest way to do this is by climbing a small hill about 10 cm high around the pond. A 10 cm deep trench is dug immediately behind it. The pond fleece and the foil must be laid over the hill into the ditch. The ditch can be filled with river pebbles or other stones for visual purposes. There must be no connection between the water and the surrounding soil!
- Pile up mounds about 10 cm high around the pond.
- Dig a 10 cm deep ditch behind it.
- Lay the pond fleece and foil down into the ditch
- Then line the trench with decorative stones
- No connection between water and surrounding soil
Glue the pond liner
If you have decided to buy pond liner strips and then connect them, you have dealt with additional work. Today, the film is usually cut to size by specialists and delivered to size. Each foil can be joined, which is of course also important for the repair. PVC film is the easiest to patch and glue. A permanently elastic power adhesive is used for this. The foil must be very clean. It is placed on top of each other with an overlap. Fold over the piece to be glued, apply glue and place the other piece of foil on top. Now all you have to do is press firmly.
With the artificial rubber sheet, it is more complicated. The film is vulcanized, which sounds more difficult than it is. You need a two-component system for this. First a primer is applied. A tape is applied to this and pressed on. Fold over the second primed area, remove the protective film from the tape and press both areas firmly together. It is best to roll over it with a roller.
Both processes require utmost cleanliness.
Conclusion
Laying pond liner is uncomplicated. Soft, pliable, pliable foil is easier to lay out than something firmer, less flexible. Small ponds are easy to create, but help is needed for large ones. The easiest way is to have the film delivered ready-cut, glued or welded. Rolling out the webs and then gluing them together is only rarely practiced. This makes work much easier. Important for a liner pond are the preparation of the subsoil, the sand layer and the protective fleece. Wrinkles are not desirable, but they almost always form. It makes sense to pull the many small folds together into a few large ones. They can be folded back. In addition, the capillary barrier should not be forgotten.
 garden editorial
 I write about everything that interests me in my garden.
Learn more about creating a pond
Build a high pond yourself: 15 tips for creating it yourself
A laborious excavation can be avoided with a raised pond. If you want to build and create it yourself, you should pay attention to numerous details. With the right tips, the project runs smoothly and long-term joy is guaranteed.

Build a duck coop yourself 7 tips for a duck house
Building a duck coop yourself is essential if you want to keep ducks yourself. But a protective shelter is also a practical and valuable aid for wild ducks. With our tips for building a duck house yourself, it's easy.
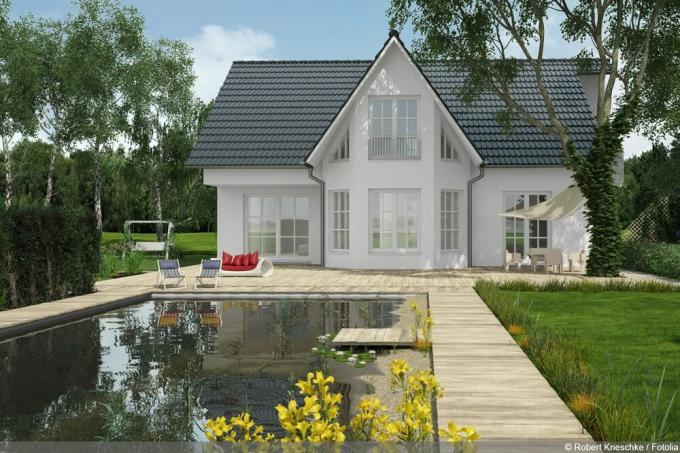
Make a swimming pond out of a garden pond: rebuild in 8 steps
Gardeners with manual skills transform the pond into a natural swimming paradise for the whole family. Thanks to the living sewage treatment plant, the private water world works in an exemplary manner without chemicals. This guide explains how to convert your garden pond into a swimming pond in 8 steps.
Fasten the edge of the pond: this is how the pond liner gets hold on the pond bank
Filled with water, maybe a few fish in it and attractively planted, a pond is a small piece of paradise in your garden. In order for this to remain so for a long time, the correct attachment of the edge and the pond liner is crucial.
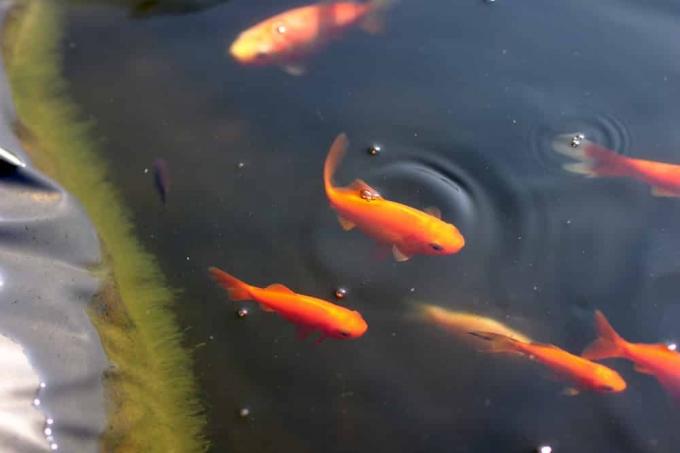
Creating a koi pond: requirements for size and filter system + costs
Kois are not only particularly noble, but also very demanding fish. Because the animals have certain requirements for their habitat, which must be taken into account when creating the koi pond.
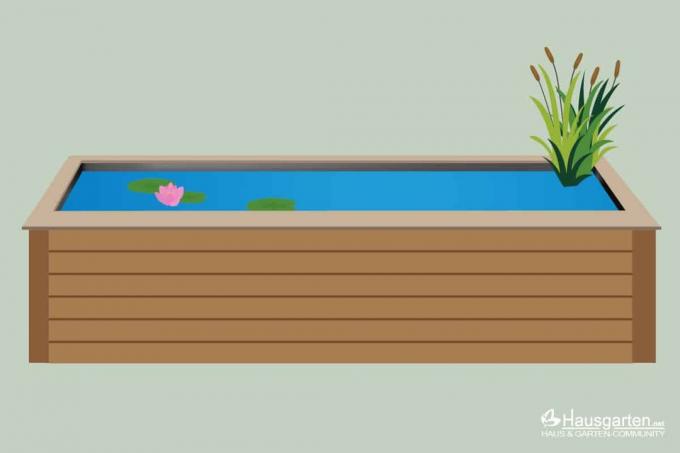
Build your own indoor pond – instructions in 10 steps
There are big differences in indoor ponds. A lot is possible, starting with plastic shells, such as those used in the garden, through brick and tiled ponds similar to a bathtub, to liner ponds in a wooden frame. Anyone who has never dealt with indoor ponds will be amazed at what some people come up with. Of course, the vessels can also be used for rooms, which are referred to as mini ponds or balcony ponds.