
Table of contents
- Permission required or not?
- Preparation
- foundation
- material
- building instructions
- Create projections and planters
- With tips and tricks for ruins
- stone color
- weather (let)
- moss
- window frames
- ranking
- decorations
- Does the antique garden wall need weather protection?
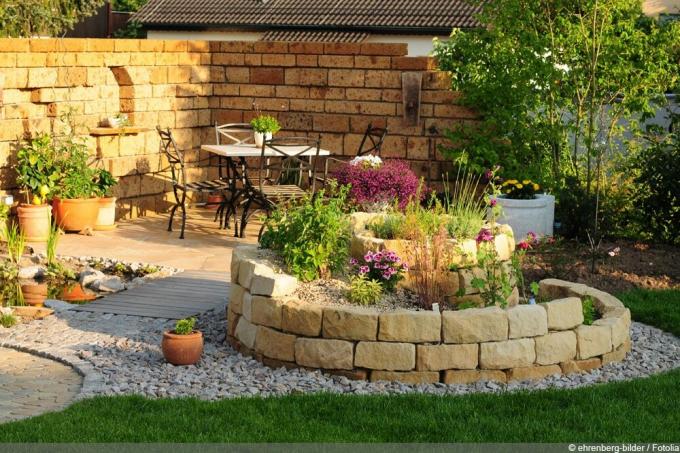
Walls of ruins can appear Mediterranean, medieval or even enchanted - it is not for nothing that they are popular design elements in the garden. Covered with plants, provided with a suitable window or covered with projections and planters, they are always decorative. In addition, they can serve as privacy screens and create a cozy corner in the garden. They are also individual when they are self-made.
Permission required or not?
The first step on the way to the self-built wall of ruins is to find out about the permit requirements. Since the ancient wall is usually not built as a property boundary, but is located elsewhere in the garden, a permit is usually not required. Nevertheless, you should ask the responsible building authority to be on the safe side. The regulations can differ from state to state and from municipality to municipality. Walls up to 1.8 meters high usually do not require a permit. An exception here is Munich, where the maximum height is 1.5 meters.
Tip:
The regulations of the respective building authority can often also be viewed online, so that an appointment or long waiting times are not absolutely necessary.
Preparation
The desired construction area should be cleared of weeds, shrubs, grass and bushes before the wall is erected. It is not enough to simply place the wall of ruins on the lawn. It is also ideal to remove larger stones from the earth, to dig up the ground and finally to compact it after excavating the foundation pit. Of course, the preparation also includes planning the course and dimensions of the wall. Antique wall corners or three-sided ruined walls, the outer side parts of which slope downwards, are popular. As the last point of preparation, the statics must be clarified. The higher and longer the wall of ruins and the shallower its depth, the more likely it is that supports or retaining walls will be needed. In any case, it is advisable to hire a structural engineer to prevent the wall from collapsing or falling over in advance.
foundation
Once the construction area has been cleared of all plants, roots and other obstacles and the course of the ruined wall has been planned, the foundation can be prepared and poured. To do this, proceed as follows:
- The construction area is demarcated with rods and a cord stretched between them.
- The foundation is dug with a spade or a mini excavator. This should be at least 30 to 60 centimeters depending on the size of the wall. The larger the wall, the deeper the pit should be dug for the foundation.
- After excavation, soil is compacted. The use of a vibrating plate is recommended for this step. This can usually be borrowed comparatively cheaply in hardware stores.
- The bottom of the pit is then covered with gravel two to three centimeters deep. Finally, the concrete is poured on top of this.
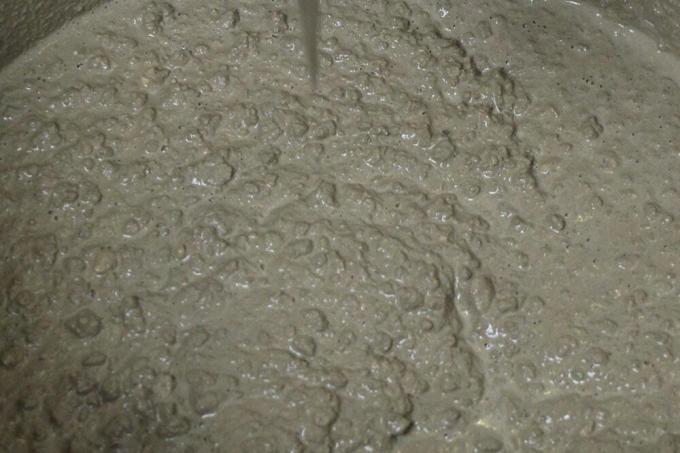
Even if it is a wall of ruins, it should be as straight as possible. Otherwise it could become unstable. When laying the foundation, a spirit level should therefore be used to make the subsoil as straight as possible at every step.
material
Obtaining the materials for a wall of ruins can be both the easiest and the most difficult point of construction. After all, the building should also look antique. Ideal are:
- old bricks
- field fire stones
- old cobblestones
- granite grander
- natural stones
- pottery shards
Unfortunately, these cannot be found everywhere in the required quantities. It therefore makes sense to test the following options:
- Antique Stone Shops
- construction sites
- Acquaintances or friends who build
- Collect stones from fields or from the garden
- hardware stores
- builders merchant
Of course, the various procurement options can also be combined with one another. Antique and flea markets are recommended for antique-looking vases, pots and tubs as well as windows or frames. Online flea markets can also be the right place to go.
building instructions
When the foundation has been poured, the construction of the ruined wall can begin. The following materials and utensils are required for this:
- mortar
- trowel
- Stones, shards and planters
- level
- line
- rods
- Tape measure or folding rule
Then proceed step by step as described here:
- The width, length and course of the ancient garden wall are marked with sticks and a cord stretched between them. This makes it easier to find your way around during construction and there is no need for constant re-measurements.
- For the first layer, stones and shards are placed next to each other along the wall and aligned appropriately. That simplifies the work.
- Mortar is applied piecemeal to the foundation. It should only be so much that one or two stones can be placed on it. This makes it easier to align the stones on the still wet mortar.
Steps two and three are then repeated continuously until the desired height and width are reached. Higher layers can simply be placed in front of the wall. This allows the individual elements to be properly aligned before they are firmly seated in the mortar.
Create projections and planters

Projections at the end and front of the wall create opportunities to set down planters and allow the ruined wall to grow or at least decorate. Bringing this into the ancient wall is very simple. For this purpose, larger stones or small stone slabs are simply aligned at a 90-degree angle to the other bricks and integrated into them. For particularly large projections, it may be advisable to additionally support the stone slab from below. To do this, a suitably long piece of square timber is clamped between the foundation and the projection and ideally fixed with mortar. Planters can be integrated just as easily. When erecting the wall of ruins, they are simply added to the row of stones and fastened at an angle with mortar. It is important to avoid gaps and air pockets.
Tip:
It makes sense to have stones of many different sizes on hand. This makes it very easy to fill in gaps if necessary.
With tips and tricks for ruins
In order for the garden wall to really become a wall of ruins, the material is already decisive. For the antique look of the garden wall, however, not only the stones are important. With the following methods, the garden wall can also be optically aged and made even more decorative:
- apply waterproof stone paint
- weather or even cause superficial damage
- be overgrown with moss
- Install window frames or openings
- Covered with plants
- Decorate ruin wall
stone color
Waterproof Stone Paint can be used selectively to give the bricks, shards, and stones in the ruined wall an antique look. Stones that do not quite fit into the ruin wall due to their original color can be painted with different shades of brown or gray and thus adjusted. This makes it easier to find suitable materials.
weather (let)
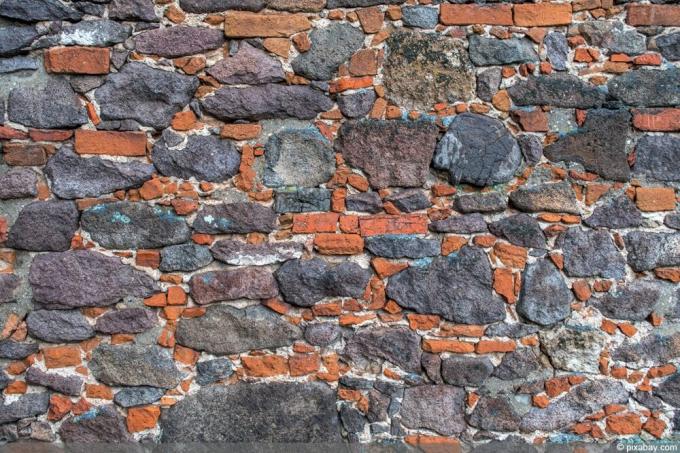
The natural weathering caused by wind, rain and frost takes a long time. Otherwise, all that was left of each building would soon be a ruin. Of course, the easiest way is to use already weathered materials for the construction of the ruin wall. However, if these cannot be obtained in sufficient quantities, the stones can also be weathered in a targeted manner. The following measures will help:
- Moisten stones or walls and sand down with coarse sandpaper by hand or with a sander
- using a small chisel and hammer to chip corners off some rocks
- Rough up some stones with a sandblaster
Tip:
Sanders and sandblasters can be borrowed inexpensively from many hardware stores.
moss
Moss is not uncommon on ancient walls. In the case of the wall of ruins in the garden, the overgrowth of moss can be accelerated by spraying moss and an appropriate nutrient solution onto the stones.
For this you need:
- moss
- a blender
- water or beer
- yogurt, milk or buttermilk
- sugar or gelling agent
- a brush
The so-called Moosfitis (a combination of moss and graffiti) are made and applied as follows:
- Moss is required as a basis, which can be obtained from your own or another garden, the forest or specialist shops. Fast-growing varieties that can cover larger areas in a short time are ideal.
- Three parts moss is mixed with two parts milk, yogurt or buttermilk, two parts water or beer and some sugar or gelling agent.
- In the blender or with a hand blender, the individual ingredients are briefly chopped up and mixed to form a mass that is as homogeneous as possible – i.e. smooth.
- The areas of the ruined wall on which moss is to grow later can now be painted with a brush. The ground should be as rough as possible so that the moss can take root. It can therefore be beneficial to first sand the stones and mortar with sandpaper, a grinder or a sandblaster.
In order for the applied moss to grow successfully, it must be sprayed with water regularly. The mass should be prevented from drying out. In the beginning and on very sunny days, it can therefore be advisable to moisten the wall every day.
Tip:
Alternatively, the moss can also be tied piecemeal to individual stones until it takes root.
window frames
Antique windows or window frames can be a highlight in the ruined wall. If you want to enrich the garden wall with such a thing, you should look around at antique and flea markets. Occasionally you can also find corresponding frames in arts and crafts shops. They can be bricked directly into the antique garden wall and fastened between the stones with mortar. Alternatively, the frames can also simply be leaned against the wall as decoration. Finally, with ruins, it is possible that the frame, like the glass, could no longer hold up due to erosion and decay.
ranking
Ruins are often overgrown by surrounding plants and used as climbing aids. One way to make the optically antique garden wall look even more real is to introduce climbing plants such as vines or ivy. These use the rough underground to strive upwards and decorate them in a natural way.
decorations
Climbing plants and antique window frames, ledges and moss are of course already decorative. In addition, other decorative elements can also be introduced to decorate the ruined wall. Among other things, the following are suitable:
debris
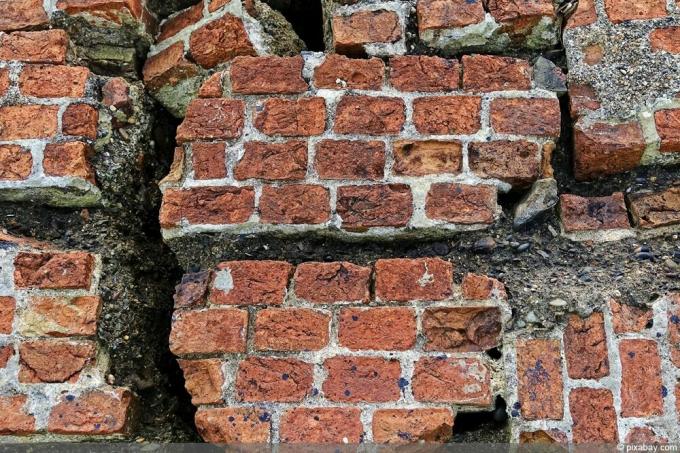
In order for a wall of ruins to come about, some parts must fall off. In the case of real antique walls, therefore, there are also rubble. At the wall of ruins in the garden, some stones can be piled up, between which plants can grow.
flowering plants
Placed next to it, placed on a ledge or climbing down from the wall - flowering plants are always decorative and can beautify the antique garden wall in a very simple way.
patterns in the stones
Spirals, color changes, angular patterns such as lines or even lettering make the ruined wall a striking one-off. It is sufficient to use stones of a different color or shape or to color them with stone color to match.
lighting
Lanterns, a solar-powered chain of lights or torches literally put the wall of ruins in the right light. They also give her a romantic flair.
Does the antique garden wall need weather protection?
No. A massive built ruin wall, just like any other garden wall, can easily do without special protection. On the contrary: over time, rain, wind and sun naturally make the wall of ruins look antique.
 garden editorial
 I write about everything that interests me in my garden.
Learn more about gardening of all kinds

Laying out a garden – you should observe these guidelines
A well-kept garden is a real eye-catcher that enhances the house and property even more. When buying a new property or for seasonal renewal, the garden is designed with many new ideas and concepts. This can be quite expensive if not planned properly. Our article wants to show you how to create your new […]
Find water veins: At what depth does groundwater come?
A well on your own property must be connected to the groundwater. It is not always clear where this is located. Luckily, there are several methods that you can use to reliably track down a "water vein" to take advantage of the water source.
Build your own dowsing rod DIY instructions
Dowsing rods have been a working method for finding water and other things in our environment for centuries. With little effort, you too can easily make your own dowsing rod - with our instructions.

Lawn pavers: how does lawn repair work?
Bald spots or gaps in the lawn are a thorn in the side of many lawn owners. However, overseeding is considered to be tedious work. Relief should Provide lawn pavers that combine many work steps in one.
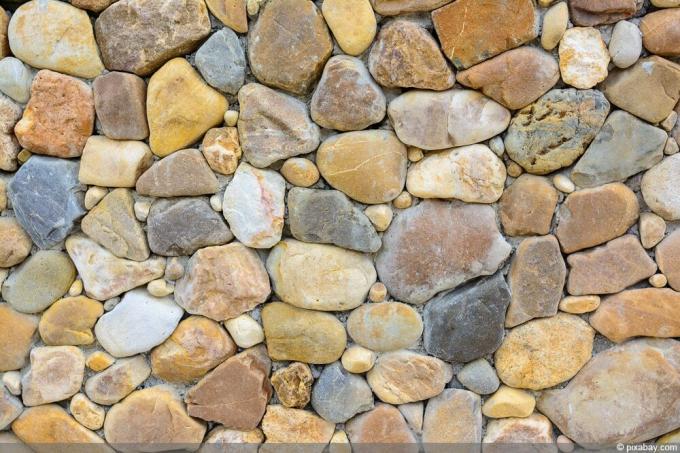
Build a Frisian wall yourself | Costs for a Frisian wall
The Friesenwall is used to separate gardens and flower beds from neighboring properties. It is aesthetic and offers a living space. The costs you will incur depend on the material you have chosen. Choosing DIY will save you money on labor.

Improve your income with gardening - is that possible?
If you put a lot of time, energy and love into your garden and this then also brings the corresponding successes in the form of a rich harvest shows, you can get the idea of whether you can improve your income with your gardening. We show what you should consider, what pitfalls there are and what opportunities you can offer.


