
Table of contents
- The point foundation
- The construction of a prefab greenhouse
- The strip foundation
- tips
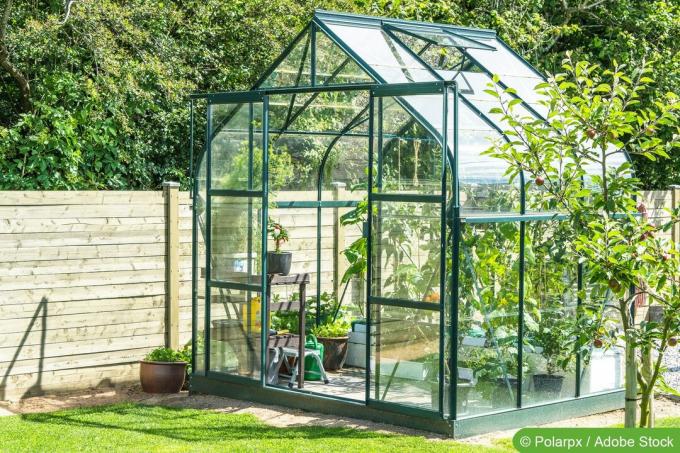
The greenhouse is a comfortable winter quarters for all sensitive potted plants. If you want to put a new greenhouse in the garden, you should plan time and work with concentration and patience. The same applies here: "Good things take time".
The point foundation
The planned size and the location are decisive. A small greenhouse is best in a sunny position. It needs a stable base to be able to withstand all storms in the future. With prefabricated sets, a point foundation is sufficient as a foundation.
To do this, four holes are drilled into the garden soil at what will later be the corners of the planned greenhouse. The depth of the holes should be about 80 centimeters so that the house has a frost-proof stand in the future. The side profiles from the greenhouse set are inserted into the holes. The holes are later filled with concrete.
The construction of a prefab greenhouse
Before starting the assembly work, it is necessary to study the manufacturer's assembly instructions. Active support from a helper is also required.
Then you lay out all the delivered parts and compare the material lists for completeness and quality. The necessary tools are also provided.
It is best to wear work gloves. So you are well protected from sharp edges. The construction takes place one after the other and step by step, whoever skips work processes is often surprised later about the undesirable consequences.
Tip:
Prefab greenhouses are usually built using a plug-in system, which means that drilling or gluing is not necessary.
First, the floor profiles are laid at right angles on the floor and connected to each other, observing the intended shape. Now the front and back walls are set up. The appropriate gable profiles are used for this. You work exactly as instructed. The use of an assistant is already necessary at this point. It should hold all profiles until they are screwed together.
Then the struts between the front and rear walls as well as all struts of the side walls are mounted. Finally, the ridge profile and the rain gutter are installed. Now the entire aluminum frame is assembled. With a spirit level, the entire framework of the new small greenhouse is realigned. In any case, the entire greenhouse must be completely level so that all glass panels can be fitted correctly.
Finally, the doors, the roof window and all glass panels are installed.
A notice:
When the greenhouse is finished, the frame is bolted to the foundation.
The strip foundation
Alternatively, a cast strip foundation stabilizes the greenhouse. For this you need:
- 2 welded wire mesh
- precast concrete
- protective film
- wooden formwork
- sand
- gravel
- level
- wooden handle
- Wooden board 60 cm x 5 cm x 1.5 cm
First, the required pit is excavated to a depth of about 40 cm. Now the formwork is set up by delimiting the pit with suitable wooden boards on the inside.
Then a mixture of sand and gravel is introduced. The layer should be about 10 cm thick. It must be well compacted.
Now the construction protection film comes on the gravel layer, which is supposed to protect the greenhouse from rising damp.
Now the ready-mixed concrete is mixed and placed on the foil in a layer thickness of 10 cm. The concrete should also be well compacted. To do this, use the wooden board and the handle attached to it. This allows the concrete to be compacted and smoothed by dipping and warping.
A reinforcing steel mesh is placed on the compacted concrete layer. This is followed by another layer of compacted concrete and the second welded wire mesh.
Finally, a layer of concrete is applied, which in turn must be carefully compacted. The foundation for the greenhouse just ends with the formwork. Impregnated wooden planks are another alternative to start the greenhouse.
tips
The foundation is important, it should be approx. 70-80 centimeters are excavated:
- The first layer should be gravel. The stones should not be placed too large in the foundation. It's best to crumble a little.
- Then concrete is placed on top of the gravel layer. Precast concrete is the easiest. The poles that are supposed to hold up the greenhouse have to be concreted in so that the whole thing has a hold. Unless you don't need a greenhouse which should be frost-proof. Then you can start with the greenhouse at ground level.
It is then important that the floor is perfectly level. There must be no bumps under the greenhouse. Then the house is not safe from storms. It is best to plan your suitable place where the greenhouse should stand. So that the house is stable, at least the rods should be concreted. To do this, a small hole must be dug where the linkage is to go. The linkage is then concreted in there. That is enough to have a lot of fun with the greenhouse.
A little tip: Would you like to save yourself some work? Then clinker your garden shed approx. 10 cm from the ground. That way, the panes don't get dirty as quickly.
Now you can grow your own vegetables without worry.
 garden editorial
 I write about everything that interests me in my garden.
Learn more about greenhouse

11 tips for greenhouse planting | What goes in the greenhouse?
A greenhouse is the pride of many amateur gardeners. With a good planting plan, the gardening season can be extended. It is mainly used for growing vegetables. However, it is also suitable for growing other plants or for overwintering potted plants.

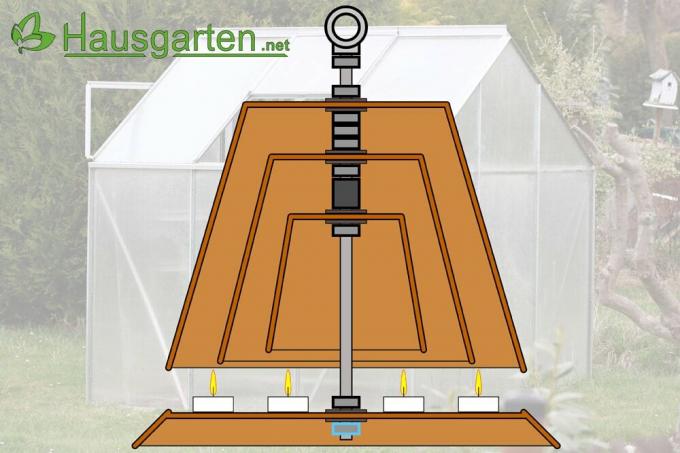
DIY greenhouse heater: how to heat the greenhouse with candles
For garden lovers, the gardening season often begins before spring on the windowsill at home or in the mini greenhouse. But when things really got going in the greenhouse and the frost came again at night comes back, it can very quickly lead to frost damage or even the death of entire young plants come.

Build a mini greenhouse yourself: 4 ideas for a DIY indoor greenhouse
A mini greenhouse can be built quite quickly and is a good alternative to a purchased indoor greenhouse. In addition to small plant experiments with children, you can also very well prefer the vegetables for the garden.

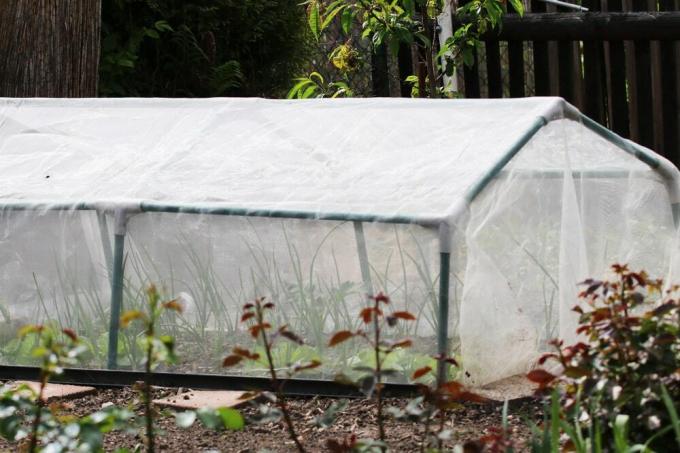
Build a foil tunnel yourself – DIY instructions for a simple plant tunnel
If there is a polytunnel in the garden, you can outsmart bad weather. Well protected from rain, hail and frost, vegetables and salads thrive. You don't have to dig deep into your pocket for this practical garden helper. This DIY guide explains how to build a simple plant tunnel yourself.

Build your own tomato house – building instructions made of wood and foil
Anyone who is tired of buying tomatoes in the supermarket or using goods from abroad can also help themselves. It's easy and not particularly expensive to grow your own tomato plants in your own garden.

The 17 most common cucumber diseases in the field and greenhouse
Cucumbers can be found in many gardens and greenhouses and are very popular among gardeners. However, there are some cucumber diseases that can severely deplete your harvest, whether grown outdoors or in a greenhouse. Find out what typical cucumber diseases there are, how to recognize them and what countermeasures to take.
