

Table of contents
- Advantages of DIY mini greenhouse
- What do you have to consider with the mini greenhouse?
- Instructions for the mini greenhouse
- egg packaging
- Food packaging - tray
- Pet bottle
- CD cases
- option A
- Variant B
Many gardeners no longer want to buy the young plants for tomatoes, cucumbers or lettuce in the garden market, but grow their vegetables themselves from seeds. With an indoor greenhouse, vegetable plants can be well grown on the window sill before going outside into nature or a large greenhouse.
Advantages of DIY mini greenhouse
Many vegetables need a lot of light and warmth to develop from a seed into a small plant. Greenhouses often offer these needed conditions and with a small greenhouse on the window sill you have a protected area for tomatoes, cucumbers and co. Always in sight.
- can be adapted to the required requirements
- is made quickly
- interesting upcycling project
- Garbage can be used creatively
- hardly any material costs
- is light and mobile
- protected from the wind
- good supply of light
After pricking out and before hardening off, tomatoes first have to develop and grow well. With a small greenhouse, you can always watch the plants grow on the window sill in the children's room, in the kitchen or from the workplace.
You can also make friends, family and acquaintances happy as a small gift. From cress and vegetables to flowers and succulents, almost all plants can be grown in an indoor greenhouse, at least for a certain period of time.
What do you have to consider with the mini greenhouse?
- UV-impermeable PE film is best, so the plants get enough light and are protected from wind and rain (if I put my little greenhouse on the balcony). That's why cling film is often used for such small projects.
- When filling a small greenhouse, you also have to make sure that there is no waterlogging. So a drainage layer of small stones under the potting soil is also advisable here - at least if the excess irrigation water cannot drain away in any other way.
- A greenhouse for the windowsill must also be ventilated regularly, because otherwise condensation is a very suitable trigger for mold growth.
Instructions for the mini greenhouse
It is best to take a look at all of our instructions for an indoor greenhouse beforehand and then choose the one that suits you.
- How much space do I have available?
- How big does my mini greenhouse have to be for the plant to thrive?
- What materials are available to me?
- What do I trust with craftsmanship?
A notice:
In all instructions you will only find the materials for building the greenhouse, as different plants require different soil, planting etc. discussed in detail in other articles of ours.
egg packaging
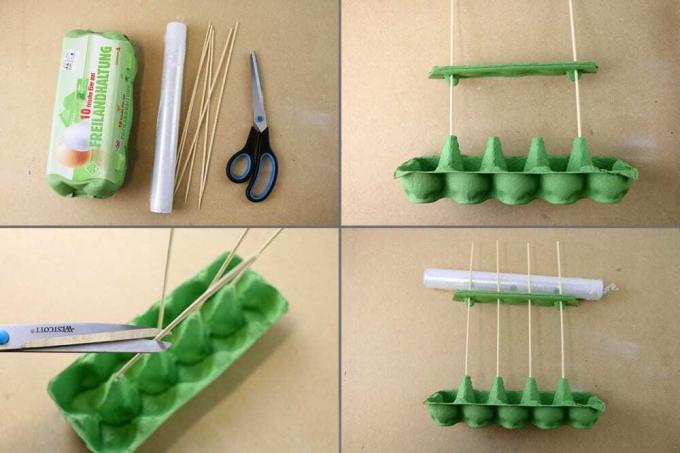
You need:
- Egg packaging (at least for 4 eggs)
- Wooden skewers
- cling film
- obligatory: plasticine / modeling clay / fimo or similar
- Scissors
Step 1
First cut off the lid and the closure (be sure to keep it!) of the packaging.
step 2
Poke the wooden skewers through the egg carton from below, in the cross between the individual egg wells. Push the skewers through until they touch the bottom.
Tip:
You can fix the kebab skewer in the egg packaging with some dough. This stabilizes the skewers and prevents them from slipping out.
step 3
Now push the lifted locking tab onto the skewers from above. The cardboard serves as a "roof prince" and thus marks the highest point of your indoor greenhouse. A small ball of modeling clay underneath the cardboard (around the skewer) can be used to prevent the upper part from slipping.
step 4
Wrap the cling film, starting at the bottom, once around the egg pack - high above the prince - back down to the other side.
Tip:
The film can be easily fixed in a few places with clothespins and opened again for airing and watering.
Food packaging - tray
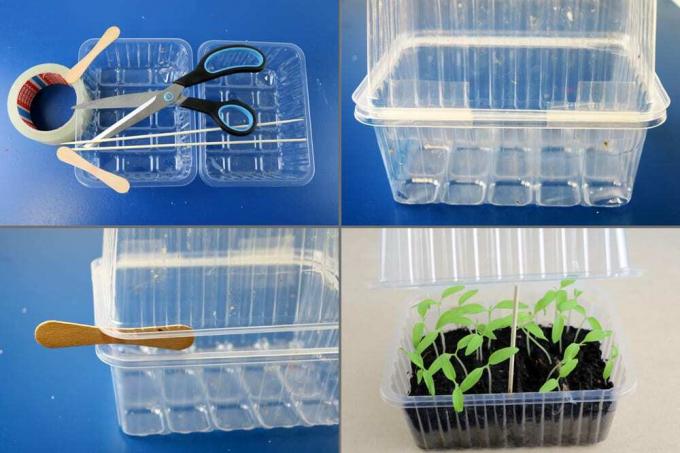
you need
- 2 Plastic food packaging - trays (eg. B. for mushrooms)
- Adhesive tape or packing tape, preferably transparent
- Wooden ice cream stick or skewer
- scissors or cutters
Step 1
Place both bowls next to each other and place a strip of masking tape over the touching edges.
step 2
Close the resulting box and put strips of adhesive tape on the back again, these are used for stabilization.
step 3
In order to be able to ventilate your small greenhouse well, it is advisable to cut a small wooden stick to the right size. You can either use an ice cream stick or a wooden shashlik stick that has been shortened to the right length.
Tip:
If you only have one bowl available, you can also cover it with cling film as a roof. The foil can be fixed well at the edge with a few clothespins. So that the greenhouse does not sweat, holes should be pierced in the foil and aired regularly.
Pet bottle
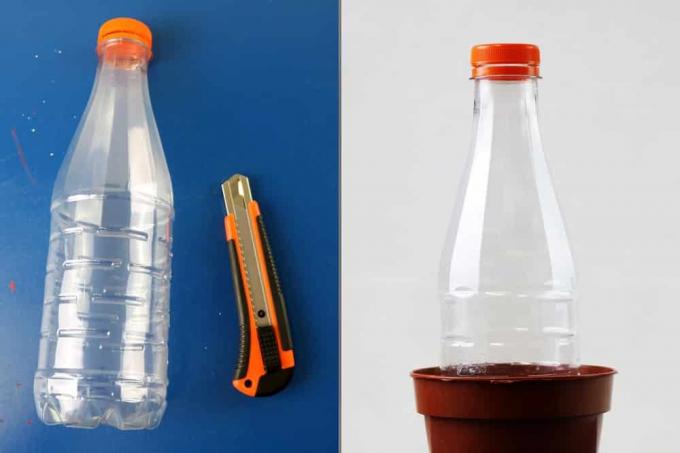
you need
- empty and cleaned PET bottle without label
- Scissors or craft knife
Step 1
Carefully cut off the bottom of the plastic bottle and deburr the rim so that no sharp corners or edges remain as a source of danger.
step 2
Place the bottle in the ground over the plant to be protected.
Tip:
Make a few small holes in the lid to keep the plant from sweating too much in the greenhouse.
CD cases
Very stable mini greenhouses can be made very quickly and easily from old transparent CD cases. For our instructions we use "normal" CD cases, not slim cases or double CD cases.
option A
For the simplest version, all you need is 2 CD cases and some tape.
Step 1
Carefully remove the (usually black) CD holder from the Wednesday.
step 2
Place the two covers (opened at a 90 degree angle) together so that a square is formed. You can either fix the corners with adhesive tape or with hot glue or glue. Fix superglue.
step 3
You can either use another half of the transparent CD case as a roof – this should then be used attached with a “tape hinge” like a food wrap greenhouse become. Or you can simply use some cling film with a few air holes as a roof for your little DIY greenhouse.
Variant B
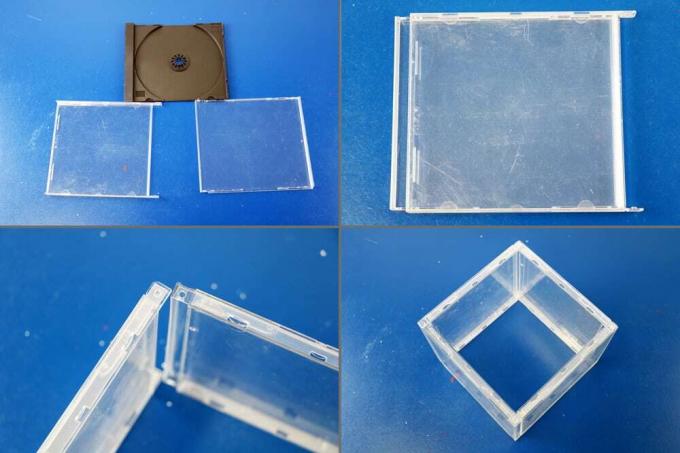
This variant of a CD greenhouse is a bit more complex, but a lot more stable and, above all, infinitely extendable. Due to its stable construction, this mini greenhouse is also well suited for the balcony.
At least 4 CD cases are required for this.
Step 1
Carefully (!) disassemble the CD case into its three parts. Be careful not to break off any parts and use as little pressure and force as necessary.
step 2
Put the middle part with the CD holder aside and use the two outer parts of the CD packaging. The front flap is simply rotated 180 degrees and placed back on the. This takes place somewhat offset. The flap should click into place easily. then not much can be moved.
If the two clips protrude on one side, the cover is in the right place.
step 3
If you have converted all (at least) 4 shells in this way, you can now click the many components into each other. Make sure that any openings are facing inwards.
This creates a square that is stable in itself and is similar to double glazing. As a result, this greenhouse is very stable and can also store heat better.
Tip:
You can also use longer or tinker wider greenhouses with these building blocks. If you build several modules, they can also be stacked on top of each other with a little glue. So you can let the mini greenhouse grow with the plants.
step 4
You can use cling film as a roof or, with a little more work, you can also make a hinged roof out of CD cases.
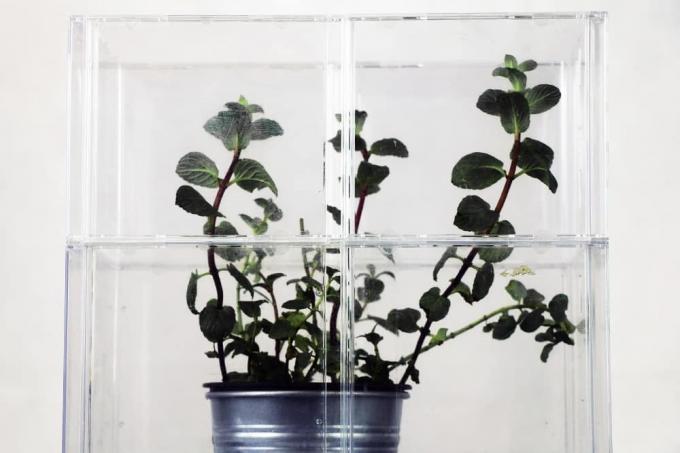
We hope that one of our instructions has convinced you and that you too will become a fan of "urban gardening". Use a mini greenhouse either as a small alternative to the garden for the balcony or for growing tomatoes, cucumbers and lettuce on the windowsill.
 garden editorial
 I write about everything that interests me in my garden.
Learn more about greenhouse

11 tips for greenhouse planting | What goes in the greenhouse?
A greenhouse is the pride of many amateur gardeners. With a good planting plan, the gardening season can be extended. It is mainly used for growing vegetables. However, it is also suitable for growing other plants or for overwintering potted plants.
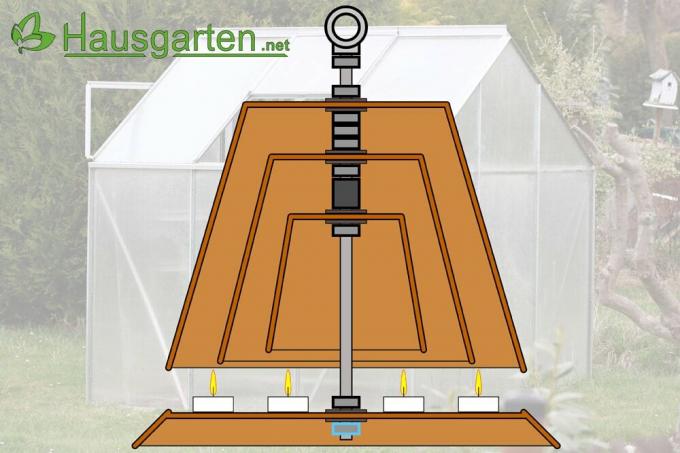
DIY greenhouse heater: how to heat the greenhouse with candles
For garden lovers, the gardening season often begins before spring on the windowsill at home or in the mini greenhouse. But when things really got going in the greenhouse and the frost came again at night comes back, it can very quickly lead to frost damage or even the death of entire young plants come.
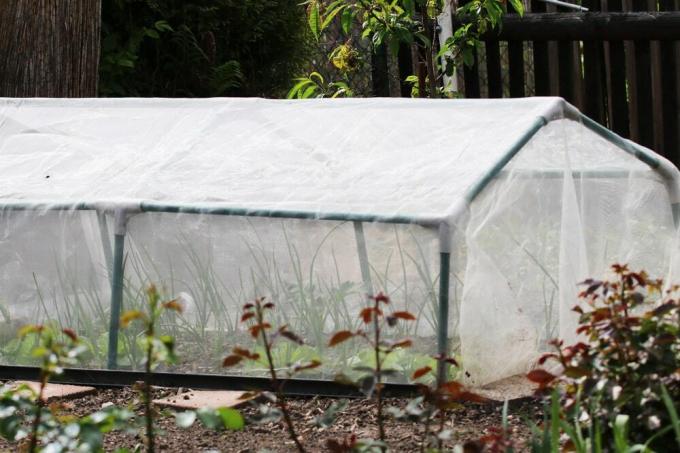
Build a foil tunnel yourself – DIY instructions for a simple plant tunnel
If there is a polytunnel in the garden, you can outsmart bad weather. Well protected from rain, hail and frost, vegetables and salads thrive. You don't have to dig deep into your pocket for this practical garden helper. This DIY guide explains how to build a simple plant tunnel yourself.
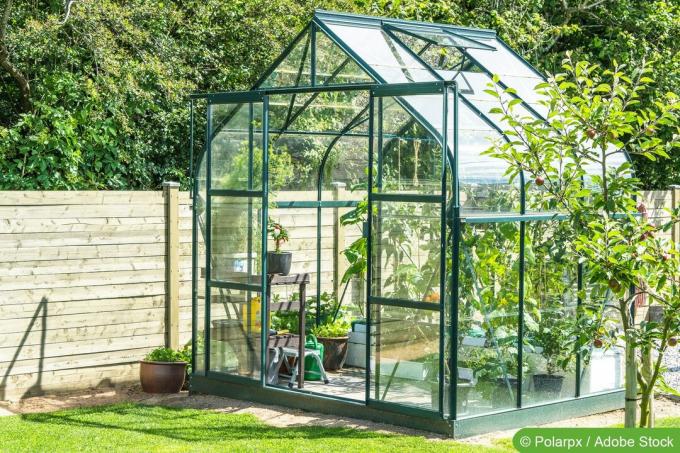
Greenhouse Foundation: Setup & Building Tips
For the garden lover, his greenhouse is the ultimate. With the self-construction of your own greenhouse you create the best opportunities for your individual cultures grow and harvest vegetables, flowers or herbs less dependent on the season and the prevailing weather can.

Build your own tomato house – building instructions made of wood and foil
Anyone who is tired of buying tomatoes in the supermarket or using goods from abroad can also help themselves. It's easy and not particularly expensive to grow your own tomato plants in your own garden.

The 17 most common cucumber diseases in the field and greenhouse
Cucumbers can be found in many gardens and greenhouses and are very popular among gardeners. However, there are some cucumber diseases that can severely deplete your harvest, whether grown outdoors or in a greenhouse. Find out what typical cucumber diseases there are, how to recognize them and what countermeasures to take.


