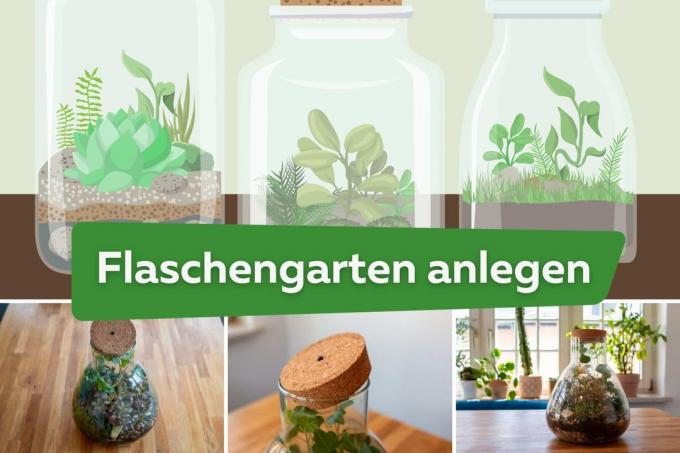
With the creation of a bottle garden, a small mini-biotope is to be created for plants that hardly require any care. Below are step-by-step instructions, tips on what to look out for and an overview of suitable plants for planting.
In a nutshell
- Bottle garden with closure for "self-sufficient" biotope
- only use very clean glasses or bottles
- make sure there is enough space for plants
- Ferns and mosses are particularly suitable
Table of contents
- Bottle garden: definition
- Suitable glasses
- Creation of a bottle garden
- You have to pay attention to that
- Suitable plants
- frequently asked Questions
Bottle garden: definition
A bottle garden is a popular planting method that allows plants to thrive in a sealed glass container for years with little maintenance. Humidity increases due to the moist soil, causing drops to settle and then fall back into the soil. This makes watering unnecessary.
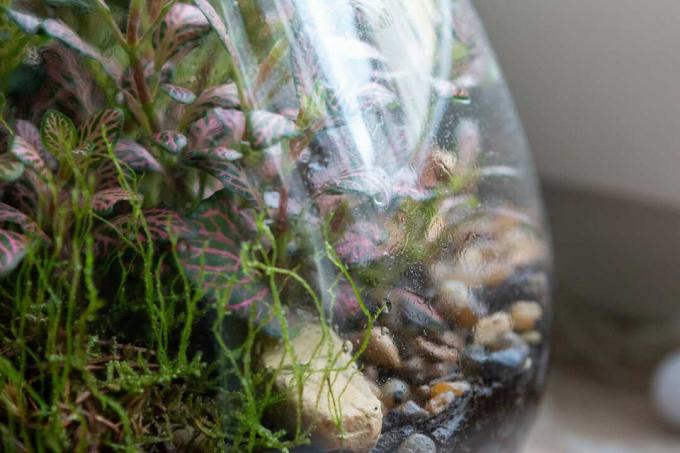
A bottle garden can also be realized with open jars, which, in contrast to the closed variant (hermetosphere), increases the need for care. That is why hobby gardeners in particular opt for the closed glass planting, which is because of longer You don't want to worry about your plants when you're away or shy away from the effort of care for other reasons.
Suitable glasses
As the name suggests, any type of bottle can be used for an airy glass garden. But any other glass can also be used, such as jam and pickle jars. It is irrelevant whether the lid is a screw or screw cap. Corks are also ideal for airtight sealing. It is important that the size of the glasses and bottles is chosen so that the desired plants have enough space to develop.
Creation of a bottle garden
When creating a bottle garden, various factors are important, which should be strictly adhered to in order to be able to enjoy the planted bottles and glasses for a long time.
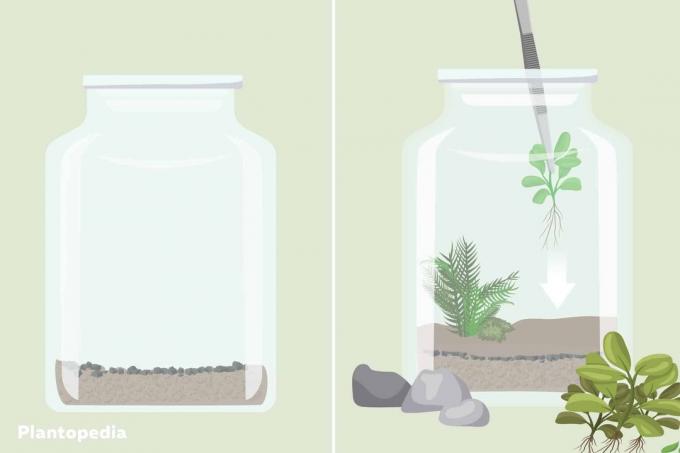
- Find a suitable glass container, clean thoroughly with warm water and dry
- Fill glass bottom with a layer of small gravel or expanded clay for drainage
- Cut the charcoal or activated charcoal into pieces no larger than one centimeter and place them on the drainage to avoid odors
- Spread garden or potting soil on it about eight centimeters high (see also under “You have to pay attention to this”)
- Make small depressions in the soil to plant the plants
- Expose plant roots as much as possible before planting
- Place plants in hollows, press down lightly with soil and add decorations if necessary
- Water moderately and spray plants lightly, seal jar airtight and let ecosystem development take its course
You should choose a bright, shady location without direct sunlight.
Tip: A stick with a cork on one side is ideal for pressing the hollows inside the glass, earth press on and attach plants to it in order to force them through narrow glass openings and bottlenecks to lead.
You have to pay attention to that
To ensure that the ecosystem can develop ideally and that no disruptive factors require an interruption, the following details should be observed:
- Glasses used must be clean and free of any residue
- if there is charcoal or soil on glass walls, remove before sealing or use funnel for filling to avoid
- if too much was poured, leave the jar open for a few days to evaporate
- do not use heavy, loamy soil as this can inhibit root growth
- Loosen heavy soil with sand, perlite or coconut hum
- use nutrient-poor potting soil for slow growth and small plants
- Plants should be stable; secure with chopsticks if necessary
- only put plants per glass that have the same requirements
- Ideally, use low-lime water for watering and spraying
- Periodically move the glass a quarter turn in the direction of the light to allow for even light distribution
Suitable plants
are in principle Plants suitable for a bottle garden, which are used to a warm and humid climate due to their origin. These are tropical and subtropical plants in small versions.
For example:
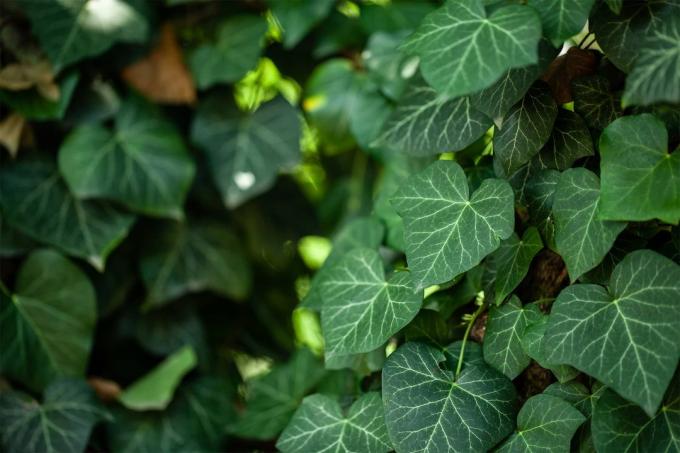
- Lesser-leaf ivy (Hedera)
- Small-leaf spiderwort (Tradescantia fluminensis)
- small ferns
For example, special color accents are provided by:
- bromeliad (Bromeliaceae)
- short stature orchids (Orchidaceae)
- Mexican Spiderwort (Tradescantia pallida)
- bicolor dwarfspider plant (Chlorophytum comosum)
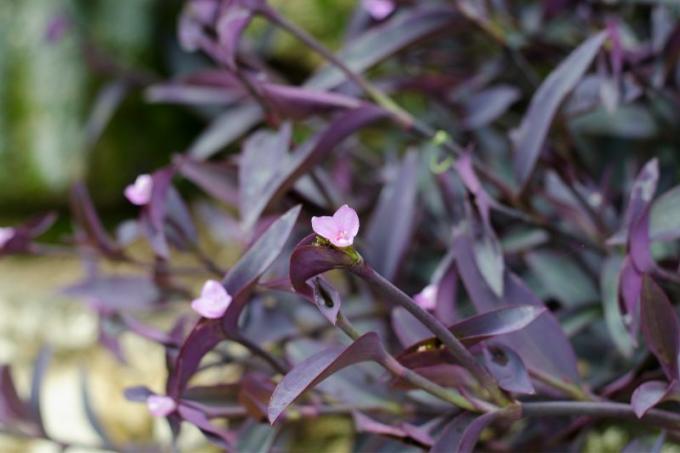
To cover the floor decoratively are creeping or hanging plants ideal, such as:
- Zebra weed (Zebrina)
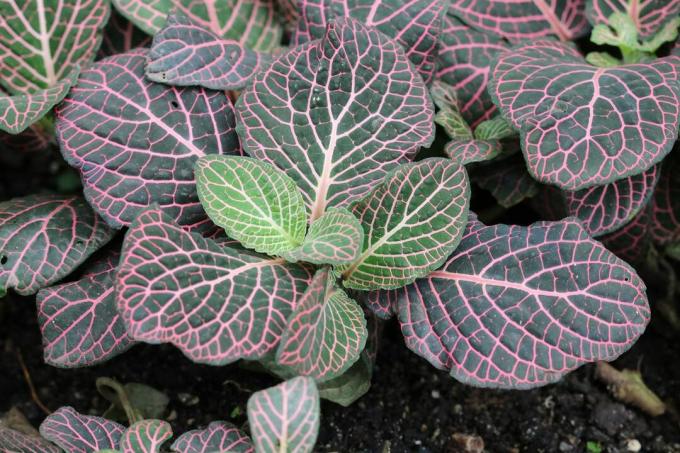
- Fittonia (Fittonia)
- Mosses such as leaf moss (Bryophyta), liverwort (Marchantiophyta) or hornwort (Anthocerophyta)
Tip: A bottle garden is also ideal for propagating shorter cuttings due to the internal moisture. However, they usually need an occasional fresh supply of oxygen, so the jars/bottles should be opened briefly every three to four days for an exchange of air.
frequently asked Questions
Not at all, as long as all the details in the article are observed and the bottle garden is created according to the step-by-step instructions. Under ideal conditions, the plants can remain in the closed bottle garden for many years without the locks having to be opened. If necessary, plants such as ivy, fittonia and moss can be cut back a little. The automatic moistening cycle even eliminates the need for watering.
The mechanism starts with watering after planting and closing the container. The roots draw moisture from the soil and release it through the leaves. This produces condensed water, which contains oxygen and releases it into the indoor air, only to roll off into the ground. The soil is supplied with nutrients by the decay of naturally dead plant parts. The cycle closes through the release and re-absorption of carbon monoxide.
You can see that on the walls. As soon as one side of the glass is no longer fogged up in the morning, this indicates that there is not enough moisture inside. Depending on the size of the glass, between 50 and 100 milliliters of low-lime water should then be added and the glass/bottle closed again. After about two or three days, the evaporation should work again and in the morning all glass sides should be evenly fogged up again.


