
Table of contents
- The best time
- Prepare to transplant
- transplant
- Cut
- repot
- Tips for care after transplanting
- Conclusion
There is a persistent rumor among hobby gardeners that boxwood should not be relocated. In fact, even professional tree nurseries train Buxus every 4 years so that it develops a lush fine root system. If you are thinking of moving the evergreen ornamental shrub, there are various factors to consider. The following instructions show how to transplant or repot boxwood so that it happily takes root again - this is how it works.
The best time
Choosing the right date increases the chances of success for transplanting or repotting a Buxus many times over. Although in principle one day during the entire growing season is possible, you should prefer these dates:
- a dry, frost-free day in March
- alternatively a day in September
Ideally, there will be neither frost nor drought on the chosen date, so as not to expose the exposed roots to unnecessary stress.
Since box trees in hedges usually bare from the inside, a solitaire is particularly suitable for moving.
Prepare to transplant

Two weeks before the actual transplanting, the course is set for the successful course of the campaign. It is important to keep both the loss of root mass and the stress on the boxwood as low as possible. A step-by-step approach is therefore recommended:
- Cut off the roots all around with a spade
- For small box trees with a diameter of at least 20 centimetres
- In the case of large solitaires, the diameter corresponds to the growth height
- Loosen the root ball with the digging fork
- Finally, rinse thoroughly for 30-60 minutes
Since boxwoods are flat-rooted, a ditch about 60 centimeters deep is usually sufficient to be able to reach under the root ball later.
transplant
After the box has been thoroughly watered once or twice over the past two weeks, it is now ready for the actual transplanting process. Here's how to do it:
- At the new location, dig a planting pit with twice the volume of the root ball
- Enrich the excavation with compost, horn shavings and bedrock dust
- Half fill the pit with the substrate
- Lift the boxwood out of the ground, if necessary with a winch
- Place in the center of the planting hole
While a helping hand stabilizes the shrub upright, the remaining substrate is filled in and carefully stamped down. Afterwards, extensive watering is an absolute must.
Tip:
After transplanting, a boxwood should be exactly as deep as before. Root base and soil are at the same height.
Cut

Since, despite all prudence, a box tree loses part of its root mass when transplanted, an adequate pruning creates the necessary balance in the area of the above-ground shoots. For this purpose, shorten the shrub by a maximum of one third. The best way to cut is from top to bottom. If the campaign takes place in September, dormancy is imminent. In this case, it is advisable to move the pruning to the next season. Since every pruning action encourages a shrub to sprout freshly, a premature frost would now be fatal. The unripe branches would freeze and weaken the ornamental shrub as a whole.
repot
Even though box trees show a rather leisurely growth, sooner or later their previous container will become too narrow. Consequently, the topic of repotting is on the agenda every 3-4 years. Ideally, you should carry out the work in early spring, just before the new shoots. Choose a pot that is just a few inches larger in diameter. Otherwise, after transplanting, the ornamental shrub will first concentrate diligently on rooting through the new planter. This zeal comes at the expense of the already slow growth rate. In addition, the only option is a bucket that has an opening in the bottom for water drainage. How to do it right:
- In the new planter, create a 5 cm high drainage made of potsherds, pebbles or expanded clay
- Spread a water- and air-permeable garden fleece over it to separate drainage and substrate
- Fill in a nutrient-rich, loose substrate up to half the bucket height
Experienced hobby gardeners take the opportunity to take a close look at a potted boxwood. After the old substrate has been removed as far as possible, possible root damage can be clearly seen. Cut out rotten, stunted root strands with a sharp, sanitized knife. The root ball is then placed in a vessel with water until no more air bubbles rise. Proceed as follows:
- Position the watered boxwood in the middle of the substrate
- Fill in the rest of the substrate so that a small pouring edge remains
- Press the soil down with your fist in between so that no cavities form

Last but not least, water generously again to bring the repotted boxwood to its location. Choose a sunny to partially shaded location. Ideally, the location should be warm and sheltered, with a gentle breeze allowing raindrops to dry off quickly. This prudence effectively prevents fungal infections.
Tips for care after transplanting
If you pay a little more attention to your boxwood after it has been relocated, the establishment will be all the more effective. To ensure that the ornamental shrub retains its lush green, dense foliage and continues to sprout, the focus is on water and nutrient supply. Water plentifully and regularly without causing waterlogging. For a boxwood transplanted in the fall, this means watering it during a dry winter with lots of sun and little snow on frost-free days. The evergreen wood is hardy, but should be provided with a light winter protection in this case. Cover the stressed root area with a thick layer of leaf compost, straw or compost. A Buxus likes to accept the following nutrient supply after transplanting in spring:
- Supply with a long-term fertilizer in April and June, specially tailored to boxwood
- Alternatively, spoil with compost or cattle manure every 2 weeks from March to September
- Buchs in buckets is preferably fertilized in liquid form or with a preparation in the form of sticks
It is important to note that mineral fertilizers are not applied to dried soil or come into contact with the foliage. Otherwise, the previously lush green leaves will lighten and fall off sooner or later. However, such brightening can also be due to another cause:
Regularly checking the boxwood for bright spots and green caterpillars from March to October is not only valid for the time after transplanting and repotting. Both are indications of an infestation with the dreaded box tree moth. At the first sign, a courageous pruning can save the shrub. Therefore, pay attention to gray webs so that you can intervene immediately. In addition to pruning, subsequent treatment with a high-pressure cleaner is recommended as a supportive measure. To do this, spread a foil under the wood and spray deep into the bush with the sharpest possible jet of water. If there are caterpillars in the box, they fall onto the foil and are disposed of.
Conclusion
You can transplant or repot a box tree without any problems, as long as a few substantial premises are considered. Choosing the right time has an important influence on the successful course. If you replant the ornamental shrub in the bed either in September or March, the action will go according to plan. Spring is a particularly good time for repotting, just before the new shoots. Adequate preparation keeps the stress level at a low level. Adequate water supply is important throughout the procedure. If you follow these instructions, the relocated boxwood will take root in the new place and larger pots within a short time and will continue to thrive magnificently.
 garden editorial
 I write about everything that interests me in my garden.
Learn more about caring for plants

Plant hangs leaves despite water
If plants let their leaves hang despite water, this can have various causes. In order to prevent it from dying off by taking rapid countermeasures, you should find out about the possible causes and effective countermeasures here.

Plants hang their heads: what to do?
If the ornamental plants are cultivated in the garden or in pots and suddenly let their heads droop, then the question quickly arises as to why this can be. However, this is usually due to maintenance errors that need to be checked. If a remedy is found, most plants usually recover quickly.

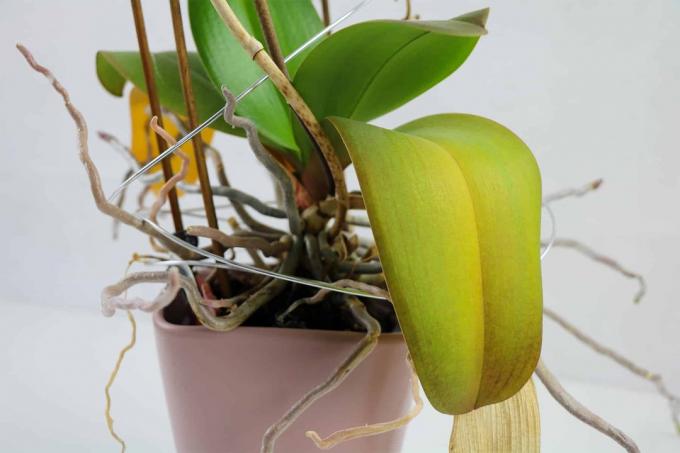
Repot orchids: how & when to replant
Thanks to more uncomplicated and easy-care new breeds, orchids are now at home on many windowsills. In particular, the Phalaenopsis or butterfly orchid, which is available in countless varieties, is very popular. Read how and when you can best repot the distinctive beauties.

pull tree out of core | 7 tips for growing a tree yourself
Trees can be grown from cores without much effort. There are a variety of plants that have seeds and can be easily cultivated in your own garden. Special classic fruit trees should be mentioned, which are suitable for such a project.

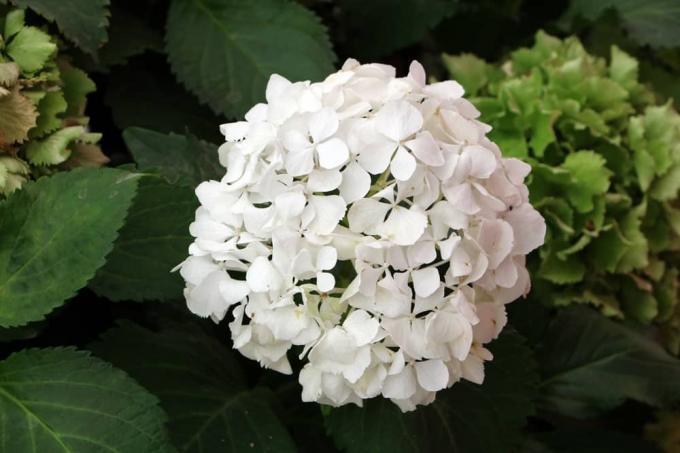
How do hydrangeas stay white? | That way it won't turn pink
How do hydrangeas stay white - this is the question many hobby gardeners ask themselves when the hydrangea changes color. The white often turns into a pink, which is usually comparatively pale or can appear "dirty". Here we reveal how it works.

Cutting privet: when is the best time?
Privet is becoming increasingly popular and is often used as a privacy screen in the form of a privet hedge. This is not surprising, because the plant is easy to care for and fast-growing. However, it is crucial to cut the plant regularly at the right time.
