
Table of contents
- Features and Benefits
- preparations
- Attach and fasten
- Attach bubble wrap - step by step
- Costs for foil webs
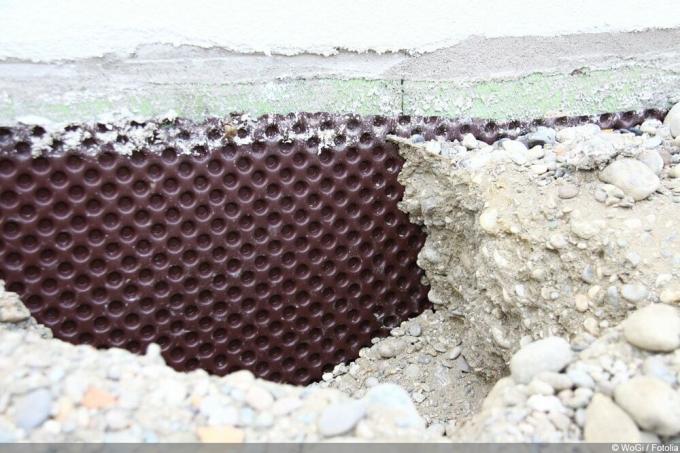
A dimpled sheet provides protection against moisture, can promote drainage and also create a rear ventilation level for the wall. In addition, it can not only be used to protect the basement walls against groundwater and seepage water, but also provide good service when greening the roof, for example. But how can it be attached and what do you have to pay attention to? Our instructions and tips will enlighten you.
Features and Benefits
Masonry with ground contact - i.e. basement walls - is exposed to particularly heavy loads. Groundwater, seepage water and moisture from the earth can penetrate over time and weaken the structure. To prevent this, dimpled membranes can be attached. These special films combine various advantages and properties. Below:
drainage of water
The knobbed film can drain water through a drainage pipe.
rear ventilation
Depending on the laying direction of the knobbed foil, a ventilation level can arise between the foil and the wall. In addition, a distance is created between the so-called perimeter insulation and the ground.
protection and sealing
Dimpled membranes also provide insulation in the case of pressing groundwater. They protect the walls and seal them against moisture and moisture. This is particularly useful and important when there is a high groundwater level or a high level of seepage water.
labor facilitation
By attaching dimpled membranes, the use of lean concrete can be dispensed with. This eliminates the associated effort and the waiting time for the concrete to dry. Weather-resistant work becomes possible. This can be a significant relief. In addition, the dimpled membranes can also be used for other purposes. For example, they can be used as an insulating layer on the roof if it is to be greened.
preparations

Before attaching the dimpled sheets, the subsurface must be prepared accordingly. In principle, only two steps are necessary:
-
Thoroughly clean the foundations
Dust, grease, moss and other dirt must be carefully removed. Any remaining film residue should also be removed. It is also advisable to repair damage such as cracks or holes. While it is not essential to fix any damage before applying the film, doing so can significantly increase the support and durability of the lanes. -
Paint in preparation
Before attaching the dimpled sheets, the foundation walls need a coat of paint. This sealing coat is a bitumen coating. It acts as a waterproof and protective cover. However, it only offers security against non-pressing water. When these preparations are complete, you can start attaching the dimpled sheets.
Attach and fasten
Various factors must be taken into account when attaching the film:
-
Direction
If the nubs point towards the wall, they cause ventilation of the masonry. In addition, they do not get dirty themselves. If the nubs point outwards, a higher structural mechanical protection is achieved. If drainage is required, the knobs on the film should point towards the ground. If no drainage is required, they can point towards the structure. -
fleece
If the nubs point outwards, fleece should also be attached between the foil and the masonry. This makes sense so that the intermediate area is not clogged and silted up. However, some dimpled membranes are already equipped with a filter fleece, so that this additional work step is not necessary. If the nubs point to the masonry, variants with sliding film are a good choice. These provide better protection. -
nails or snaps
The bubble wrap can be attached with nails or snaps. The nails are hammered into the nail edge of the foil. The snaps are placed in the individual knobs. A third fastening option is screws and dowels. The screws are also inserted directly into the knobs. In terms of attachment, nailing is the easiest. -
attachment
When attaching, attention must be paid to the alignment and distances. Two points of reference play a role here. The drainage pipe serves as the lower reference point, the film should be attached over it. The sealing coat serves as an upper reference point. The foil is applied and fixed about ten centimeters above it. -
Alignment of the lanes
As a rule, the bubble wrap is laid horizontally. This simplifies installation and offers a high level of protection. In addition, cutting is much easier and requires less effort. A vertical installation is also possible. This can be useful if only a small area needs to be covered with the foil.
Attach bubble wrap - step by step

The attachment of the bubble wrap is very easy if the following steps are taken into account:
- Determine the landmarks by sealing paint and drainage pipe. It can be started from the top or from the bottom.
- Align the film directly from the roll on the wall and fasten it with the medium of your choice. This step works easiest when a helper holds the roll and unwinds it piece by piece.
- If the first sheet is on the wall, the second knobbed sheet is aligned in such a way that the foils overlap by about ten centimetres. This is done until the area between the upper and lower landmark is completely covered.
Due to the simple procedure, it is also possible for do-it-yourselfers with little experience to attach the foil strips themselves.
Costs for foil webs
The costs for dimpled membranes can vary greatly and depend on which version is chosen. Inexpensive standard membranes in a single layer are already available for around 1.35 euros per square meter. They offer protection against groundwater and seepage water and form a cleanliness layer.
High-quality variants consist of up to three layers, i.e. they are a ready-made combination of filter fleece, sliding film and the dimpled sheet itself. In addition, they usually offer high compressive strength and can therefore be a better choice for high-traffic areas. Up to 7.20 euros per square meter are due for them.
 Home editorial office
Learn more about wall / wall

Fogging: what to do against black dust on walls?
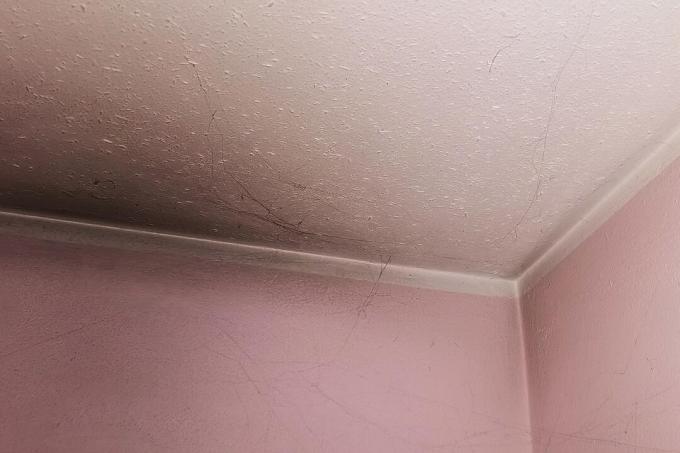
Fogging is still a foreign concept to many, although black dust on walls, ceilings and carpets has been a widespread problem since the 1990s. We give all the important information about the tiresome topic from the emergence to the fight.

Have L-bricks placed: overview of prices / costs
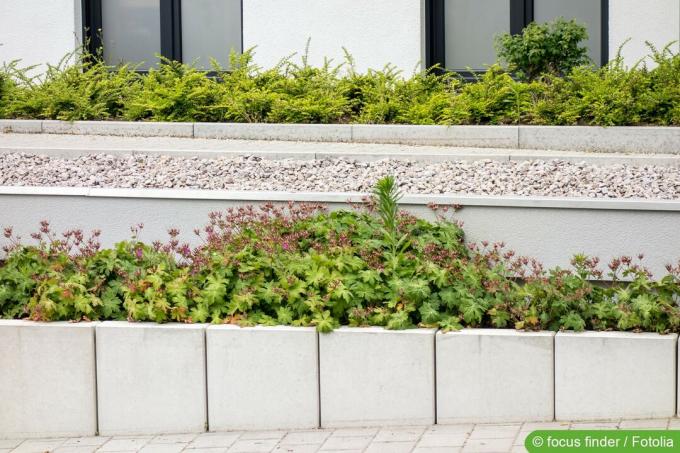
Making slope fortifications or edging from L-stones is one of the more challenging real estate projects. While you can certainly build smaller fortifications yourself, large amounts of earth should be supported by specialist companies. We explain what to look out for and what costs to expect.

Nails for concrete walls: this is to be considered
In addition to screws and adhesives, the do-it-yourself repertoire also includes nails for the solid assembly and attachment of materials. Not every nail is suitable for every purpose. Choosing the right nail depends on various factors, such as the construction material of the support wall.

Interior plaster: how much plaster do you need per square meter?
If interior plaster is to be applied, one question above all arises: how much plaster do you need per square meter? Because too much material causes unnecessary costs. Too little plaster is annoying because it takes time and money to buy again.

Brick Wall: Remove plaster from bricks
Removing plaster from a brick wall takes effort and careful handling. Bricks are delicate and crack/break easily. Here sensitivity and the right instructions are required, which experts have created for hobby craftsmen and those who want to become one.

Drain house & masonry | Cost & Duration
Anyone who needs to have their house and masonry drained has a choice of different methods. We offer here how the costs can be, how long it can take and other important facts.


