
Table of contents
- What is bokashi?
- How does it work?
- What brings lawn bokashi?
- Instructions
- Preparation
- lawn clippings
- Ferment
- Care lawn clippings approach
- The finished lawn bokashi
- use
- durability
Especially in gardens with many green areas, there is a lot of lawn clippings that hardly anyone thinks about. Getting rid of him seems easy. It ends up under hedges, bushes or trees, is thrown onto the compost or used as mulch on beds. While these are good uses, it gets even better. There is a new, promising variant.
What is bokashi?
This Japanese name means translated: fermented organic material.
It is a new type of fertilizer that is produced by fermentation. Fermentation is best known from food. Especially the lactic acid fermentation of dairy products such as yoghurt or sauerkraut. There, the fermentation serves not only to develop the taste, but also to preserve it. The preparation of lawn clippings with effective microorganisms is also similar to the production of silage, which is used as animal feed, and the production of biogas. This is obtained from the fermentation of biomass in biogas plants.
How does it work?

Normal compost is created by the constant supply of oxygen. Without it, the organic material would not rot. The process takes a long time and is laborious, since garden waste has to be piled up alternately. Turning is also labour-intensive, but it is necessary for faster composting. With Bokashi, there is less work and it works in the absence of air. Because the biological material is stored in sacks or buckets, it takes up less space than a compost heap. So that the fermentation can begin and be completed within a few weeks, the lawn clippings are inoculated with effective microorganisms (EM).
What brings lawn bokashi?
The advantages compared to simple composting are:
- the slightly acidic pH inhibits weed growth
- Snails are kept away
- Soil health and root growth are promoted
- The resistance of crops to pests and diseases is strengthened
- The yield of fruit and vegetables is increased
Instructions
In this step-by-step guide, you will learn what to look out for with a lawn bokashi:
Preparation
The most important thing when preparing the fertilizer is the thorough mixing of the organic material with the microorganisms. In the variant with green waste, it is easier to apply the EM solution to the lawn before mowing.
tools:
- Water
- Effective microorganisms (from 10 euros per liter in garden shops)
- possibly rock flour
- tub or bucket
- garden sprayer or watering can
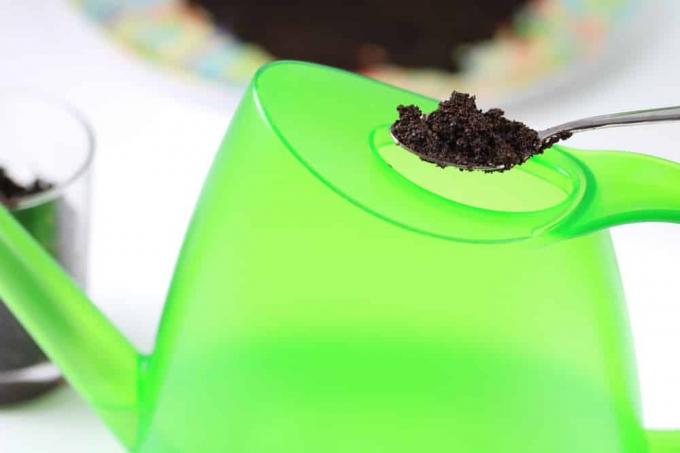
The microorganisms are mixed with water. The correct mixing ratio is a matter of taste. The information ranges from 200 to 1000 ml per 10 liters of water. Rock flour is not necessary for fermentation, but adds additional nutrients to the future fertilizer. A teaspoon is enough for this. The mixture is filled into a garden sprayer and applied to the area to be mowed. The solution can also be mixed in a watering can, which is then used to water the lawn.
lawn clippings

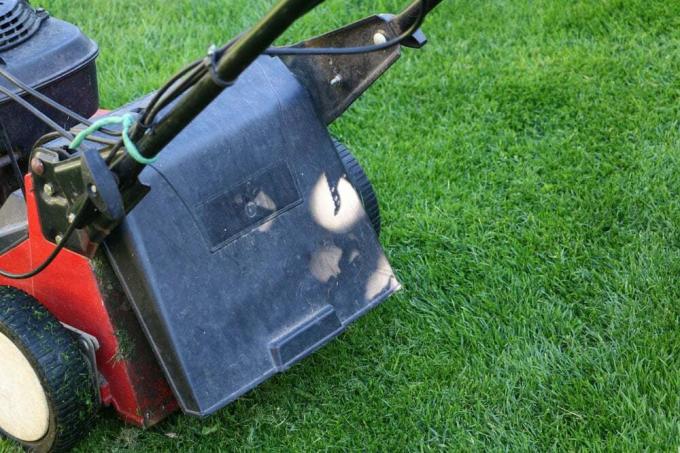
After the EM solution has been applied to the lawn, it is cut with a lawnmower as usual. Depending on the model, it can be better if the surface dries a bit before mowing, then the cutting result is more even. If there is no grass catcher on the mower, the clippings are then collected from the green area with a rake.
Another variation of step 1 and 2:
Instead of treating the lawn with the EM before mowing, these can also be added to the clippings after mowing. To do this, the lawn is mowed as usual, but the clippings remain on the lawn for a day to dry out a bit. It is then mixed with the microorganisms when it is filled into a sack or bucket.
Ferment
tools:
- large plastic sack, bucket or special bokashi bucket
- Gloves
- maybe a wooden tamper
The lawn clippings are filled into the selected container. This must be hermetically sealed. The material is pressed down with the hands or a wooden tamper. There should be as little air in the bag or bucket as possible. At the same time, the pounding ensures that the plant cells are destroyed, which speeds up fermentation. A sack is tied tightly, the bucket is closed with a lid. After that, the containers are stored in a cool, shady corner of the garden.
Care lawn clippings approach
In principle, nothing else is necessary than to wait a few weeks. With a bucket with a drain cock, however, you can drain the resulting liquid during fermentation and use it for fertilization. For this, the bokashi juice is mixed with water (mixing ratio 1:500) and the plants to be fertilized are poured with it.
A notice:
A real Bokashi bucket is airtight and also has a drain cock. With a little skill, however, a standard rain barrel can also be turned into a Bokashi barrel.
The finished lawn bokashi
The fertilizer can be checked after four to six weeks or when no more juice comes out of the drain cock. It's ready when it smells sour, looks gray-green and has a soft consistency. If the fermentation is not yet complete, the container is closed again and waited for some time.
A notice:
If mold has formed, it is better not to use the material. A fermentation has taken place.
use
The finished fertilizer can be used in different ways.
Possible are:
- as mulch material
- for fertilizing fruit and vegetables
- to enrich the compost
- to prepare new beds
- for weed suppression
With its acidic pH value, the Bokashi is suitable for displacing weeds, but sufficient distance should be maintained from cultivated plants that do not tolerate acidification. The same applies when the bokashi is used as a mulch material.

When fertilizing fruit and vegetables, the fertilizer can also be mixed with other material so that the acid is somewhat buffered. Leaves from deciduous trees, for example, which contain little tannic acid and rot quickly, are suitable for this.
Are suitable:
- birch
- linden tree
- poplar
- pasture
Less suitable, since they acidify the soil themselves or rot poorly, are:
- Oak
- walnut
Tip:
Whether used as a mulch or fertilizer, Bokashi is particularly good for plants that prefer acidic soil. For example blueberries or rhododendrons.
durability
If the fertilizer cannot be used immediately or if there is too much material at once, it remains in the container in which it was produced and is sealed airtight again. Depending on the weather, it lasts between six and twelve months. If it cannot be used by then, it is disposed of in the compost. There he still does a good job and is not wasted.
 Home editorial office
Learn more about fertilizer

Lawn lime: Lime against moss in the lawn
As soon as moss appears in the lawn, many a hobby gardener becomes restless - because soon the moss carpet can take over entire areas. With lawn lime, however, the unwelcome visitor can be skilfully put in his place.

Build your own Bokashi bucket | DIY instructions
Most of the kitchen waste goes on the compost or in the organic bin to add it back to nature's cycle. But there is a way to gain valuable fertilizer beforehand. We show how easy it is to build a Bokashi bucket and use it to obtain liquid fertilizer on the balcony or even in the apartment.

These 8 plants don't like coffee grounds as fertilizer
Hobby gardeners swear by the effect of the coffee grounds. It is fertilizer, snail protection, soil conditioner and cat deterrent all at the same time. In addition, it is free of charge and occurs daily in the household. Most plants are strengthened, but some are sensitive to the addition of coffee. We clarify.

Fertilize Christmas roses properly: 11 effective home remedies
Christmas roses are special flowers because, unlike almost all other perennials, they bloom in winter. They are insensitive and frost-hardy, and they can also multiply independently. Here you can find out what needs to be considered when fertilizing.

Wood ash as fertilizer | These 70 plants love barbecue and charcoal
Home gardeners with a fireplace or tiled stove receive a natural fertilizer for free. Charcoal and charcoal leave behind a dusty residue that is packed with valuable nutrients. Read here under what conditions wood ash is suitable as a fertilizer. These 70 plants benefit from the unorthodox nutrient supply.

Foliar fertilization: make your own foliar fertiliser
Foliar fertilization transports nutrients directly into the plant via the leaves in order to compensate for short-term deficiency symptoms. This guide will make you familiar with the right approach, because this form of nutrient intake is associated with risks. Our tried and tested instructions explain how to make foliar fertilizer yourself.


