Table of contents
- Without butterflies and warmth there are no seeds
- Harvest capsule fruits and separate seeds
- Instructions for sowing
- Care during the germination phase
- Post-germination care
- Pricking requires a sure instinct
- Conclusion
In the home garden it is common to propagate an oleander by cuttings. If you are striving to breed a larger number of young rose laurel bushes as a hedge, a solitary mother plant will not provide enough offshoots. In order not to subject your most beautiful oleander to clear-cutting for the production of droves of cuttings, the focus is on sowing. An adult, well-rooted ornamental shrub will give you countless capsule fruits with seeds after its summer flowering period. From seed harvest to transplanting, this guide explains in detail how to grow oleanders from seed.
Without butterflies and warmth there are no seeds
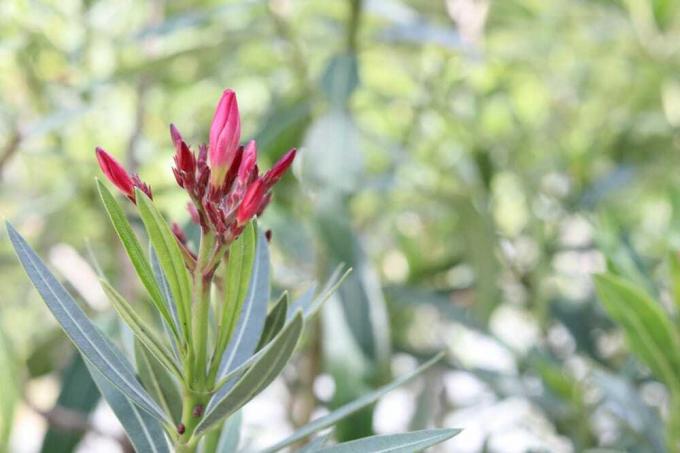
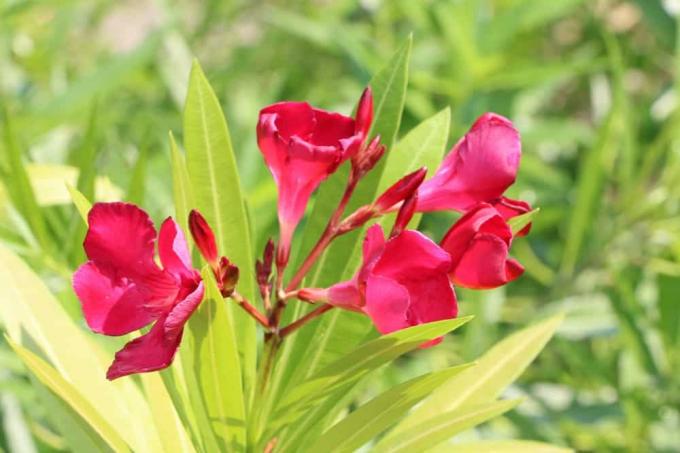
The oleander is one of the hermaphroditic flowering shrubs, so each plant has both female and male flowers. Because of this, a single specimen is sufficient to fertilize the flowers. Insects are responsible for transferring pollen from one flower to another. The highly complicated structure of an oleander flower with twisted appendages and a long, narrow flower tube, on the other hand, only allows a few insects access to pollen and nectar. Only butterflies and moths are able to penetrate the inside of the flower thanks to their long tongues. As a first premise, a location under the open sky is required, because your oleander has no chance of pollination behind glass.
The second premise for the growth of richly filled capsule fruits is many hours of sunshine at high summer temperatures. After successful fertilization, the hoped-for pods develop from the two carpels. In it, on the other hand, the winged seeds only actually ripen during a long, sunny summer. Since climate change brought us Mediterranean conditions, local oleander gardeners can also hope for their own seed harvest.
Harvest capsule fruits and separate seeds
Experience has shown that the brown, elongated capsule fruits are only mature when the oleander is already in its winter quarters. Ripe seed pods can be recognized by the fact that they are brown and dry. Wait for them to open lengthwise. Now the winged seeds emerge, which of course should not sail away. Cut off the capsule and pluck out the seeds. In the wild, the fine hairs act like a small parachute to transport the seed. Please do not cut these hairs, so as not to damage the seed core.
Please consider the high poison content of oleander when harvesting the seeds. In order not to come into contact with the toxic plant sap, wearing gloves and long-sleeved clothing is strongly recommended. Ideally, you should dispose of clippings in the household waste and not on the compost.
Instructions for sowing
Since oleander seeds lose their ability to germinate over the course of longer storage, we recommend sowing immediately after the winter seed harvest. Sow as many of the winged seeds as possible, as even under ideal conditions, a failure rate of more than 60 percent can be expected. Multi-pot plates with a transparent lid are very suitable for sowing. The chances of success are optimized if a heatable greenhouse is available. We recommend coconut hum, perlite or a commercially available seed soil as a growing substrate. How to proceed professionally:
- Fill the plots of the multi-pot plate or a seed tray with potting soil
- Place the seeds on the substrate and press lightly
- Do not sieve the light germs with sand or only very thinly
- Moisten with a fine shower
- Cover the growing vessel with a clear hood or place in an indoor greenhouse
A constant temperature level of 25 to 30 degrees Celsius is required for germination. The seed must not be exposed to the blazing sun, so a partially shaded location in a west or east window is advisable. If a heated mini-greenhouse is not available, place the seed container on a heating mat or window sill over an active radiator. The transparent cover ensures that the rising, dry heating air does not dry out the seedlings.
Tip:
The substrate for sowing oleanders is disinfected in the oven before use. Fill the earth into a fireproof bowl, spray some water over it and put a fireproof lid on loosely. Set the oven to 150 to 180 degrees top and bottom heat. All pathogens are reliably killed within 30 minutes.
Care during the germination phase
Half-shady light conditions and warmth alone are not enough to motivate the seeds to germinate. At the same time, keep the substrate slightly moist so that waterlogging cannot form. Although an adult oleander likes to be watered with hard water, we recommend using soft, room-warm water during this delicate germination phase. Otherwise there is a risk of limescale forming, which will hinder germination. Fertilizer is not applied during this time as lean soil improves germination. Please ventilate the cover and indoor greenhouse daily so that no mold can develop.
Post-germination care
Under perfect conditions, the first cotyledons will sprout after just one week. Under the influence of temperatures between 20 and 24 degrees Celsius, germination takes several weeks. If the mercury column for the seed does not rise above 20 degrees Celsius, you will look in vain for germinating oleander seeds. Once germination begins, the care program continues as follows:
- After germination, remove the hood or keep the roof of the indoor greenhouse open
- Temperatures now drop to 18 to 20 degrees at night and 22 to 23 degrees by day
- Continue to water regularly and do not fertilize
If you dedicate yourself to sowing oleander seeds during the winter period, measures must be taken to compensate for the lack of light. Place the seed pot under a grow light or daylight lamp that is on for at least 10 hours a day.
Tip:
Meticulous cleanliness prevents the transmission of diseases and pests during sowing. Clean all vessels and tools with strong alcohol before they come in contact with the seeds.
Pricking requires a sure instinct
A seedling proves its vigor when it produces 2 pairs of leaves or more in the seed container. These specimens have the greatest potential to transform into a magnificent oleander tree. On the way there, the individualization is now on the program, whereby each seedling is transplanted into its own pot. In order not to damage the delicate root strands, a steady hand is desirable for this process. How to do it right:
- 10 or 12 seed pots fill with pricking soil or standard soil thinned with sand
- Leave a pouring edge of 1-2 cm
- Pre-drill the planting hole in the substrate with a pricking stick
- Lift the seedling onto the ground with the prod or a spoon
- Place in the prepared planting hole without buckling the roots
Now fill in the soil up to the lower pair of leaves and press them down lightly so that no air pockets form. Instead of watering, spray the substrate with regular tap water. After a phase of regeneration in the warm, semi-shady location, the young oleanders move to a sunny window seat after 8 to 10 days. From this point on, the nutrient supply begins. Please add half the concentration of liquid fertilizer to the irrigation water every 2 weeks.
Tip:
After pricking out, give your young oleander sufficient time to develop a strong root system. A young plant should only be planted out or potted in a bucket when it has reached a size of at least 20 to 30 cm.
Conclusion
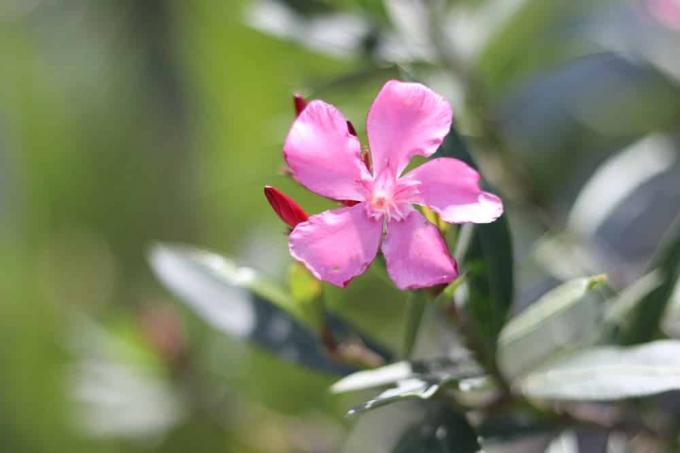
Successful propagation of oleanders from seeds relies on light, warmth and moisture. At the latest since climate change brought us long summers with high summer temperatures, capsule fruits with ripe seeds thrive on the rose laurel after the flowering period. Before they sail away on their parachute, the seeds are harvested. Sowed on a poor substrate, germination progresses quickly at 25 to 30 degrees Celsius in a bright location. Every seedling with more than 2 pairs of leaves is already halfway to becoming a magnificent oleander tree. Pricked out with finesse, watered and fertilized regularly, you can look forward to the first flowers within 3 to 5 years.
 garden editorial
 I write about everything that interests me in my garden.
Learn more about grafting and propagating plants
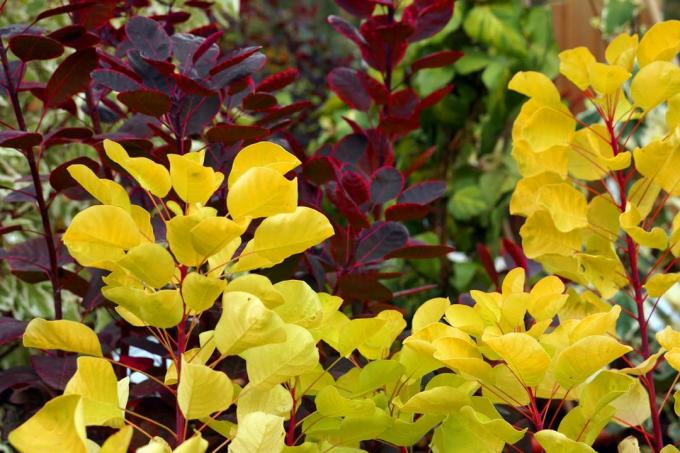
Increase smoke bush: 9 steps to success
As pretty as the immigrant wig tree is to look at, it is as adaptable and easy to care for in this country. So give me new copies! It is best to propagate yourself from your own garden. The propagation material is free, the work is manageable and success is (almost) guaranteed.

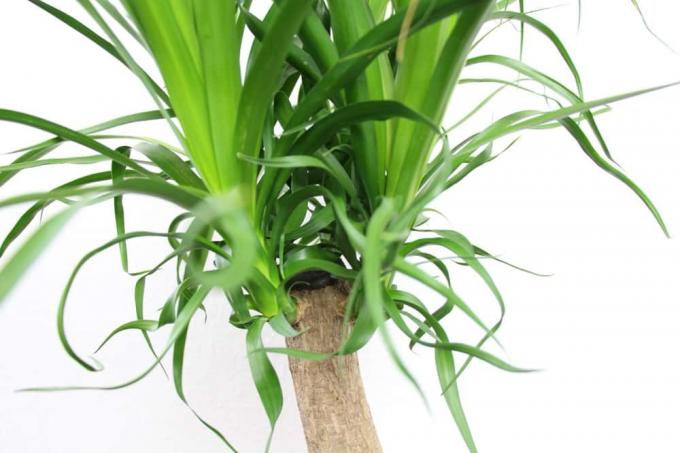
Propagating Pilea by cuttings in just 4 steps
The Pilea has many names, all referring to the shape of its leaves. It doesn't get very big, but is still robust and easy to care for, making it the ideal houseplant, even if it rarely flowers indoors.

Propagating canna from seeds: how it's done
Growing cannas from seeds is more difficult and requires more money than dividing their roots. With a few tricks, however, propagation is also possible in this way and can be a new challenge for passionate flower lovers.

Propagation by head cuttings - How it's done | Instructions
Propagation by cuttings is very easy to do. As a result, another specimen of the mother plant presents itself promptly, with the same appearance and the same properties. With this method, there are a few important points to consider in order to successfully propagate plants.
Stem cuttings: 10 tips for propagating cuttings
Propagation from cuttings is quite easy to do. The offspring from a stem cutting is no exception. The success rate is quite good. All you have to do is follow a few tips, and then the offspring of new plants will work well even for inexperienced hobby gardeners.
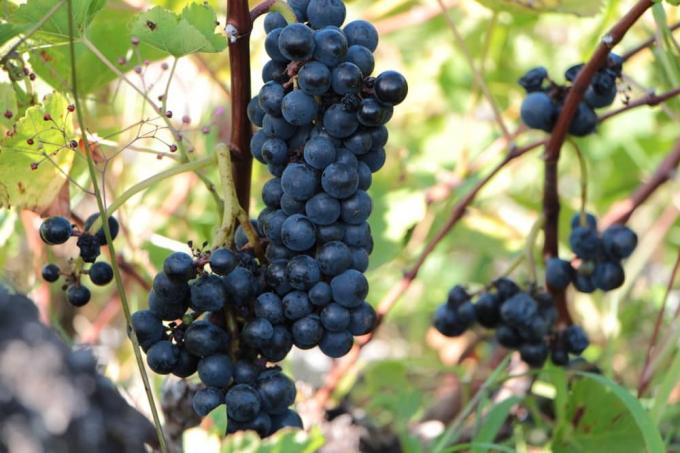
multiply grapevine | 9 tips for cuttings and sinkers
Grape vines are not just a decorative way of greening house walls or trellises. They also deliver fresh grapes for eating or pressing. And if you grow it yourself, you can be sure that no pesticides will spoil the joy of the delicious fruits.