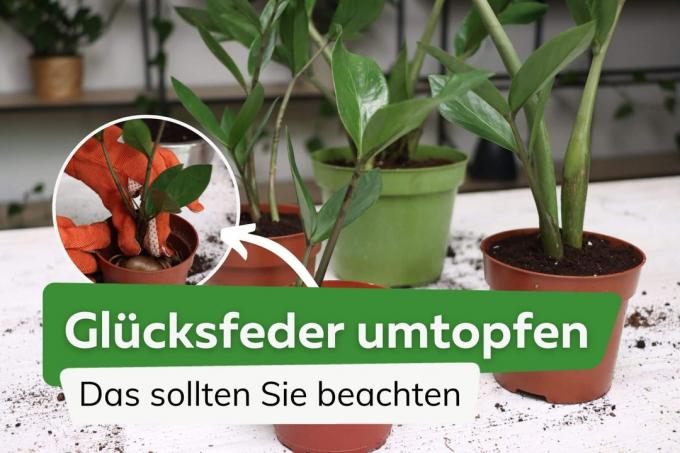
The lucky feather is a popular plant because it requires little care. Depending on the location, it needs to be repotted after one to three years because the pot then becomes too small.
To the point
- repot in spring
- Choose a permeable substrate
- Do not use a pot that is too large
- Check roots for damage
- remove damaged roots
Table of contents
- time
- Substrate
- Pot size
- Lucky Feather Repotting
- frequently asked Questions
time
When is it time? Lucky Feather(Zamioculcas) The plant itself indicates whether to repot. As soon as the roots at the bottom of the pot try to grow through the water drainage, the pot must be changed. In a bright location, this can happen after just one year; if the lucky feather is in a shadier location, it can take up to three years.

The best time of year for repotting is spring, before the growing season begins.
If you buy new plants during the year, you should repot them regardless of the season. The substrate is usually not of high quality and sometimes even with pests affected.
Substrate
The substrate should not be too nutrient-rich, but should be permeable. The lucky feather occasionally goes a little longer without water. If the substrate can store water, it will survive dry periods better.
Substrate mixture:
- 2 parts universal soil
- 1 part sand
- 1 part lava rock
Drainage in the pot is usually not necessary, as the lucky feather should not only be watered heavily. If you want to fill in a drainage, you should use fine to medium-sized lava rock so that the drainage holes are not blocked.
Pot size
Compared to other houseplants, the lucky feather develops much better in a confined space than in large pots. The pot size should therefore not be too large. A maximum distance of half a hand's width from the edge is optimal.
If you use old pots, make sure they are always clean. Although the lucky feather is easy to care for, it is susceptible to diseases that can still be contained in the remains of the substrate. Therefore, always wash the pot with soapy water.
Lucky Feather Repotting
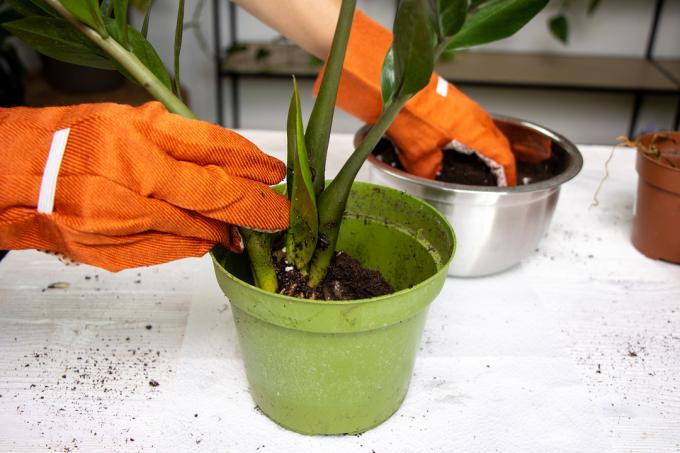
Repotting is usually done in just a few steps.

Repot correctly:
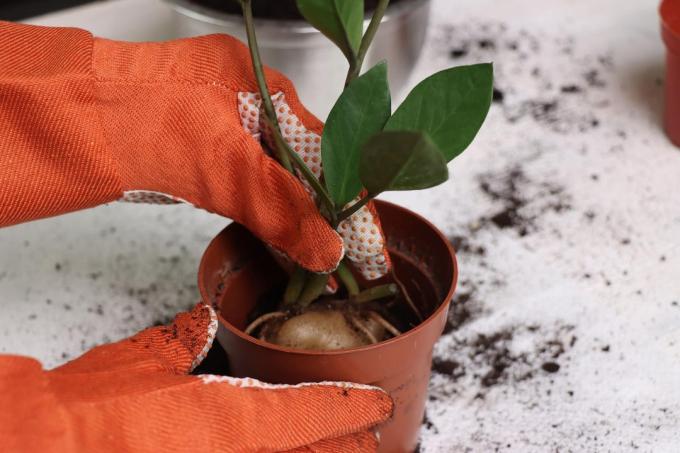
- Carefully lift the plant out of the pot
- Remove most of the old substrate
- Check roots for damage
- remove damaged or dead roots
- Pour some substrate into the pot
- Place the lucky feather in the middle
- fill with earth
- press carefully
- Pour moderately
The roots of the lucky feather are very sensitive. Therefore, you should be extremely careful when checking the roots. In addition to damaged roots, you can also cut away root parts that are heavily curled.

Always use a clean and sharp knife to remove roots. Avoid using scissors as these would squeeze the root, which would result in an unnecessary amount of the root dying off.
frequently asked Questions
Repotting is a good time to propagate the lucky feather. It can be easily propagated by division. To do this, tear the root ball in half. For large plants, it can also be divided into several parts and pot each part in its own pot.
Yes, the Glücksfeder is ideal for hydroponics. You still have to repot it regularly, as it sometimes develops even stronger roots in hydroponics. As a substrate you can use special hydroponic substrate. Alternatively, coarse expanded clay, which is more cost-effective, is also suitable.
No, the lucky feather generally does not need any pruning. If you have the shoots or If you accidentally damage leaves when repotting, just remove the damaged part. You can also use these parts to grow new plants, because in addition to division, the lucky feather can be propagated using leaf and shoot cuttings.
The fresh substrate usually offers the lucky feather a good basis for the next few months, as commercially available soil is usually pre-fertilized. You can only fertilize the Glücksfeder for the first time after six weeks at the earliest. By then the plant has rooted itself well again and has already absorbed some of the nutrients from the pre-fertilized substrate.


