table of contents
- sowing
- Sow in pots or outdoors
- division
- Cuttings
- Sinker
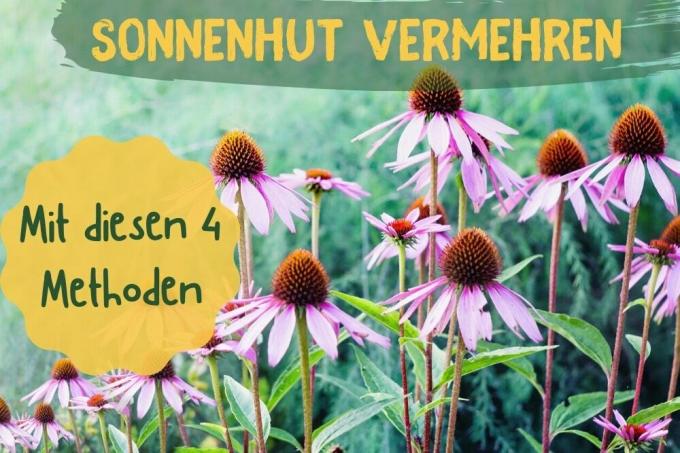
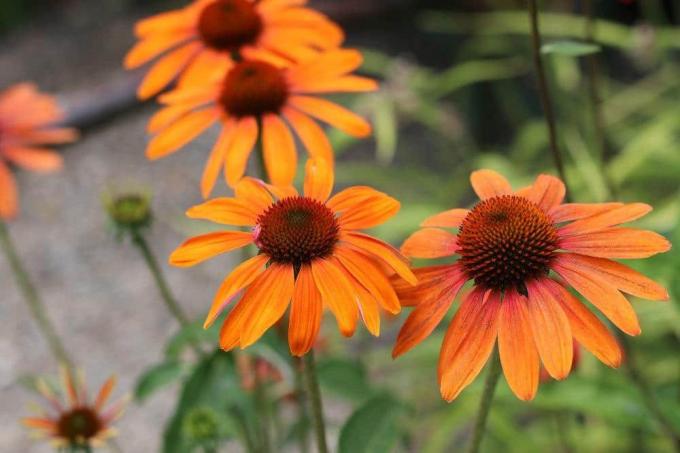
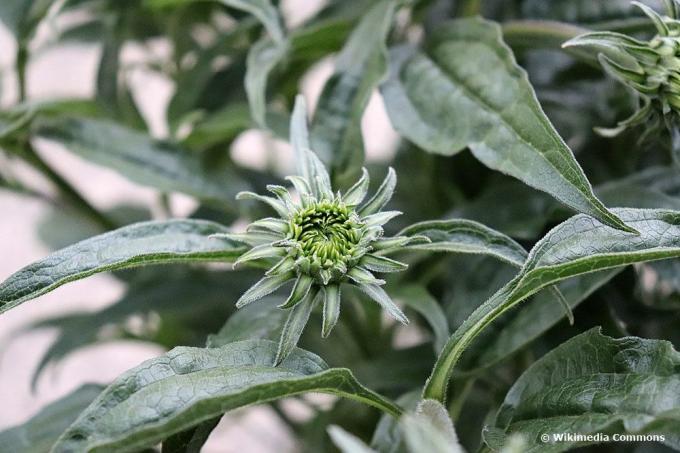
Due to its decorative effect, the coneflower is one of the most popular magnificent perennials in home gardens. There are 4 methods you can use to effectively grow your inventory on your own.
sowing
The sowing of Echinacea is a variant that can be implemented without any problems. The hedgehog heads multiply compared to the common coneflower (bot. Rudbeckia fulgida), with which it is often confused because of its name, is much better than seeds. In addition, the flowers form enough seeds that you can use for the project. To do this, you must first harvest the seeds and prepare them for sowing. The harvest takes place during or after the flowering period from July to September, after the inflorescences have dried up:
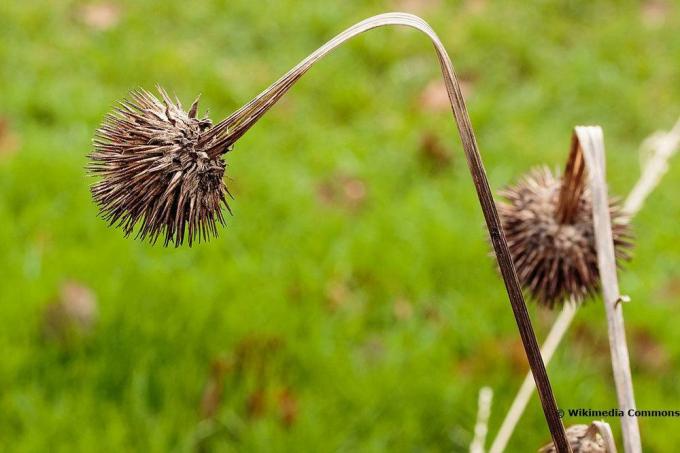
- let it fade
- Cut back the perennial
- Remove hedgehog spines
- Remove tubular flowers
- Harvest seeds
The seeds can be recognized by their color. They are dressed in a light beige and sit directly on the flower base. When the flowers are well dried up, ideally you can just shake the seeds out. If that doesn't work, just peel it off. Since the seeds have already dried, you can keep them until next spring. But you need a cold stimulus. To do this, store the seeds in a freezer bag filled with moistened sand and place this in the vegetable compartment of your refrigerator.
Sow in pots or outdoors
The time of sowing the coneflower is determined by the variant:
- Pot: February to March
- Outdoor: April to May

If you want to sow the plants in the bed, all you have to do is sow them at the appropriate time. The distance between the rows of plants is between 20 and 40 centimeters, depending on the final size of the variety. After sowing, the seeds are covered with two centimeters of soil. You then have to wait 21 to 30 days for the first seedlings to appear. A nutrient-rich soil is recommended. Preference in pots is possible in the following way:
- Fill the growing tray with growing medium
- Distribute seeds
- Lightly press
- do not cover
- moisten
- put in mini greenhouse
- alternatively cover with cling film
- Germination temperature: 20 ° C to 22 ° C
- Germination time: 14 to 18 days
The irregular germination of the individual seeds is characteristic of the coneflower. This means that you have to prick out the individual specimens as soon as they have formed enough pairs of leaves. Don't wait for all of the seeds to germinate. The seedlings are then planted in nursery pots with a nutrient-rich substrate and placed in a bright and cool place. Well suited are:
- Stairwell
- unheated rooms
- unheated greenhouses
Coneflower young plants are only planted after the Ice Saints, as they are still quite sensitive to frost. The young plants still have to get used to the outside world. To do this, place the pots in a sheltered place outdoors when the temperature is right during the day. Bring the plants back in in the evening. Do this until the sun hats are planted out.
Note: Don't worry if your self-sown specimens are late in the year or not until the 2nd Season bloom. This is completely normal as the plants like to take their time for their flowering.
division
Division is a popular method for propagating Echinacea because the perennial can easily continue to grow on a smaller scale. At the same time, the division has a positive effect on the vitality of the plants. The best time to share a coneflower is after it has bloomed. From September to October, you can use the spade to multiply the coneflower:

- Cut back sun hats vigorously
- remove organic material on site
- Expose the root ball
- Plant does not have to be dug up
- Sharpen and disinfect spades
- Divide the root ball neatly
- Two to three pieces per root ball
- Remove sections
- Prepare a planting hole for each section
- enrich with compost (rotted)
- mix well with excavated earth
- Plant root pieces
- moisten well
Winter protection is not necessary for the sections as they are completely in the ground. After the division, you no longer have to worry about the plants until the next spring arrives. In total, it takes the plant up to four months for growth to be in full swing.
Tip: Divide your sun hats every four years to rejuvenate them. The division has a particularly good effect on the flowering power of the plants.
Cuttings
The use of cuttings is just as effective as the division. Each coneflower forms a multitude of shoots that can be cutted. This way you can get many new specimens from a single plant if the plants are healthy enough. If you want to continue propagating your coneflower in this way, you need to choose a cutting that is made in the following way:
- without flower
- a minimum of 3 pairs of leaves
Since cuttings can only be used for propagation without flowering, you will need to do the project before flowering. Carefully cut them off with a sharp and disinfected knife to avoid infections that could negatively affect the success of the propagation. Now prepare a nursery pot for each cutting. This should contain nutrient-rich potting soil, because this substrate has a positive effect on root formation. Keep the soil sufficiently moist and pay attention to the optimal addition of water and the general care of the species over the next few weeks.
Sinker
Another way to multiply sun hats is to use droppers. A sinker is ideal if you want to grow young plants directly in the bed and not in the pot. This method is ideal for this case, as the new plants are grown right next to the mother plant. For the sinker, you need to create a little space next to the mother plant, then follow these instructions:

- choose a healthy drive
- free from leaf green
- bend down carefully
- the lowering device must not kink
- Let sinkers into the ground
- fix with hooks in the earth
- Spread the earth over the bent point
- Blossom must look out of the ground
- Fix the end of the shoots with a bamboo stick
- moisten well
Over the next few weeks, roots will form on the coneflower shoot. This makes it possible to use the sinker for further cultivation. The soil must remain moist over the entire period, but no waterlogging must form. The success of the rooting can be seen on the basis of a new shoot. From this point on, carefully separate the sinker from the mother plant with clean scissors. Depending on the plan, plant the rooted shoot in a new and suitable location or leave it next to the mother plant. Then care for the young plant as usual.