table of contents
- Sandstone
- Materials needed
- tool
- Laying the foundation
- Building a sandstone wall: instructions
- frequently asked Questions
Building a sandstone wall is relatively easy as long as a few points are observed. Here we reveal which tools and other materials are necessary besides sandstone.
In a nutshell
- Sandstone is a very durable material
- Wall needs a good foundation and has to be grouted
- real eye-catcher in the garden
Sandstone
Sandstone is used when a stone has more than 50 percent sand in its composition. Depending on the level of the content, the stones can be more or less stable or porous. The general lifespan, however, is between 100 and 150 years for all species.
In addition, the natural stone has some other advantages. For example:
- breathable
- plantable
- easy to edit
- moisture retentive
- available in numerous colors
- Wall can be created easily
- inexpensive
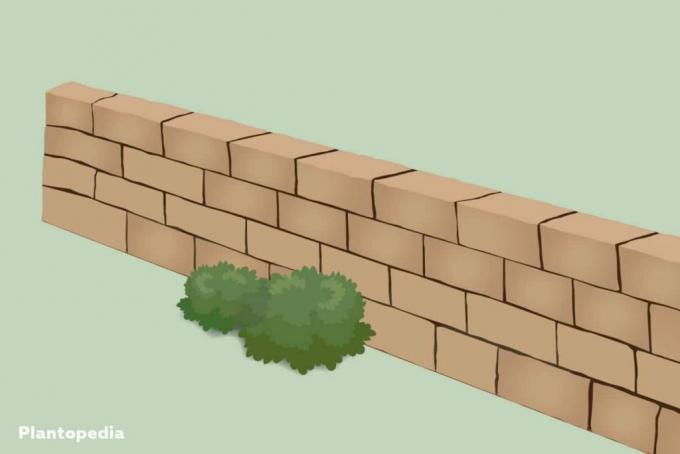
Anyone who decides to build a sandstone wall in the garden can also get creative. For example, a wave-shaped top edge or plants would be possible.

Materials needed
The material required to build a sandstone wall is simply the building materials that are required for the foundation and the wall itself. The following are necessary:
- concrete
- gravel
- mortar
- sand
- Sandstones
- gravel
tool
The list is also very clear with regard to tools. You will need:
- Rubber mallet
- Trowel
- Measuring tool
- Plate compactor
- Shovel or spade
- line
- Bars
- Spirit level
Tip: A plate compactor can be borrowed from most hardware stores. So the purchase is not absolutely necessary.
Laying the foundation
To build a sandstone wall that will last for a long time, it is necessary to create an appropriate base. A solid foundation is ideal for this.
- Stake out the foundation: The course of the wall is marked out by inserting a rod into the respective corner points and stretching a cord between them.

-
Dig the foundation: After setting out, the excavation can be carried out either with a spade or a mini excavator. If this has the right dimensions, the earth is compacted in the pit. A vibrating plate, for example, which can be rented in most hardware stores, is suitable for this.
-
To fill: A layer of crushed stone, gravel and sand is poured in each. The respective materials are to be entered in equal parts or equal quantities. After each layer, it is compacted again with the vibrating plate.
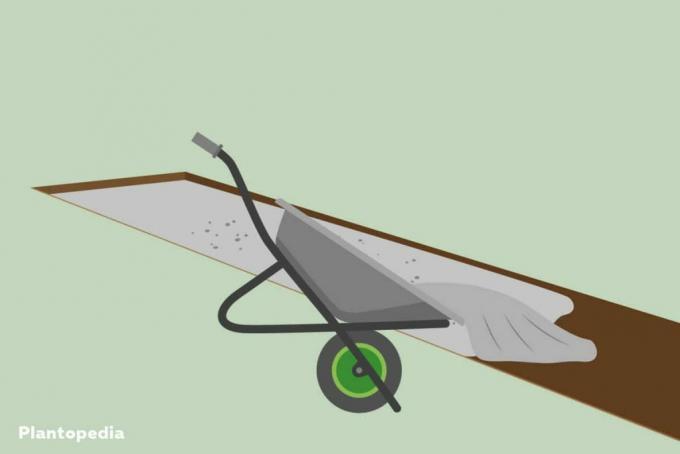
- Concrete: Once these steps have been completed, the mixed concrete can be poured. For this, too, we recommend borrowing a mixer from a hardware store. The concrete is then smoothed with a trowel.

- Let it harden: Before you can build the sandstone wall, the foundation must dry out completely. This can take several days or even more than a week.
Tip: The time to harden depends on the current weather. As a precaution, they should cover the concrete when it rains. However, the tarpaulin required for this must not lie directly on it.
Building a sandstone wall: instructions
As with the material and tools, the steps are clear in terms of number and degree of difficulty. The construction is still physically demanding. Several days and assignments should therefore be planned. This is necessary simply because the concrete of the foundation has to harden first.
This is how it is done:
- Create first row: If the sandstone is not available as a cuboid, but as natural stones with different shapes, a corresponding sequence should be determined. This makes it possible to keep joints small. For this it makes sense to first lay out the stones appropriately and as desired and then to number them. Optionally, a number can be written on it with chalk or labeled pieces of painter's tape are stuck on it.

-
Apply mortar: The mortar is used as a binding agent on both the top and bottom of the stones. You have to press the individual elements firmly. If, after checking with the spirit level, there is an uneven line, this can be leveled out with a rubber mallet.
-
Close joints: When all the stones are aligned, you can do the Fill joints with mortar.
- Build wall: The same procedure is followed for every further row. You have to place the sandstone offset to the bottom row.

Tip: It makes sense to work with a helper in any case. Not only because the wall can then be erected more quickly. The strain on your own body is then also less.
frequently asked Questions
Yes, it is entirely possible. However, a breathable color must be chosen. Emulsion paints and varnishes are not suitable.
That goes for every wall. Regional differences between the rules and laws are possible. Therefore, you should always ask the respective municipality in advance what needs to be observed. In gardening associations, the management is to be asked.
Manual removal is useful if there is a vegetation with moss. The use of Kärcher or sandblasting devices could damage the stones.


