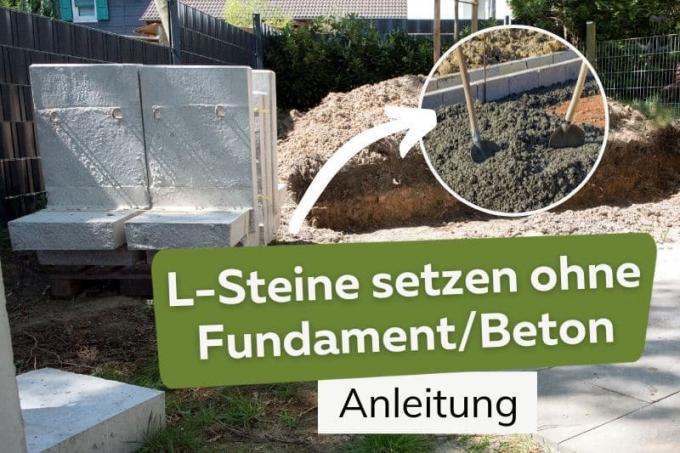
Normally, L-stones should not be set without a foundation. However, there are two exceptions where this is entirely possible. This guide shows how to do it.
In a nutshell
- Concrete foundation is always recommended
- Plastic L-stones are a lighter alternative
- Mini L-stones do not need a foundation
- Consider traffic load
- Choosing the right backfill
Table of contents
- Basic rule for L-stones
- Alternatives to L-stones
- Preparation and Utensils
- insert drainage
- Set history
- Place L-stones
- backfill
- frequently asked Questions
Basic rule for L-stones
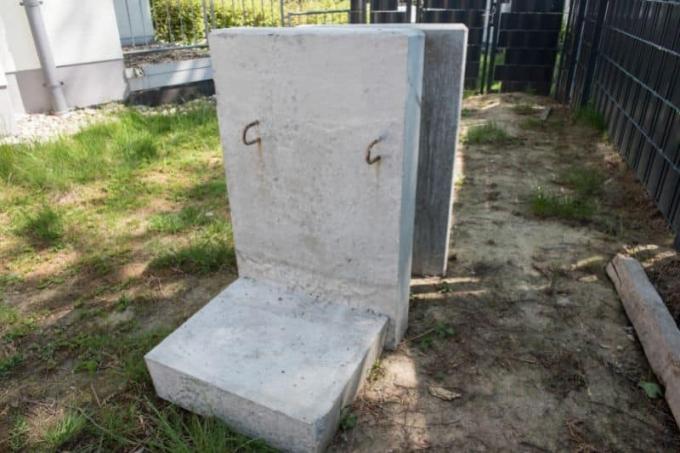
When putting the practical L stones a concrete foundation is recommended in any case. It gives the stones stability and prevents them from sinking or shifting. Stones that have to withstand traffic loads must not be left out. This also applies to very heavy designs that can weigh a ton or more.

As a rule, such variants are not necessary for the garden. Nevertheless, the foundation should only be dispensed with here if the following criteria are met:
- no excavator required to set the L-stones
- Ground prepared accordingly
- drainage introduced
- there is no gradient
- no traffic load given
Alternatives to L-stones
An excavator is only not necessary if the stones are light in weight. This is the case with plastic L-stones and so-called mini L-stones. Their weight is so low that they can be set with pure physical strength. For longer sections, however, the use of a mini excavator is recommended, as the amount of work is high.
Preparation and Utensils
To prepare for setting L-stones without a foundation, you need:
- rods
- plumb line
- measuring tool
- mini excavator
- spade
- vibrating plate
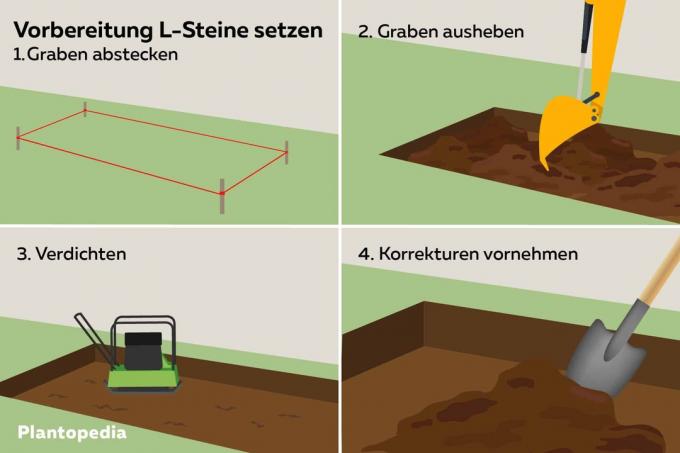
If these tools and aids are available, proceed as follows:
- Staking out the course: It is advisable to measure the area several times. The poles and the guideline are then used to mark where the earth needs to be excavated.
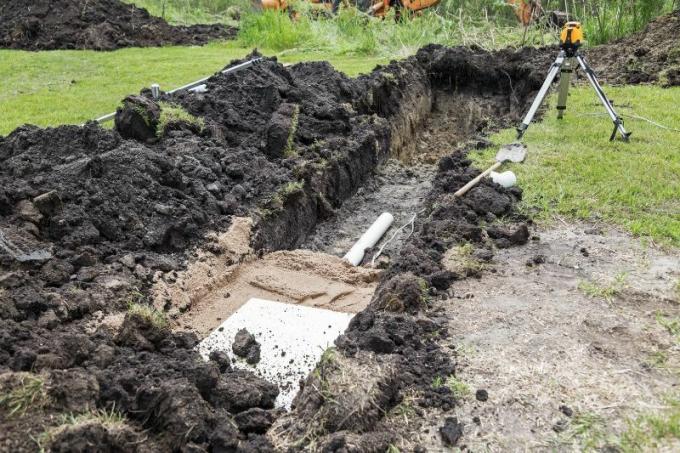
- Dig a ditch: The necessary ditch is dug with the mini excavator. This should be so deep that the L-stones can be used at least a third of their height. Adding 15 to 20 centimeters to the depth makes sense for drainage.
- Compacting: The bottom of the trench is compacted with the vibrating plate. This gives it greater stability.
- Make corrections: In the case of deviations in depth and unevenness, it is advisable to make the necessary corrections before proceeding further. This avoids problems later on.

insert drainage
In order to improve water drainage and to give the L-stones a better hold, a drainage layer is filled in after the preparations. Suitable for this:
- gravel
- gravel
- rolled chippings
- sand
The layer should be 15 to 20 centimeters thick and evenly distributed. This can be achieved after filling by smooth hooks and using the vibrating plate again.

Set history
In order to enable the exact insertion and alignment of the L-stones, the course is staked out again and a plumb line stretched. This indicates how high the stones should be and whether they are straight. Nobody should rely on visual judgement.
Tip: The use of a spirit level can be a further useful aid when inserting the stones.
Place L-stones
Once all the preparations have been completed, the L-stones are set without a foundation. The two most difficult points here are lifting the individual elements in and aligning them correctly. Even with stones made of plastic or with mini L-stones, the weight is so high that at least two people are needed for it.

It is important that each stone is correctly aligned in terms of course and height immediately after it has been inserted. The plumb line and the placement of the spirit level serve as orientation.
Only when everything is correct is the next stone added. With mini L-bricks, a joint should be left between the individual elements. In the case of the plastic variants, it is possible to insert butt together.
Tip: Repeated checking of the height and course prevents errors that would later require considerable effort to correct.
backfill
If all L-bricks are as desired, the ditch is filled up. For this purpose, the previously excavated earth or, in turn, gravel can be used. Likewise, both are possible if the Stones as a border of a bed serve, but optically on the outside a contrast is to be introduced.
The backfilling may not reach more than the upper edge of the L-stone. However, a clear distance between the filling and the top edge or an overhang is better for stability and statics. Also, neither mini L-blocks nor plastic L-blocks are suitable for areas where they will be subjected to traffic loads. Sidewalks and driveways must not be in their immediate vicinity.

This also means that the compaction of the soil or gravel must not be carried out with a vibrating plate. This can be used at a maximum distance of one meter. Instead, it makes sense to flush in the backfill directly on the stones.
frequently asked Questions
Although it is a bit more effort, it is clearly an advantage in terms of statics and resilience. This is essential in the case of traffic loads or the support of a gradient or incline. In addition to paths or driveways, a foundation is also required.
Having the L-stones placed by skilled personnel is more costly, but ensures a reliable structure and can prevent problems later. If you take on the digging and pouring of the foundation yourself, you can at least save at this point.
Variants made of plastic can be found in numerous different designs, which is optically advantageous. In addition, they are comparatively light in weight, are available in different sizes and are durable. However, stone versions are more durable and are also available in different dimensions.
The range of possible alternative solutions is very large when it comes to delimiting beds or paths. Lawn edging stones, formwork stones and gabions are just a few of them.
