table of contents
- Planning an irrigation system for the garden
- Materials and utensils
- Sprinkler selection
- preparation
- Building an irrigation system for the garden: instructions
- Insert pipes
- Connect water
- completion
An irrigation system for your own garden can be implemented on your own without major problems. For the construction of a garden irrigation, the planning and the materials used are the decisive components. Only through this you can use the irrigation indefinitely and provide your plants with the necessary moisture. After planning, you can use instructions that make building your own irrigation easier and explain the necessary steps in detail.
Planning an irrigation system for the garden
In order to enable efficient garden irrigation, the individual pipes must be able to reach the corresponding parts of the garden and the water pressure must be powerful enough. To find out how many liters per hour are available and whether the line has enough pressure, proceed as follows:
- Place a 10 l bucket under the tap
- switch on at the highest level
- Measure the time until the bucket is full
- Calculate seconds
- Divide seconds by 36,000
At the same time, you should see if the tap is slow to flow or has a lot of power. If the water jet is weak, you should use another tap or switch to a cistern or well if these are available. The corresponding pump needs one Pressure of 3-4 barto feed your garden. The liters per hour are important because each sprinkler can only distribute a certain amount of water per hour. This allows you to see how many sprinklers you have to use or whether the water costs would be too high in the end. You also need to plan the cable routes:
- Make a sketch
- Sketch scale: 1 m = 1 cm
- Draw in elements such as plants / paths
- Choose a path for the lines
- draw several branches if necessary
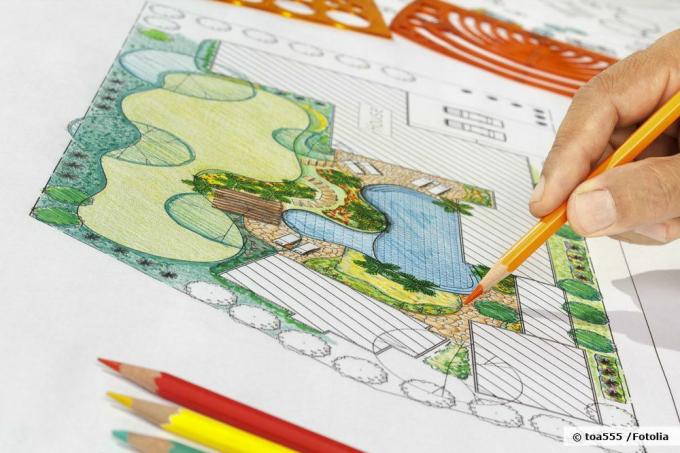
Here it is important to note the radius of the corresponding sprinkler in the sketch. Obstacles such as plants and walls can obstruct the water and reduce the spray radius. If you have a combination of lawn and individual beds in the garden, you should build an irrigation system specifically with these individual sections in mind. For example, more water is required for a lawn than for beds or planters. A collection of planters, on the other hand, needs more water than lawns, which would make the use of an automated system recommendable.
Note: When planning, don't forget the rain shadow areas where rainwater cannot get due to obstacles such as a dense treetop. So that these do not dry out, they must also be reached by the irrigation system.
Materials and utensils
In order to build an effective system for watering the garden, you need the right materials and utensils. With these, it is important that the dimensions are correct in order to be able to transport enough water so that it can be made available to the plants or the lawn. The following list shows you the necessary equipment:
- PVC or drainage pipes (diameter min. 100 mm) or irrigation hoses
- Pipe connector
- Sprinkler
- Hacksaw
- vice
- Cutter or secateurs
- Spirit level
- matching faucet connections
- optional: adapter for connections
- spade
- shovel
- wheelbarrow
- Gardening gloves
- Folding rule or roll measure
- line
When choosing the pipes, make sure that you always purchase a little more than your planning includes. If you are not yet familiar with shortening pipes, damage can quickly occur. A damaged pipe should not be laid in the ground, as this can cause flooding. Likewise, they should never be too short. Of course, when choosing the pipe connectors, you need to consider the diameter of the pipes you choose. With Irrigation hoses small garden areas or individual beds are preferred.
Sprinkler selection
When it comes to choosing a sprinkler, you have three different options to choose from. These must be selected depending on the respective project:
1. Pop-up sprinkler: Pop-up sprinklers are good for large areas, especially lawns. Since they are retracted again after use, the lawn, for example, can be mowed without any problems. They cover a fairly large area and, depending on the version, are not as cheap to buy as the other two types of sprinklers.
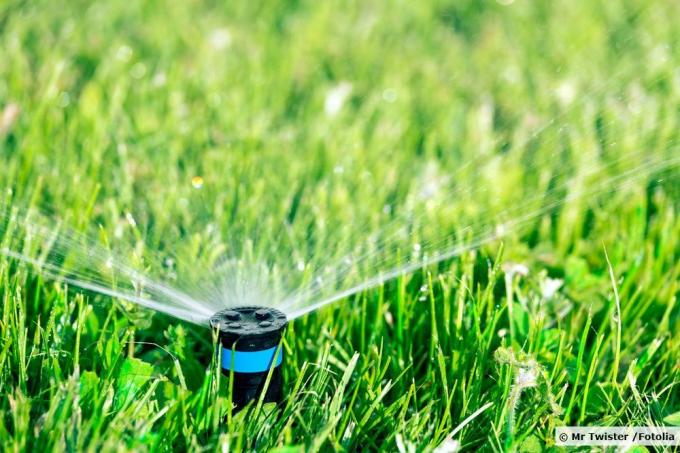
2. Oscillating sprinkler: Oscillating sprinklers are particularly recommended for smaller areas, individual beds or groups of buckets. They are available in different lengths that cover the width of the relevant area. Depending on the model, they either sit on the floor or are embedded in it. They are much easier to replace or put in a different place than pop-up sprinklers.

3. Multi-area sprinkler: If you need to water an area with a complicated shape, the use of a multi-area sprinkler is recommended. These can be adjusted using contour corner points that determine the shape of the water jet. The sprinkler can, for example, aim directly at a rain shadow corner and water it. Depending on the model selected, larger or smaller areas can be watered with this device.

If there are roots or stones in the pipes, you can remove them. Only remove them if there is a risk of damage. If you want to use special elements such as an automatic control unit, you must of course also obtain these in advance. Here you can freely choose which elements can be used to improve your garden irrigation.
tip: If you do not have a vise available, you can use a so-called miter position. The pipe is inserted into this and then shortened to the desired length using the existing guide cuts, which minimizes the risk of injury and increases accuracy.
preparation
Before building the system to water the garden, it is important to dig the trenches for the pipes or hoses. No more is needed for the actual preparation. You need to be as precise as possible with this so that you don't have to make any improvements when laying the lines. Depending on the size of the area, this can prove to be very time-consuming. If you want to make it easier for yourself, avoid working on rainy days. This makes the earth heavy and can only be transported and removed with a lot of effort. The following steps go into the individual points of preparation:
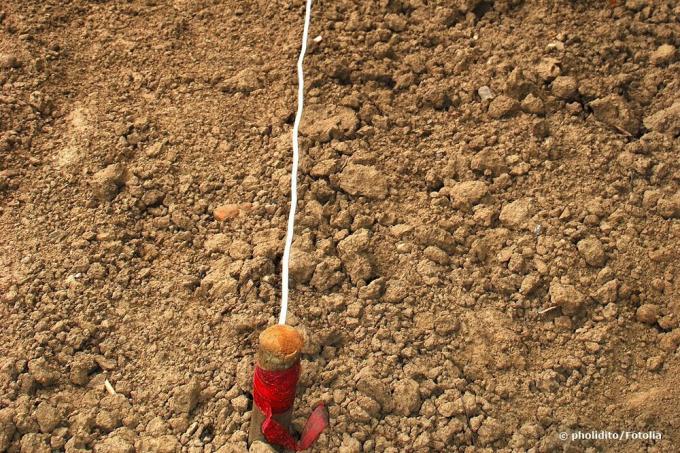
1. First, the individual cable routes are marked out with a cord. This is for orientation so that you don't work crookedly in one direction.
2. Then remove the sward along the lines, if there is one. If it is beds or plots without a lawn, this step does not have to be. Pierce the ground about four inches with the spade. The result should be a square with a side length of 30 centimeters. The sward is then removed intact with a shovel and stored in a protected place.
3. Dig a further six inches so that the trenches are ten inches deep at the end. The final width is not important. At the end of the day, the excavated earth is used again to fill the trenches.
After the preparation, you will see exactly how long each pipe needs to be. You can put the pipes that have not yet been adapted into the trenches again and see how many connecting pieces you need or whether you have to shorten the pipes significantly. If the pipes are not sufficient, you will have to get more from this point on.
Building an irrigation system for the garden: instructions
Once the planning is in place and the pipelines have been dug, you can build the irrigation system. The garden should be easily accessible so that you have enough space to work. The entrances to the individual trenches should also be available. Never turn on the faucet while you are building the irrigation system. Depending on the existing water pressure, you could flood your garden or the sensitive vegetable patch within a short time. The garden irrigation is built according to the following instructions:
Insert pipes
1. If you have not yet measured the individual pipes for the respective cable routes, you should do this now. Mark directly on the pipes where a cut needs to be made. Then fix the pipe in the vice at an angle that makes it easier for you to saw accurately. The cut surface should be as straight as possible, because this way the connections can be fixed better.
2. After cutting, place the pipes in the trenches. If the soil in your garden is not firm enough, either tread on it a little or anchor the pipes in the ground. As a result, they do not shift. If you are using tubing, in most cases you can just put them straight into the pits without cutting them first. Anchoring is also not so important with hoses,
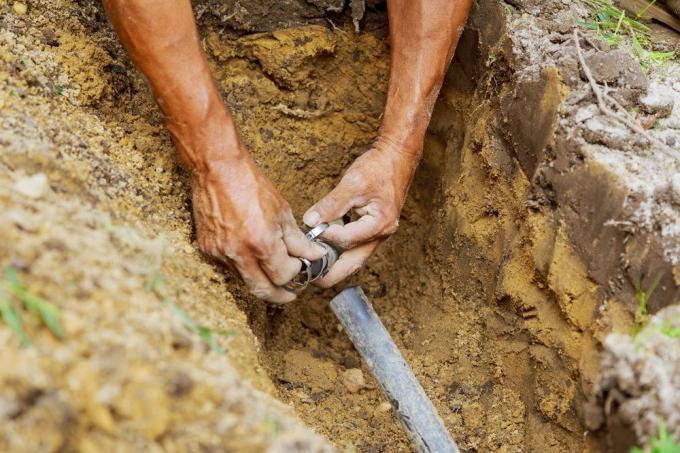
3. Use the connecting pieces and fasten the individual pipes together. The individual connecting pieces must be tight and must not be loose. This is the only way they can withstand the water pressure and effectively transport the water to the intended sprinklers.
Connect water
4. Connect the faucet to the irrigation system. Use an adapter for this if the lines are not compatible with each other. During this step, be careful with the pipes or the hose not to bend so hard that they could be damaged.
5. You can then place the sprinklers in the ground and connect them to the pipes. To do this, use the corresponding connecting pieces that are usually included with the sprinklers. Use a spirit level so that the sprinklers sit straight in the ground. This is an excellent way of determining the alignment.
6. If all elements are installed, you should start a careful test run. It examines all connections and fixes any problems that may have occurred during the installation. If water has leaked, take care of the area. Likewise, the pipes and hoses must not move before you return the excavated earth to the irrigation system.
completion
7. Finally, put the excavated earth on the irrigation system. Do not be too brutal, because pipes are sometimes damaged if the excavation is carried out with too much force. After the earth has been excavated, the sward is reapplied. This must not be entered for a period of at least two weeks in order to be able to grow.
8. Finally, moisten the soil around the irrigation system. This ensures that the sward recovers more quickly and the earth is given more structure again. You are now done with your own irrigation system in the garden.

If you plan carefully, you can assemble the entire irrigation system before digging the pipes. You can then mark out the pipeline routes using a tape, dig them out and place the entire irrigation system in one piece in the trenches. This is recommended for smaller specimens that do not have that many individual tubes. The more parts the irrigation has, the more unstable it is outside of the conduit.
Note: Once the garden irrigation has been completed, do not forget to prepare it for winter. To do this, simply drain the system completely so that no water inside the pipes can freeze and damage the system.