
Table of contents
- Good planning is important with the watercourse
- Curves not only help with harmony
- Interesting facts about your own watercourse in the garden
When the foil or the stream channels are laid out, then another layer of gravel and stones should be filled in. This layer can be a good 10 cm, since plants can also be used here. The outlet of the stream should be inclined slightly upwards, this increase should be about 20 cm. Because then there is still water in the watercourse when the pump is switched off. This creates a small waterfall at the same time, which underlines the harmony of the water. With this splashing, someone can really relax and maybe watch the neighbors mowing the lawn in peace and quiet. After all, what is more fun than relaxing yourself when others are struggling.
Good planning is important with the watercourse
The gradient should not be more than 4 cm per meter so that it does not become a traveling stream afterwards. This is extremely important because if the gradient is less, the water will not drain properly and the watercourse will become more of a slow-moving puddle. Of course, the width is also an important point and, above all, what performance does the pump have to bring. All of this must be taken into account before the groundbreaking ceremony. Of course, how long the stream should be and that includes the width. Everyone has their own scope here, because with a pond liner everyone is independent. When you start excavating, always dig a little more so that you can work properly. Above all, stones and gravel are brought in and of course they also need space. For this purpose, you should plan at least 70 cm wide and at least 40 cm deep. So it really becomes a watercourse, which then offers everything that reduces stress.
Curves not only help with harmony
A watercourse should not be built straight like a slide, but a few small curves not only loosen up the picture. Rather, the barrages and the small curves ensure that it is a slightly rippling watercourse and not a torrent. Of course, the barrages can also be planted, just as it is in nature. Since the water flows faster at the barrages, these must be well covered under the foil. Stones should also be placed here again so that the step is not washed away. When everything is well covered and the pump is connected, water can be filled in. Of course, some things can still be freely designed.
Interesting facts about your own watercourse in the garden
You can create a watercourse in the garden yourself very quickly:
- The basis for this is a hill in the garden, which either already exists or has to be created using earth mounds.
- Such a hill can then be wonderfully planted and the Stream very harmonious embed in it.
- You can start at the lower part of the abdominal run, where you can small pond digs.
- This will then come with foil laid out and can be covered with stones on the sides.
- Now it is a question of finding a place for the stream pump at this pond, which will then transport the water.
- For this it is advisable to construct a small wall behind which the pump can be hidden.
- abdominal pumps are available in every pond specialist shop and cost around 300 euros, depending on the desired funding level.
From the pond you then work your way up in terraces. Here, a stomach run must be excavated, which is also covered with foil. Not to forget the water hose and cable for the pump, which you can easily hide under a layer of pebbles next to the stream. The terraced construction is ideal because the water stays in the abdomen even when the pump is not switched on and does not drain completely downwards. In order to make such a stream safe for children, deeper places can be filled with gravel and stones. The most beautiful thing about a stream is the source from which the water gushes out and flows down. You can also quickly build such a source yourself:
- A larger stone is required for this, which is drilled through with a 10mm stone drill.
- The back wall of the hole must then be enlarged enough to fit a hose coupling.
- Sealing is simply done with some Teflon sealing tape.
- In the end, you just have to Hose connected and the water can bubble.
If you don't like it that complicated, you can also buy springs in garden shops. There are fish heads or animal mouths from which the water then runs.
 garden editorial
 I write about everything that interests me in my garden.
Learn more about creating a pond

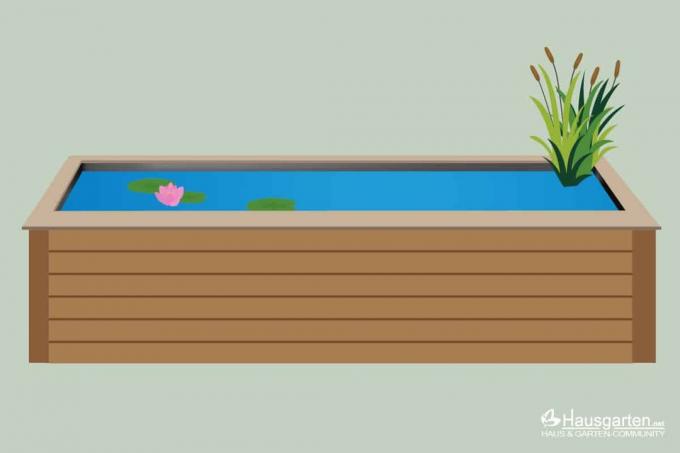
Build a high pond yourself: 15 tips for creating it yourself
A laborious excavation can be avoided with a raised pond. If you want to build and create it yourself, you should pay attention to numerous details. With the right tips, the project runs smoothly and long-term joy is guaranteed.

Build a duck coop yourself 7 tips for a duck house
Building a duck coop yourself is essential if you want to keep ducks yourself. But a protective shelter is also a practical and valuable aid for wild ducks. With our tips for building a duck house yourself, it's easy.

Make a swimming pond out of a garden pond: rebuild in 8 steps
Gardeners with manual skills transform the pond into a natural swimming paradise for the whole family. Thanks to the living sewage treatment plant, the private water world works in an exemplary manner without chemicals. This guide explains how to convert your garden pond into a swimming pond in 8 steps.

Fasten the edge of the pond: this is how the pond liner gets hold on the pond bank
Filled with water, maybe a few fish in it and attractively planted, a pond is a small piece of paradise in your garden. In order for this to remain so for a long time, the correct attachment of the edge and the pond liner is crucial.

Creating a koi pond: requirements for size and filter system + costs
Kois are not only particularly noble, but also very demanding fish. Because the animals have certain requirements for their habitat, which must be taken into account when creating the koi pond.

Build your own indoor pond – instructions in 10 steps
There are big differences in indoor ponds. A lot is possible, starting with plastic shells, such as those used in the garden, through brick and tiled ponds similar to a bathtub, to liner ponds in a wooden frame. Anyone who has never dealt with indoor ponds will be amazed at what some people come up with. Of course, the vessels can also be used for rooms, which are referred to as mini ponds or balcony ponds.


