

Table of contents
- Prune after flowering
- Seal interfaces properly
- Cut off aerial roots or not?
- Make sealing paste
- When there is no flowering
- Tips for Beginners
- Conclusion
The Phalaenopsis orchid forms its own genus with around 70 known species. The flower stalks emerge from the lower leaf axils of the large, broad and strong green leaves. Under optimal conditions they can reach lengths of up to 100 cm. The flower buds arranged in pairs sit on these flower stalks. The magnificent flowers and the unusually long flowering period make these orchids one of the most popular ornamental plants in general, with the countless hybrids still being the pure species with their attractive flowers in terms of beauty surpass
Prune after flowering
Phalaenopsis orchids are multi-stemmed orchids, i. i.e. they sometimes form several flower stalks on continuous axes. They usually flower between autumn and spring, with hybrids often producing flowers all year round. Even if orchids bloom for a very long time under optimal conditions, the flowers will eventually wither and fall off. The bare stalk remains. Hobby growers have differing opinions on whether or not to cut off the faded flower stalks. It is usually recommended not to cut off the flower stalk until it has completely withered meanwhile, new side shoots or new flowers at the tips of the shoots can emerge from the dormant eyes develop. According to this method, all green parts of the plant should always remain on the orchid. After about 2-3 weeks, it is best to cut off the dried stalk so deeply that all brown spots are removed or about 1.5 cm above the eye of the phalaenopsis orchid. Do not cut into the green parts of the plant. Furthermore, there is the possibility of the still green flower stalk, after the flowers have withered and fallen off, about a finger's breadth above the third or fourth eye from the bottom so that the Phalaenopsis orchids sprout out of the remaining eyes and the flowering period is extended can. A so-called sleeping eye can be recognized by a leaf scale on the stem. According to some orchid growers, this form of pruning should be repeated a maximum of two times. After that, the stem should be completely removed so that the orchid can go into a resting phase and produce new panicles of flowers after about six months.
Tip:
Pruning back late, i.e. only when the stem has completely withered, reduces the risk of germs and bacteria getting in.
Seal interfaces properly
To avoid injuries when cutting, only sharp and previously disinfected knives should be used. Blunt knives would literally rip open the interfaces. Scissors should not be used at all, as they could cause bruising. Correct sealing of the interfaces is important after all cutting measures. It is often recommended to dust them with charcoal or sulfur powder, but this does not offer sufficient protection, because orchids in particular are very sensitive plants. A special paste offers much better protection, but it is difficult to get hold of in the shops. But with the right ingredients, you can make this paste yourself.
Cut off flowers and leaves
- Withered flowers should not be cut off or picked off if possible.
- The plant could be injured.
- Once the flowers have completely withered, they will fall off on their own.
- Leaves should also not be cut off.
- This applies to healthy green as well as yellow or already withered leaves.
- It is best to wait until they are wilted and fall off on their own.
- With older orchids, it is possible to carefully tear off the damaged leaves from the side.
- This is not absolutely necessary but possible for aesthetic reasons.
Tip:
Every cut means enormous stress for an orchid. Accordingly, cutting measures should be reduced to the bare essentials.
Cut off aerial roots or not?
In their original habitat, orchids grow on trees. The aerial roots give them support and also have the task of absorbing water and nutrients. Because of this, they should not be cut or shortened. The situation is different with already dead or rotting roots, which should even be removed. Dead roots are usually dry, hollow and limp, which can usually be seen from the outside in special orchid pots. Affected plants only grow sparsely, the leaves hang down and the formation of flowers decreases significantly or does not occur at all. Then you should carefully take them out of the pot, free them from the substrate and clean the roots under running water. Now dry roots are easy to spot, so you can easily separate them. Here, too, sharp and disinfected cutting tools should be used and the interfaces sealed accordingly.
Tip:
Healthy aerial roots should never be cut off. Otherwise, this would greatly reduce the growth of new shoots and leaves.
Make sealing paste
In addition to a grill or a small stone oven and a mortar, you need mussel shells, charcoal, henna powder and crushed oak or chestnut bark to make this paste. First, the mussels are boiled, the pulp is removed, then they are thoroughly cleaned and left to dry for about 24 hours. In the meantime, you crush or pulverize the tree bark, for example by grinding it with a belt sander, catching the powder and using something water to a pulp or you soak the chopped bark in water overnight and puree it, so to speak, together with the soaking water the next day in an old one Mixer. The mushy mass is then briefly boiled and left to cool. Now layer the mussel shells alternately with the charcoal in the grill and light the charcoal. Once it has completely burned out, you let it cool down completely, take the mussel shells out of the grill and clean them again. Then the shells are crushed with a mortar and gradually the paste made from the tree bark is added. Then the henna powder is added and pounded further until the result is a uniformly colored and almost pulverized mass. The whole thing stays covered for 24 hours. After the 24 hours have elapsed, about two finger widths of water are added, the mass is crushed to a fine pulp and dried in the blazing sun in a dish that is as flat as possible. To be able to use the ready-to-use paste, take the required amount and mix it again with a little water to create an easy-to-spread paste.
When there is no flowering
- Hybrids are mainly offered in the trade, which usually bloom very luxuriantly.
- If there is no flowering, put the orchid in a cooler place for at least 4 weeks.
- The room temperatures should now be 15 - 18 degrees.
- Water only moderately during this time.
- Strong temperature fluctuations between day and night can also be helpful.
- Temperatures can vary between 20-30 degrees during the day and 15-18 degrees at night.
Tip:
It is quite normal for orchids to go through periods when they do not flower for a long time. However, an unfavorable location or care mistakes can also lead to the flowering not taking place.
Tips for Beginners
Healthy plants should already be considered when buying, especially if you do not buy them from a breeder. The leaves must be firm and crisp green and should not be hanging limp. Also plump and juicy green roots are an important quality feature. The orchid should be undamaged and free from pests. It is best to transplant specimens from the supermarket or hardware store into fresh substrate. Only special orchid substrate and no commercial potting soil should be used for this. The substrate should ideally consist of coarse components and not contain too much peat. The most common mistakes are made when casting. Basically, the orchid needs a little more water during growth than in times without any growth activity and after watering excess water must be able to drain off well. When it comes to fertilizing, less is more. Since orchids are generally very sensitive to salt, they should only be watered with pure water between the individual fertilizer doses in order to flush out any salt residue from the substrate.
Conclusion
Orchids are among the most beautiful indoor plants, with Phalaenopsis orchids or whose hybrids are particularly floriferous. After flowering, the withered flower stalks can be cut off or the still green stalks can be shortened after flowering, both are possible. Leaves and healthy aerial roots are not cut off. If the location and care are right, nothing stands in the way of lush and long-lasting blooms for many years.
 garden editorial
 I write about everything that interests me in my garden.
Learn more about Exotic Plants
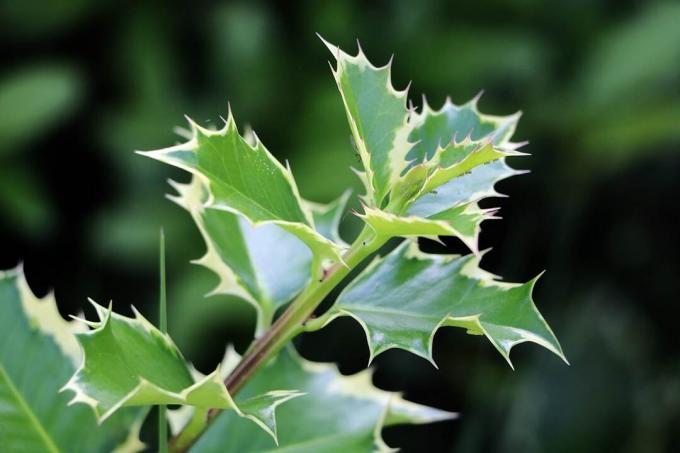
Holly, holly: care from A to Z
The European holly is one of the evergreen plants. It reaches a height of up to five meters and is ideal as a Christmas decoration or garden shrub. The native, although rarely occurring plant is the only native representative of the Ilex family and is particularly easy to care for and robust.
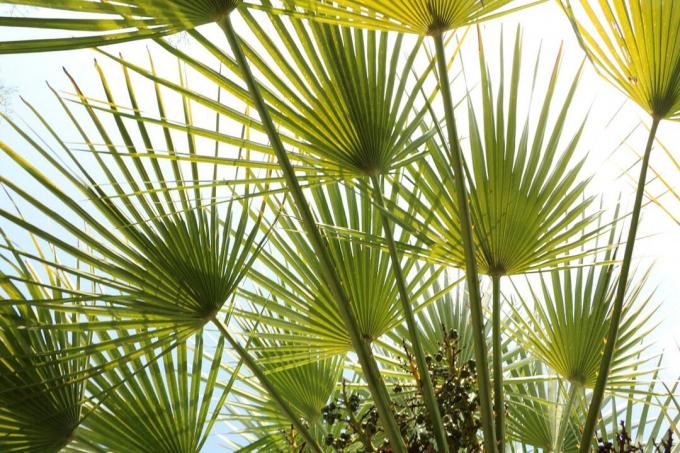
Dwarf palm, Chamaerops humilis: care instructions
The dwarf palm remains small enough that it can also be cared for in the room. However, it also cuts a fine figure in the garden. You can find out here how it is maintained and what needs to be considered.

Dwarf date palm, Phoenix roebelenii: Care from A-Z
The dwarf date palm (Phoenix roebelenii) is a particularly small, actually the smallest palm species of its genus. But that doesn't make them any less decorative. It is the most filigree and elegant date palm and hardly grows higher than one meter.

Growing vanilla plants: 11 tips for care
The vanilla plant is truly exotic in Central Europe and cannot be found in every garden. Vanilla planifolia forms the aromatic pods for which the plant is known. The cultivation of a vanilla plant is easily possible with the right care tips.

Kangaroo Paw: Caring for the kangaroo plant
Kangaroo paws are exotic plants native to southwestern Australia. Considering the care instructions, Kangaroo Paw can also thrive in Central European conditions. Maintenance requires a little more effort. If the plant gets enough attention, it will thank you with magnificent inflorescences.
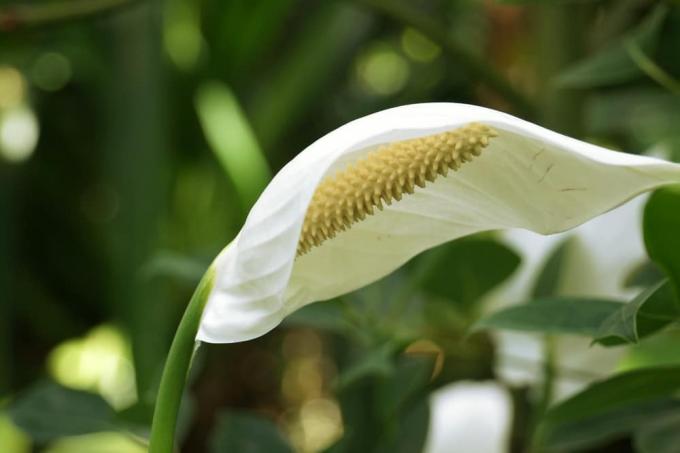
Einblatt, Spathiphyllum: care from A to Z
Because of simple! The single sheet draws everyone's attention with its extravagant appearance. The imposing flower gives sophisticated rooms that certain something. If the houseplant is in the right place, hardly any care is required. The breeder can find out here what demands Spathiphyllum places on their location.