

table of contents
- Pull chestnut tree out of chestnut
- Location
- Pulling chestnuts: instructions
- germination
- Plant a seedling
- Planting out
- The alternative cultivation
- Germinate faster with gibberellic acid
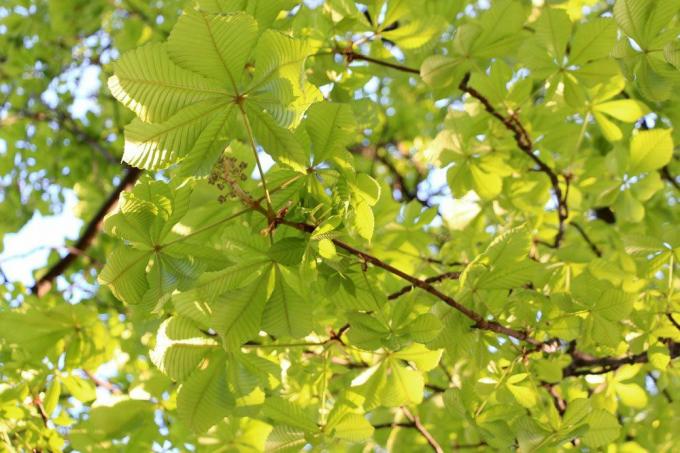
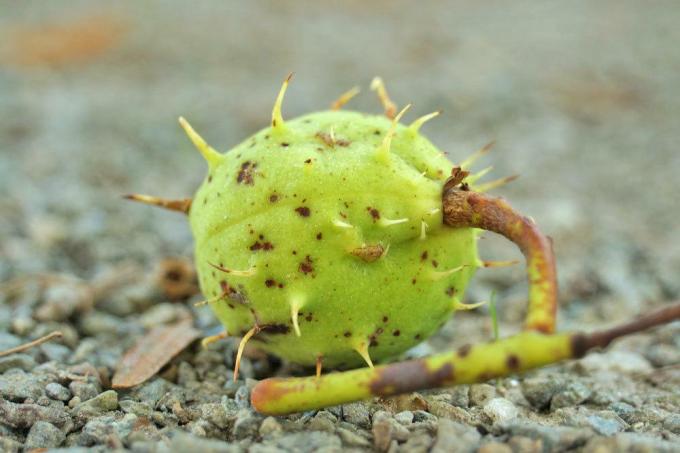
Who does not know them, the magnificent balls that children love so much for handicrafts. We are of course talking about the chestnut, whose trees are really popular in autumn. The brown nuts are collected diligently and serve as a delicious meal, especially in the form of chestnuts.
Pull chestnut tree out of chestnut
Location
It is not that easy to find the right location for a chestnut tree, because the light and temperature conditions have to be just as good as the nature of the soil. You must also observe the distances to buildings, the neighboring property and the street. This is what you should focus on:
- partially shaded to sunny location
- Wind protection is important, the location must be warm
- Nutrient-rich, deep soil is suitable
- the best pH is between 5 and 6
- the distance to buildings must be calculated in advance
In fact, when you pull a small chestnut tree, you probably don't think about the size it will one day reach. When choosing the final location, this is important, because the planting distance to the street, buildings and neighbors must be chosen sufficiently.
There are precise regulations in neighborhood law, which you can see at the regulatory office. If you keep the legally prescribed distances, you can avoid trouble with the neighbors.
Pulling chestnuts: instructions
If you want to grow chestnuts yourself, you need to germinate the fruit. You increase the chances of having your own tree if you sow the seeds in a pot. The chestnuts germinate better under controlled conditions and the plant has an enormous growth advantage when it comes to planting out.
germination
In order for you to germinate the chestnut, you need to do some preparatory work. There are two main obstacles that can prevent successful germination:
- the hard shell
- a lack of cold stimulus
It is not enough to peel off the seed coat, as this will usually damage the radicle. In addition, the seed coat often extends into the embryo. It is better to carry out the preparation in a controlled manner in order to grow a chestnut tree yourself.
Germinating a chestnut step by step:
- use sandpaper to roughen the skin of the chestnut
- soak the seeds in lime-free water for 48 hours
- fill a plastic bag with damp sand
- twist the chestnuts into the plastic bag with sand
- keep the bags in the vegetable drawer of your fridge for six weeks
- keep the sand moist during the time
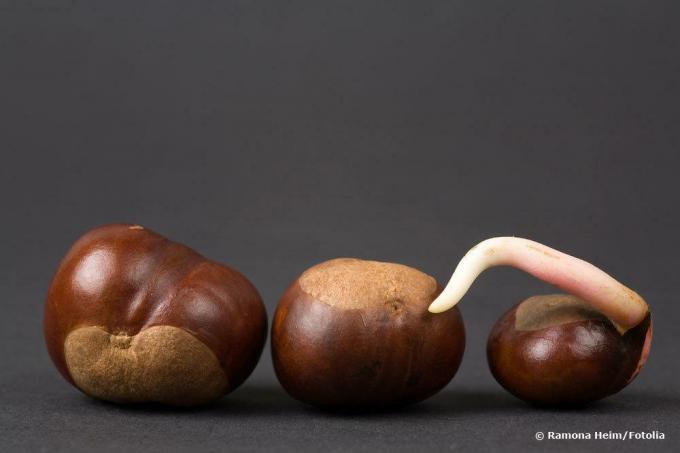
After germination
The inside of the chestnut houses an embryo that consists of two cotyledons. If the framework conditions are right, these leaflets push through the outer shell and the radicle grows. If you keep the chestnuts in the refrigerator, you should regularly sort out germinating seeds.
Plant a seedling
When the chestnuts germinate, it only takes three steps to move the seeds into their own pot:
- Use deep growing pots and fill with herbal soil
- Create a well and insert germinating seeds about 2 cm deep
- Pour lime-free water and look for a partially shaded place
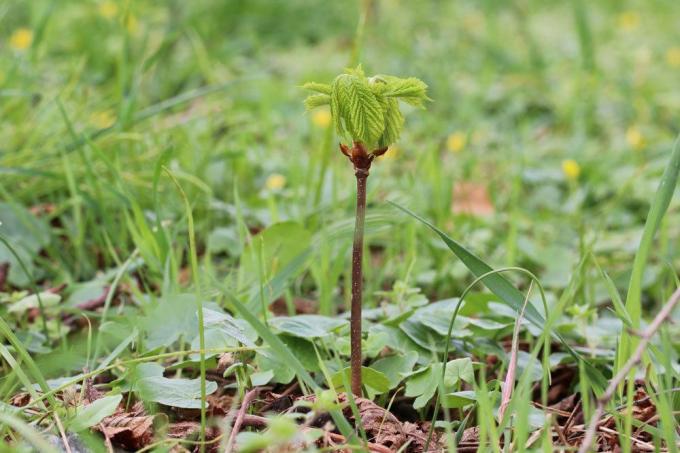
It is important that you keep the substrate slightly damp on a regular basis. One then forms in the first year Taprootthat can reach a depth of up to 40 cm. The first leaves develop parallel to the cotyledons.
As soon as the chestnuts have reached a height of 20-30 cm, the young trees are given some liquid fertilizer every two weeks. If a pot is completely rooted, the young plant must be repotted.
Drainage must be incorporated into the pot, as waterlogging can lead to root rot and means the premature end for the young tree.
Planting out
When the chestnut has turned into a small chestnut tree with loving care, autumn is the right time to move outdoors. The soil was thoroughly warmed by the summer sun, so the tap roots sprout quickly and develop side roots. By the time the first frost arrives, a proper root system has already developed and stability is given. To do this, you have to follow a few steps so that the chances of a long tree life are given:
- First, loosen the soil and remove roots, stones and weeds
- put the root ball of the chestnut with a pot in a bucket of water
- dig a planting hole with a depth of 60 cm
- the diameter of the planting hole must be twice as wide as the root ball
- put the potted root ball of the chestnut deep into the earth
- the top of the root ball should be just below the surface of the earth
- drive a stake into the ground for the chestnut tree
After following these steps, the planting hole will be filled with soil. This must be stepped on well so that the roots reach a good contact with the ground. Now a cut is required. To do this, select three main branches from your chestnut tree, you can remove all other branches.
The support post is connected to the main shoot, the binding material must not damage the bark. Finally, pour rainwater and mulch properly with bark mulch.
The alternative cultivation
There is an alternative to pulling chestnuts, but it doesn't always work. To do this, stop following the steps after soaking and put the softened nuts directly in individual pots. The substrate must be slightly acidic, and pricking earth is well suited.
You must now place the pots on the balcony or terrace so that the cold stimulus is guaranteed. The temperature must be between +4 ° C and -4 ° C for a period of at least four weeks.
If the weather is too dry, you have to pay attention to the soil, which must not dry out under any circumstances. Don't be afraid of snow: If the pots are snowed in, this has advantages because the snow accelerates germination.
Germinate faster with gibberellic acid
Plant growth hormones such as gibberellic acid can support the germination of heavy and cold germs, which include chestnuts. The application not only accelerates the germination rate, but also the germination time. By using gibberellic acid, you can grow a chestnut tree without the seeds having to sit in the refrigerator for weeks.
Application of gibberellic acid
It is not difficult to germinate the chestnuts with gibberellic acid. You need the following preparation for this:
- Dissolve 0.1 g of gibberellic acid in five ml of ethanol (pure alcohol)
- Fill up the mixture with 95 ml lime-free water
- Let the mixture rest for an hour
The desired amount of chestnuts is then soaked in the solution for 12 hours. Then sowing is possible immediately and without any further steps.